
Your Ninja air fryer’s hidden heating element works overtime, silently collecting grease splatters and food debris after every crispy batch of fries or juicy chicken wings. When this critical component gets grimy, you’ll notice smoking, strange odors, or uneven cooking that ruins your favorite recipes. Learning how to clean Ninja air fryer heating element properly prevents these issues while protecting your appliance from damage caused by viral cleaning hacks. In just 15 minutes with household tools, you can restore peak performance and extend your air fryer’s lifespan—no disassembly required.
Ignoring this maintenance task risks fire hazards from accumulated grease and voids your warranty through improper cleaning methods. Most users mistakenly focus only on baskets and trays, leaving the heating element coated in carbonized residue that degrades cooking results over time. This guide delivers Ninja-approved techniques verified by product experts, with model-specific protocols and dangerous pitfalls to avoid. You’ll learn exactly when to clean, which tools won’t damage delicate coils, and how to tackle stubborn baked-on grime safely.
Locate Your Heating Element First
Before cleaning, identify your model’s unique heating element configuration. This prevents accidental damage to electrical components during maintenance.
Standard Ninja Models
Flip your air fryer upside-down to reveal the heating element positioned directly above where the basket slides in. This overhead placement mirrors traditional oven designs, keeping the coils hidden during normal use. You’ll see a rectangular metal grid approximately 5 inches from the cooking surface—this is where grease splatters accumulate after frying bacon or marinated proteins.
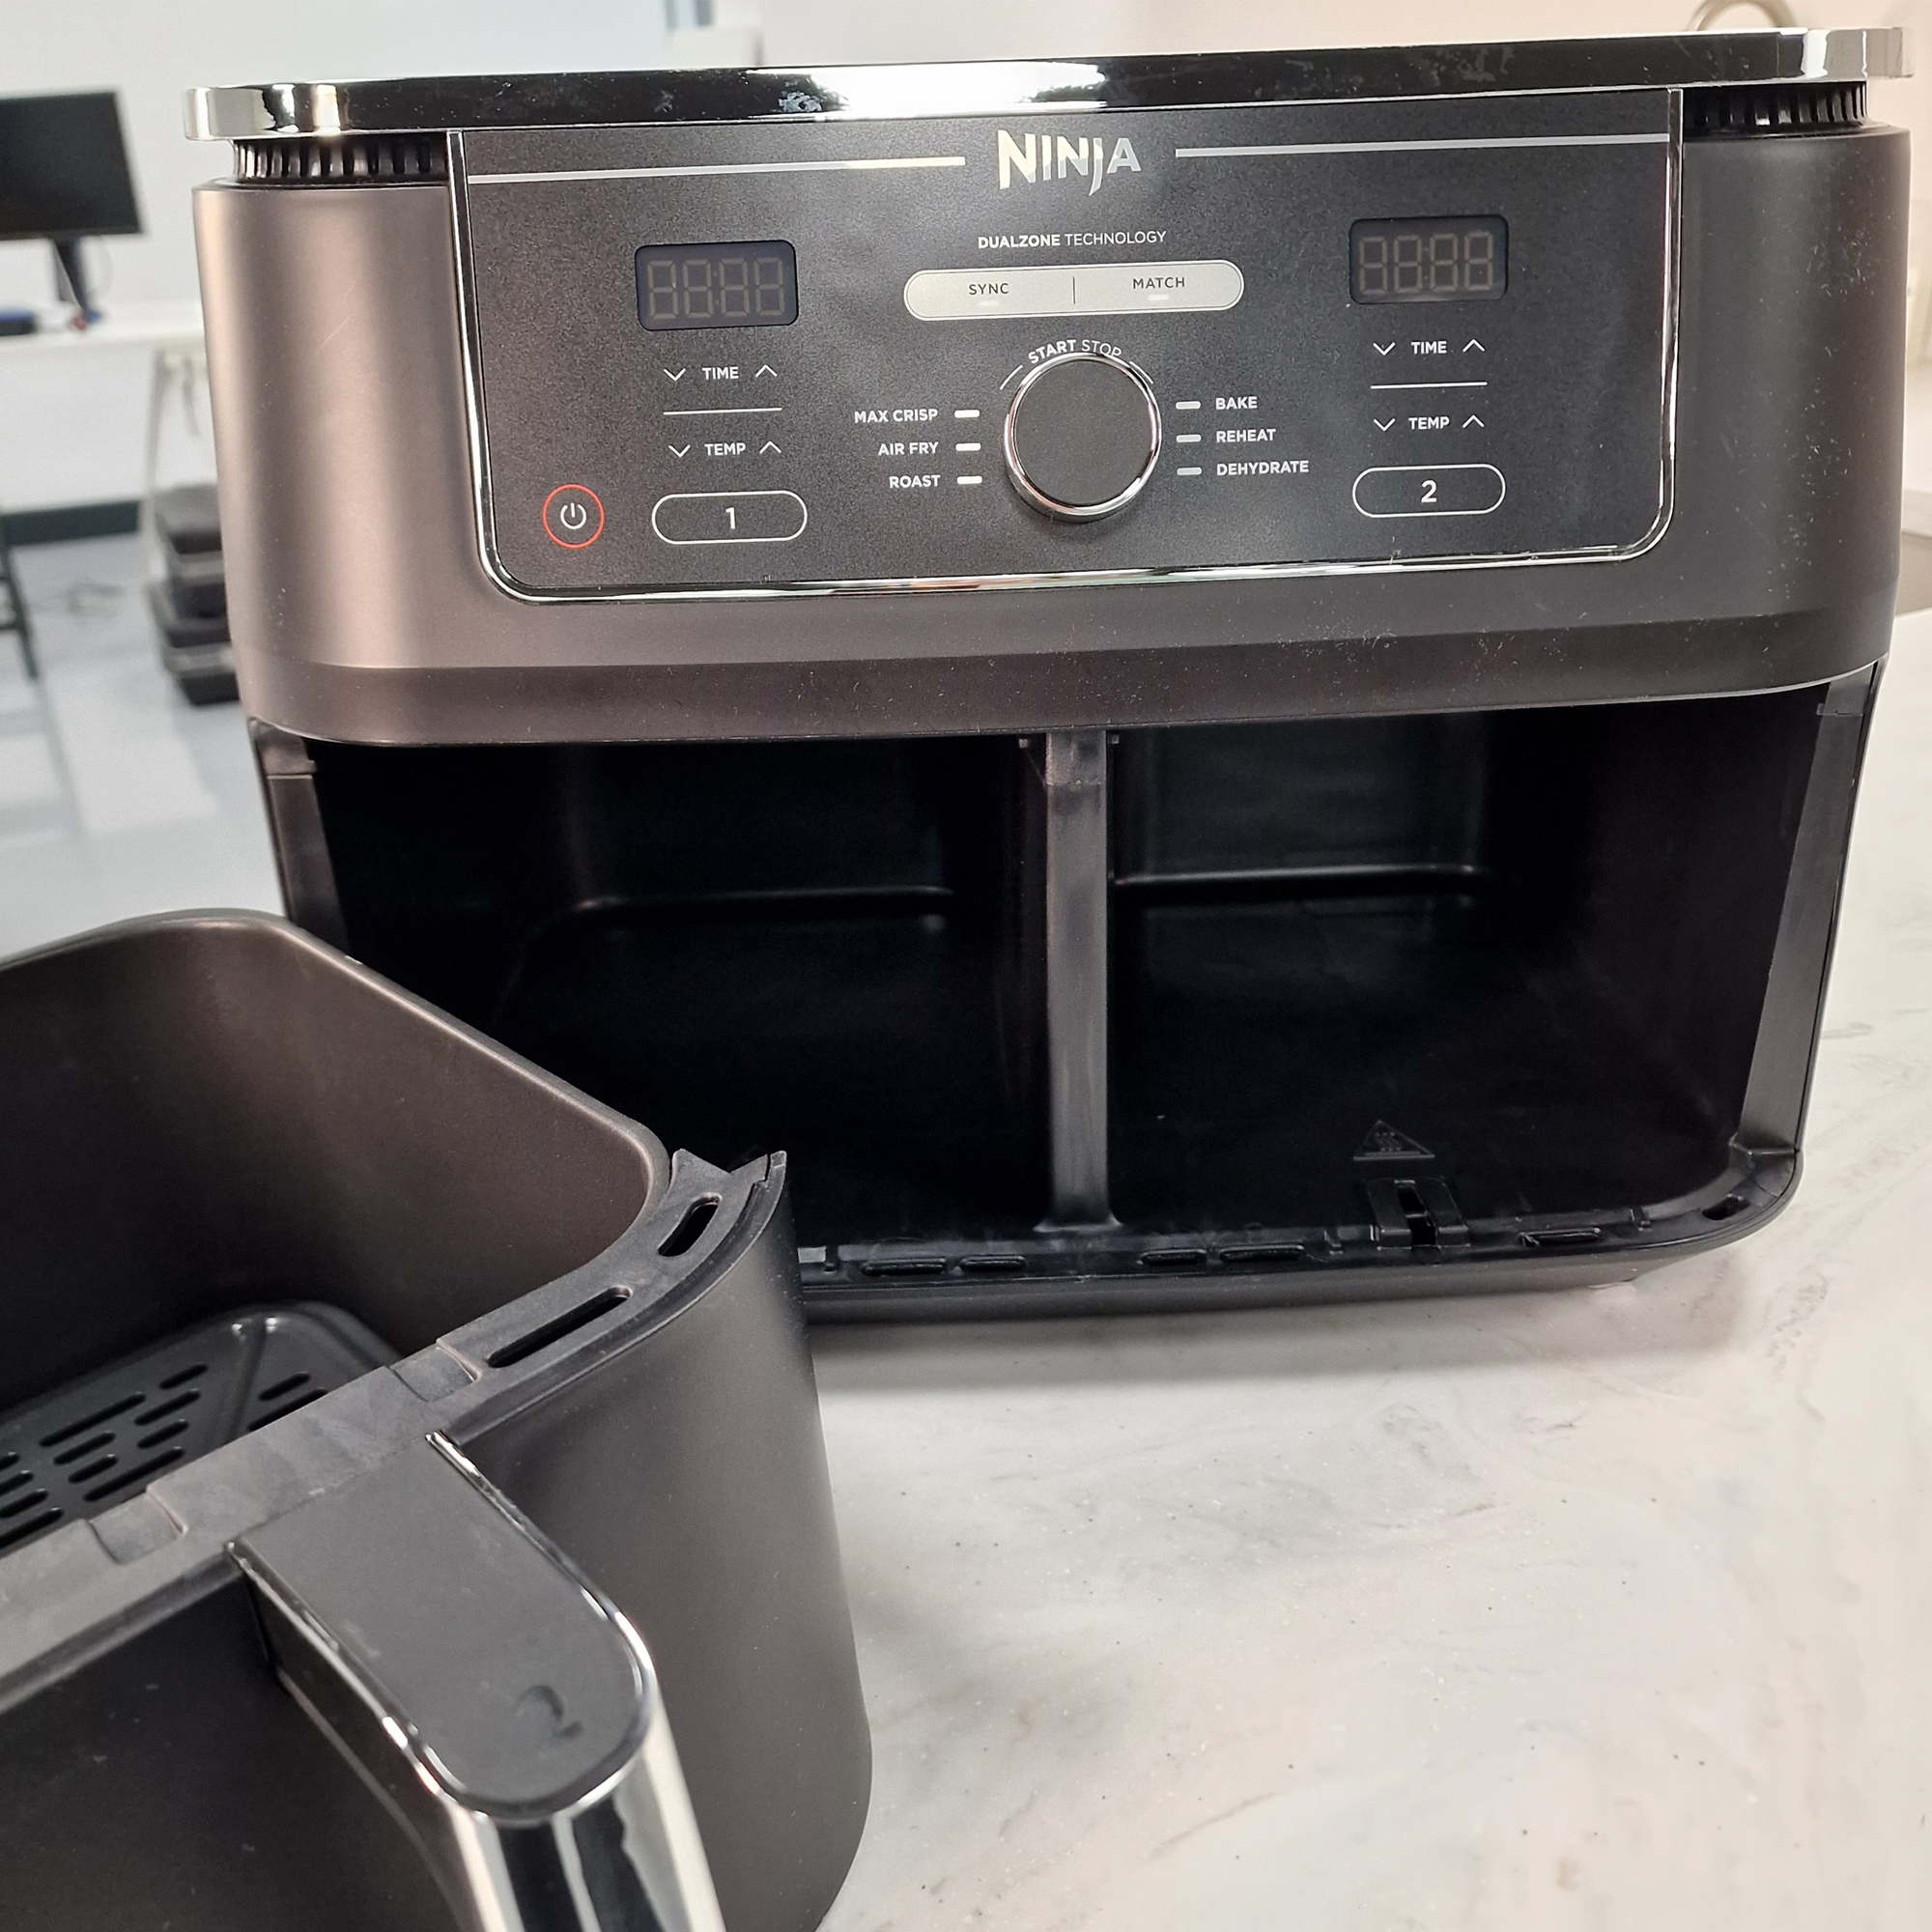
Dual Zone Variations
Ninja Dual Zone models contain two separate heating elements—one above each basket. These independent zones require individual attention since cooking different foods (like wings on one side and fries on the other) creates uneven residue buildup. Always clean both elements even if only one appears dirty.
Double Stack Exception
The Double Stack relocates heating elements to the back wall instead of overhead. This rear placement makes them more visible through the basket slots, appearing as horizontal coils behind perforated metal guards. The altered airflow design means grease accumulates faster here than in standard models—check monthly for visible buildup.
Multi-Cooker Designs
Ninja Combi and similar multi-cookers feature either circular or square heating elements in the top unit. Circular elements wrap around the lid’s interior, while square versions sit flush against the ceiling. Verify your model’s shape before cleaning, as circular elements require rotational wiping motions to reach all surfaces.
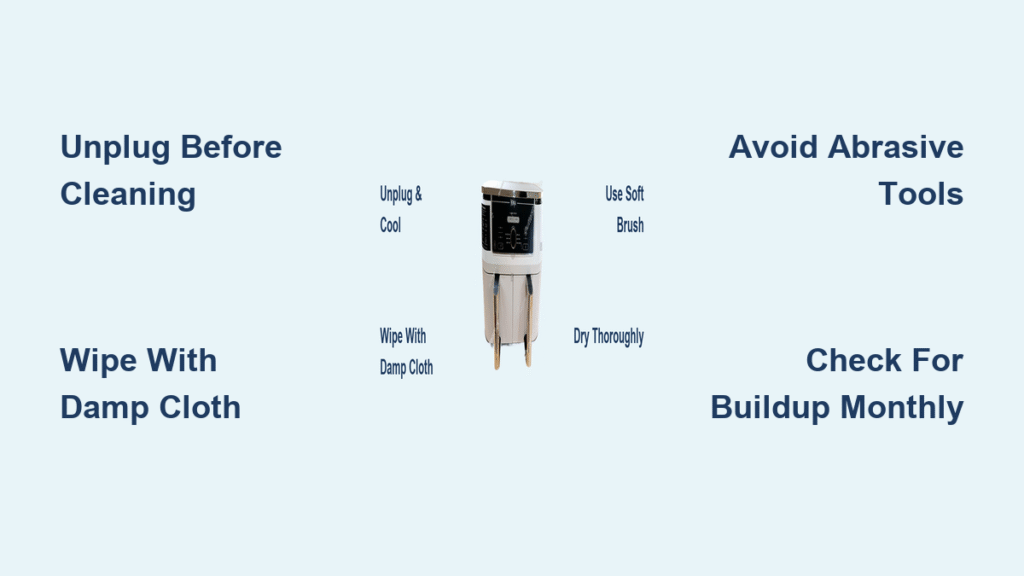
Essential Safety Steps
Power Down Protocol:
– Unplug completely before touching anything
– Wait 30+ minutes for full cooling—never clean a warm unit
– Never submerge the main unit; electrical components live inside
Positioning for Access:
Turn your cooled, unplugged air fryer upside-down on a stable surface. Place a towel underneath to prevent sliding. This exposes the heating element while keeping vents clear of moisture. Critical warning: Skipping the unplugging step risks electrical shock even when the unit appears off.
Ninja’s Approved Cleaning Method
Quick Daily Wipe-Down
- Flip and stabilize the cooled unit upside-down on a non-slip surface
- Use barely damp cloth—wring until it feels like a damp sponge, never dripping
- Gently wipe coils from outer edges toward center using light pressure
- Dry immediately with paper towel to prevent moisture damage
This 60-second process after every 3-5 uses prevents stubborn buildup. For visible grease spots, fold the cloth into a small pad to target specific areas without spreading residue.
Expert Technique from Ryan Calvert
Apply food-safe antibacterial solution to cloth, never directly onto the element. Work methodically from coil edges inward, focusing on splatter zones where bacteria thrive. For stuck-on debris, upgrade to a soft-bristled brush with minimal pressure—imagine cleaning an eggshell. “Heating elements are fragile,” advises Calvert, product expert at Hiatt Hardware. “One aggressive scrub can deform coils, causing hot spots that burn food.”
Deep Clean Stubborn Residue
Baking Soda Paste Method
Create equal parts baking soda and water paste. Apply with soft-bristled brush only to affected areas—avoid electrical connections. Let sit 20 minutes to soften carbonized grease, then gently scrub in circular motions. Wipe residue with vinegar-dampened cloth to neutralize odors. Never apply paste to cold elements; residual heat helps activate the reaction.
Vinegar Power Boost
Replace water with distilled white vinegar in your baking soda paste. The fizzing action lifts baked-on grease from metal surfaces within 10 minutes. Ideal for grease-heavy foods like bacon or cheese dishes. Rinse thoroughly with a barely damp cloth—vinegar residue can corrode protective coatings if left unattended.
Steam Cleaning (Selected Models)
Fill basket with 1 cup hot water plus 1 cup lemon juice. Close lid for 5-10 minutes to generate steam that loosens residue. Wipe with lemon-dampened microfiber cloth using upward strokes. Only use this on Ninja models explicitly rated for liquid use—check your manual for “steam-safe” symbols.
Model-Specific Cleaning Variations

Ninja Crispi Special Protocol
The Crispi’s pod design places elements just 2 inches from food (vs. 5 inches standard), increasing debris exposure significantly.
Pod Cleaning:
– Unplug pod immediately after cooking while glass cools separately
– Use dual-sided sponge: scrubby side for metal grate, soft side for soap removal
– Never submerge pod electronics—dampen cloth instead
– Angle hand-washed containers for complete drainage to prevent water trapping
Container Care:
Glass containers and grates go straight in dishwasher, but clean black plastic holster crevices with a straw brush. Dry holsters thoroughly before reassembly to avoid mold growth in hidden seams.
Tools That Work Safely
Approved Arsenal
- Non-abrasive sponges (dual-sided okay for tough spots)
- Soft-bristled brushes or old toothbrushes
- Microfiber cloths for final polish
- Paper towels for initial residue removal
Specialized Helpers
Straw brushes clean tight crevices around coil mounts. Wooden skewers dislodge debris from hard-to-reach corners without scratching surfaces. Food-safe antibacterial solutions designed for kitchen appliances prevent bacterial growth in grease traps.
Never Use These
- Steel wool or metal scrapers (scratch protective coatings)
- Abrasive cleaning pads (create microscopic grooves for grease buildup)
- High-pressure water (forces moisture into electrical components)
- Steam cleaners on electrical parts (causes short circuits)
Cleaning Frequency Rules
Smart Assessment System
Skip rigid schedules. Evaluate needs based on:
– Daily users: Clean every 3-5 uses (grease accumulates faster)
– Food types: Wipe immediately after bacon, cheese, or sugary glazes
– Visual cues: Visible black specks or white ash on coils
– Performance flags: Smoking within first 2 minutes of cooking
Preventive Maintenance
Wipe elements after cooking messy foods before residue hardens. Monthly, inspect elements with a flashlight for hidden buildup behind grates. Light cooks should perform deep cleaning only when performance declines—over-cleaning risks coil damage.
Dangerous Methods to Avoid
Viral Video Scams
Social media promotes upside-down dousing with harsh chemicals—never attempt this. Excessive liquid penetrates electrical components, creating fire hazards. One viral “hack” uses oven cleaner: its fumes release toxic gases when heated, and alkaline residue corrodes coil coatings permanently.
Chemical Hazards
Bleach leaves invisible residue in coil crevices. When heated, it emits chlorine gas that damages lungs and ruins food taste. Harsh degreasers strip protective nickel plating, causing coils to oxidize and fail within weeks.
Physical Damage Risks
Aggressive scrubbing deforms delicate coils. Metal tools scratch surfaces, creating hotspots that burn food. Never bend or adjust coil positions—even slight misalignment disrupts airflow and voids warranties.
Post-Cleaning Protocol
Reassembly Checklist
- Ensure complete drying of all components (use hairdryer on cool setting)
- Reattach removable parts in correct order (refer to manual diagrams)
- Test operation with empty 2-minute cycle at 400°F
- Monitor for unusual sounds or smoke—stop immediately if detected
Long-Term Care Tips
Document cleaning dates/methods for warranty claims. Store in dry location with basket removed to prevent moisture accumulation. Schedule professional service for persistent smoking—this indicates electrical damage beyond DIY fixes. Never remove protective grates; they shield coils from physical contact.
Quick Reference Cleaning Guide
Daily: Empty crumb tray, wipe basket
Weekly: Quick heating element wipe (3-5 uses)
Monthly: Thorough inspection with flashlight
As needed: Deep clean for heavy buildup
Your Ninja air fryer heating element rewards proper care with consistent performance for years. Skip the viral hacks that risk fire hazards, stick to manufacturer-approved methods, and enjoy perfectly cooked meals without smoke signals of neglect. By dedicating just 5 minutes monthly to this critical maintenance, you’ll avoid costly replacements while keeping your appliance running like new. Remember: when in doubt about your model’s requirements, consult Ninja’s official support—your safety and appliance longevity depend on it.


