
That crispy chicken you love comes at a price—grease splatters, stubborn crumbs, and baked-on residue that sabotage performance. When your Ninja air fryer oven starts smoking during cooking or leaves food tasting bitter, it’s screaming for attention. The good news? You can restore peak performance and prevent fire hazards with a proper cleaning routine that takes less than half an hour. This guide reveals Ninja-approved methods to deep clean your oven safely, avoid costly warranty traps, and keep meals tasting fresh for years.
Skip the harsh chemicals and confusing tutorials. I’ll show you exactly how to tackle every component—from the crumb tray to hidden heating elements—using only kitchen staples. You’ll learn the daily wipe-down trick that prevents hour-long scrubbing sessions and the monthly ritual that stops smoke before it starts.
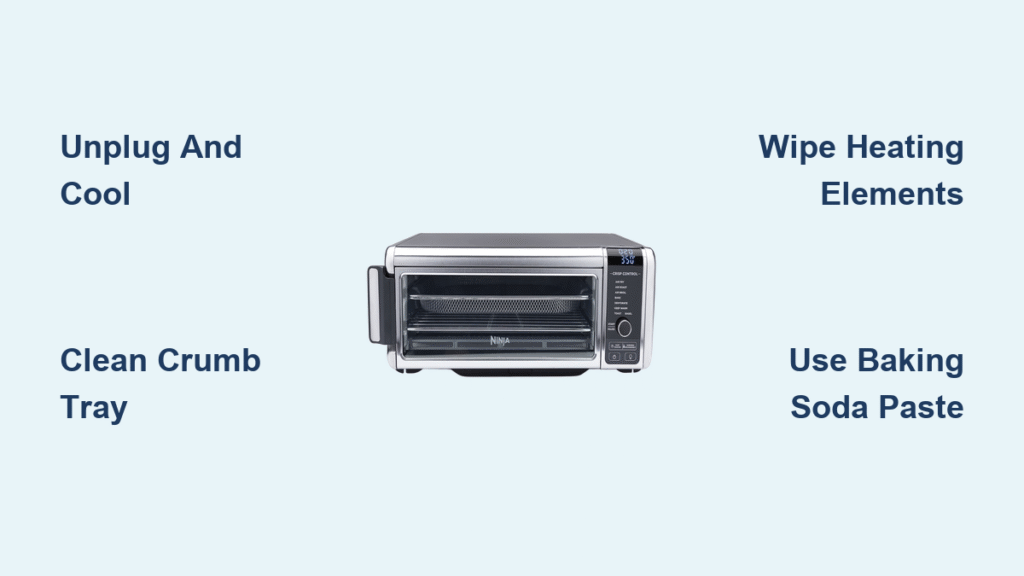
Unplug and Cool Down: Critical Safety First Steps

Never skip this phase—residual heat can scald your hands or crack non-stick surfaces. After cooking, immediately unplug your Ninja air fryer oven and walk away. Let it sit untouched for 45 minutes minimum. The exterior might feel cool, but internal heating elements retain dangerous heat much longer.
Place the unit on your stovetop burner or a wooden cutting board during cooling. This protects countertops from heat damage and gives you stable access to all angles. Before touching anything, confirm the LED display is completely dark—no standby lights. Test surface temperature by hovering your palm 2 inches above the door; if you feel warmth, wait another 10 minutes.
Safety Red Flags You Can’t Ignore
- Moisture near electrical parts: Wipe spills immediately with dry cloth
- Cracks in the door seal: Stop using until repaired (prevents steam burns)
- Persistent smoke after cleaning: Indicates hidden grease buildup
- Unusual burning smells: Signals electrical issues needing professional help
Gather Your Cleaning Kit in 60 Seconds
You don’t need specialty products—Ninja explicitly forbids oven cleaners and harsh chemicals. Grab these five essentials already in your kitchen:
- Two microfiber cloths (one dampened with warm water, one dry)
- Mild dish soap (avoid antibacterial versions that leave film)
- Baking soda for baked-on grease (3 tbsp + 1 tbsp water = magic paste)
- White vinegar in spray bottle (50/50 mix with water)
- Soft bottle brush (never metal—it scratches non-stick coatings)
Pro tip: Store these in a zippered bag labeled “Ninja Clean Kit” under your sink. When cleanup becomes this effortless, you’ll actually do it daily instead of waiting for smoke alarms.
Wipe Interior Surfaces Before Grease Hardens
Start with dry removal—never add moisture to loose crumbs. Open the door fully and use a dry paper towel to sweep debris from the bottom cavity, corners, and around heating elements. Tilt the oven slightly to dislodge trapped particles. This prevents creating cement-like paste when you introduce water.
Check upper heating elements with a flashlight. If food bits cling to coils, gently brush them off with a dry microfiber cloth only. Moisture here causes steam explosions and permanent damage. Finally, run your finger along the door’s rubber gasket—grease here prevents proper sealing and creates smoke. Wipe clean with a soapy cotton swab.
Deep Clean Removable Parts Without Dishwasher Damage
All Ninja accessories (crisper basket, sheet pan, rack, crumb tray) are technically dishwasher-safe, but hand washing triples their lifespan. Here’s the pro method:
Hand Wash Protocol for Perfect Results
- Soak parts in hot water + 2 drops dish soap for 10 minutes (loosens residue)
- Scrub crisper basket mesh with circular motions using a bottle brush (back-and-forth bends wires)
- Treat sheet pan stains with baking soda paste—sprinkle, wait 5 minutes, then wipe
- Rinse under warm water until surfaces feel completely smooth (no soap film)
- Air-dry vertically on a rack (stacking traps moisture and warps parts)
Dishwasher users: Place only on the top rack with heated dry disabled. Remove immediately after the cycle—water spots bake onto hot surfaces during drying.
Conquer Stubborn Cavity Grease Safely

Daily cleaning prevents this, but for monthly deep cleans:
Baking Soda Power Method
- Mix 3 tbsp baking soda + 1 tbsp water into thick paste
- Apply directly to greasy spots with finger (avoid heating elements)
- Wait 20 minutes—no scrubbing needed as paste lifts residue
- Wipe clean with barely damp cloth (wring until almost dry)
- Final pass with vinegar-water spray on cloth for shine
Heating element caution: Use a dry brush only for debris. For stubborn spots, dampen cloth corner with distilled water, wipe along coil direction (never across), and leave door open 1 hour to dry.
Eliminate Foggy Glass and Sticky Door Seals
Vinegar is your secret weapon for streak-free doors. Never spray directly—liquid seeps into electronics. Instead:
- Spray 50/50 vinegar-water mix onto microfiber cloth
- Wipe interior glass in clockwise circles (outside-in)
- For baked-on splatter: Press vinegar-soaked paper towel against spot for 5 minutes first
- Clean door seals with toothbrush dipped in soapy water—grease here causes smoke
Exterior control panels: Spray cloth (not unit!), wipe gently, then dry immediately. Use dry toothbrush on air vents—clogged vents reduce cooking efficiency by 30%.
Monthly Deep Clean Checklist You Must Do
Set phone reminders for the first Sunday monthly. This 20-minute ritual prevents disasters:
- Remove all accessories—inspect for warping or cracks
- Scrub crumb tray with baking soda paste (prevents smoke)
- Run deodorizing cycle: 1 cup water + 2 lemon slices at 400°F for 15 minutes
- Check door alignment—gaps cause uneven cooking
- Vacuum behind unit—dust buildup affects performance
Fix These 3 Common Cleaning Disasters
White Cloudy Film on Interior
Cause: Hard water minerals or soap residue
Fix: Wipe with pure vinegar, rinse with distilled water cloth
Prevention: Use filtered water for all cleaning
Black Grease on Heating Elements
Myth: “It won’t come off without chemicals”
Truth: Gently brush with dry bottle brush—never liquid! Persistent buildup means you’re skipping crumb tray cleaning
Warped Sheet Pan
Cause: Dishwasher heat or stacking wet parts
Prevention: Air-dry vertically, never stack damp accessories
Model-Specific Cleaning Hacks

Ninja Foodi SP101 (Flip-Up Models)
Clean the hinge mechanism monthly with dry brush. Grease here prevents smooth flipping. After cleaning, test storage position—warped accessories throw off alignment.
Ninja XL Pro DT201/251
Divide cavity into four quadrants when cleaning. This larger model has dual heating zones—check both upper and lower elements for debris. Soak accessories 5 minutes longer due to increased surface area.
Warranty-Killing Mistakes to Avoid
Ninja’s 1-year warranty covers defects, not cleaning damage. These actions void coverage instantly:
- Using oven cleaner (even on removable parts)
- Submerging main unit in any liquid
- Scraping with metal tools (causes permanent scratches)
- Ignoring crumb tray (leads to fire hazards)
Document your cleanings with quick phone photos—Ninja may request proof of proper maintenance for warranty claims.
When to Call Ninja Professionals
Contact support at 1-877-646-5288 immediately if you see:
– Smoke after thorough cleaning (indicates hidden electrical grease)
– Flickering control panel (water damage risk)
– Door gaps larger than credit card thickness
– Persistent fish odor after lemon deodorizing
Their technicians know model-specific quirks—like how the Foodi SP101’s flip mechanism requires special alignment checks.
Your Ninja Cleaning Schedule Made Simple
After every use (2 minutes):
✓ Empty crumb tray
✓ Quick interior wipe with damp cloth
✓ Check door seal for debris
Weekly (7 minutes):
✓ Hand-wash all accessories
✓ Clean door glass inside/out
✓ Vacuum air vents
Monthly (20 minutes):
✓ Full interior baking soda treatment
✓ Deodorizing lemon cycle
✓ Inspect all parts for damage
A meticulously cleaned Ninja air fryer oven delivers restaurant-quality results meal after meal. Spend 5 minutes daily following these steps, and you’ll avoid the dreaded 2-hour scrub session while extending your appliance’s life by years. Your next batch of fries will emerge perfectly crisp—not greasy and smoky—because clean equipment equals better-tasting food. Start today: empty that crumb tray now before residue hardens, and taste the difference at dinner.


