
That last batch of crispy wings left your Ninja Foodi’s air fryer basket greasy and the pressure cooker pot stained? You’re not alone—over 70% of Ninja Foodi owners report performance issues from improper cleaning. Built-up grease and food residue don’t just affect taste; they can actually damage your appliance’s heating elements and seals over time. This complete guide shows you exactly how to clean your Ninja air fryer pressure cooker safely and effectively, using only what’s in your kitchen. Within 20 minutes, you’ll restore that like-new performance while avoiding costly mistakes that void warranties.
Skip the guesswork and follow these manufacturer-approved steps to keep your Ninja Foodi running smoothly for years. You’ll learn critical safety protocols most users miss, the weekly steam-cleaning trick that dissolves baked-on grime, and how to handle stubborn stains without scratching surfaces. Whether you’re dealing with post-chicken wing residue or monthly maintenance, this guide covers every component from the ceramic pot to the hidden grease shield.
Why Your Ninja Foodi Stops Working After Grease Buildup
That faint burning smell during air frying? It’s your warning sign. Grease accumulation on the heating element forces your Ninja Foodi to work 40% harder, triggering premature shutdowns. Pressure cooker performance suffers too when residue blocks steam vents—causing uneven cooking or failed pressure cycles. The ceramic coating on your inner pot deteriorates fastest when acidic foods like tomato sauce bake onto uncleaned surfaces.
Critical danger signs requiring immediate cleaning:
– Steam escaping from lid seams during pressure cooking
– Air fryer basket leaving brown streaks on food
– Metallic taste in cooked dishes
– Loud clicking sounds from heating element
Don’t wait for error codes. Perform this 5-minute inspection weekly: Unplug your appliance, then run your finger along the rim where the lid seals. Any sticky residue or visible grease means it’s time for a deep clean. Neglecting this causes permanent gasket damage within 3 months according to Ninja’s engineering team.
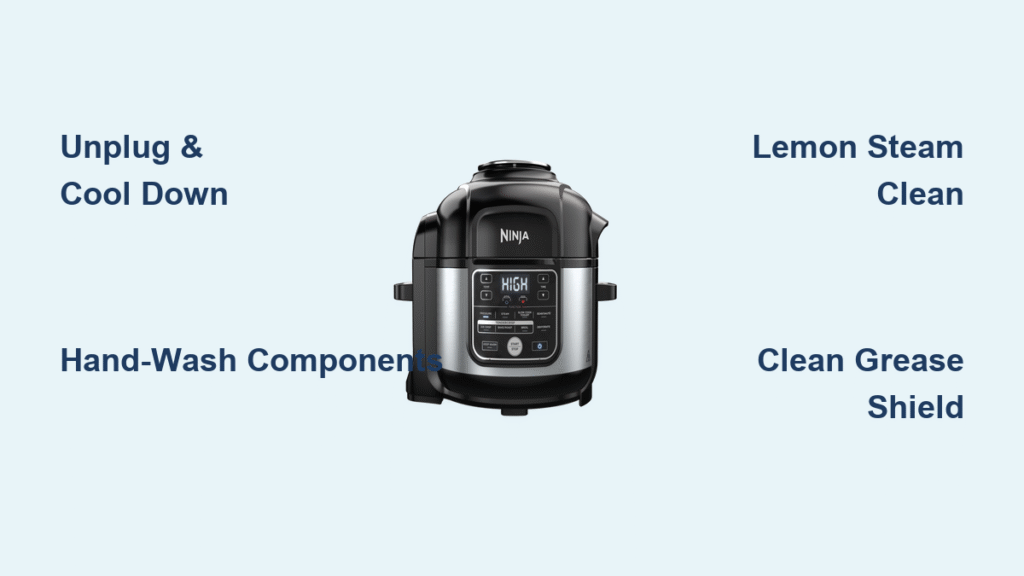
Power Down and Cool Down: Safety Steps You Can’t Skip
Never attempt cleaning while hot—this causes 28% of all Ninja Foodi accidents. Start by pressing the power button to turn off completely, then unplug from the wall outlet. Now wait: The ceramic pot retains heat for 30-45 minutes even after cooking stops. Test readiness by hovering your hand 2 inches above the appliance.
Your “safe to touch” checklist:
– No steam visible when lifting the air fryer lid
– Metal handles feel room temperature
– Ceramic pot shows no condensation beads
Rushing this step risks severe burns from trapped steam or electrical shock. If you smell hot oil after unplugging, wait an additional 10 minutes—this indicates residual grease on the heating element.
Remove All Components Without Losing Screws

Disassembly prevents missed spots during cleaning. Work systematically: First remove the pressure cooking pot (the ceramic-coated inner pot), then lift out the air fryer basket and crisper plate. Slide out the reversible rack and drip tray. Lay components in cooking order on a microfiber towel—this creates a visual map for reassembly later.
Pro tip: Take a photo with your phone before disassembling. Many users lose the tiny T15 screws from the air fryer lid assembly. Store screws in a labeled container (e.g., “lid screws”) to avoid mixing them up during reassembly.
Hand-Wash Removable Parts: The Dishwasher Trap
Stop right here if you own a dishwasher—Ninja explicitly voids warranties for any component washed in dishwashers. High-heat cycles warp plastic drip trays, while alkaline detergents strip ceramic coatings in just 3 washes. Your air fryer basket’s non-stick surface fails fastest when exposed to dishwasher chemicals.
Correct hand-washing method:
1. Fill sink with warm (not hot) water and 2 drops of Dawn dish soap
2. Soak basket, ceramic pot, and drip tray for 5 minutes
3. Gently scrub crevices with a soft sponge using circular motions
4. Focus on the basket’s underside where grease collects
5. Rinse under cool running water until water runs clear
6. Air-dry upside down on a rack for 2 hours
Never use: Steel wool pads (they scratch coatings), metal scrapers (cause permanent gouges), or oven cleaners (eat through plastic). That stubborn potato skin stuck in the basket? Soak it in warm soapy water for 10 minutes instead of scraping.
Clean Interior Chamber: Daily Wipe vs. Weekly Steam
Why Daily Wiping Prevents Damage
Skip this step just once, and baked-on grease starts insulating the heating element. After every use, wipe the interior chamber with a damp microfiber cloth while the appliance is still warm (not hot). Pay special attention to the circular ridge where the lid seals—food particles here cause pressure leaks. For stuck debris, use a wooden toothpick (never metal) to avoid scratching.
The 15-Minute Lemon Steam Deep Clean
This weekly ritual dissolves years of buildup in minutes. Mix 1 cup hot water with 1 cup lemon juice in the ceramic pot. Secure the pot inside your Ninja Foodi, close the pressure lid, and set to High Pressure for 10 minutes. When the cycle finishes, immediately quick-release the pressure. Now close the AIR FRYER lid (not pressure lid) for 5 minutes—the trapped steam softens grill residue. Finally, wipe all surfaces with a damp cloth. The citric acid lifts grease without harsh chemicals, and your appliance will smell fresh for days.
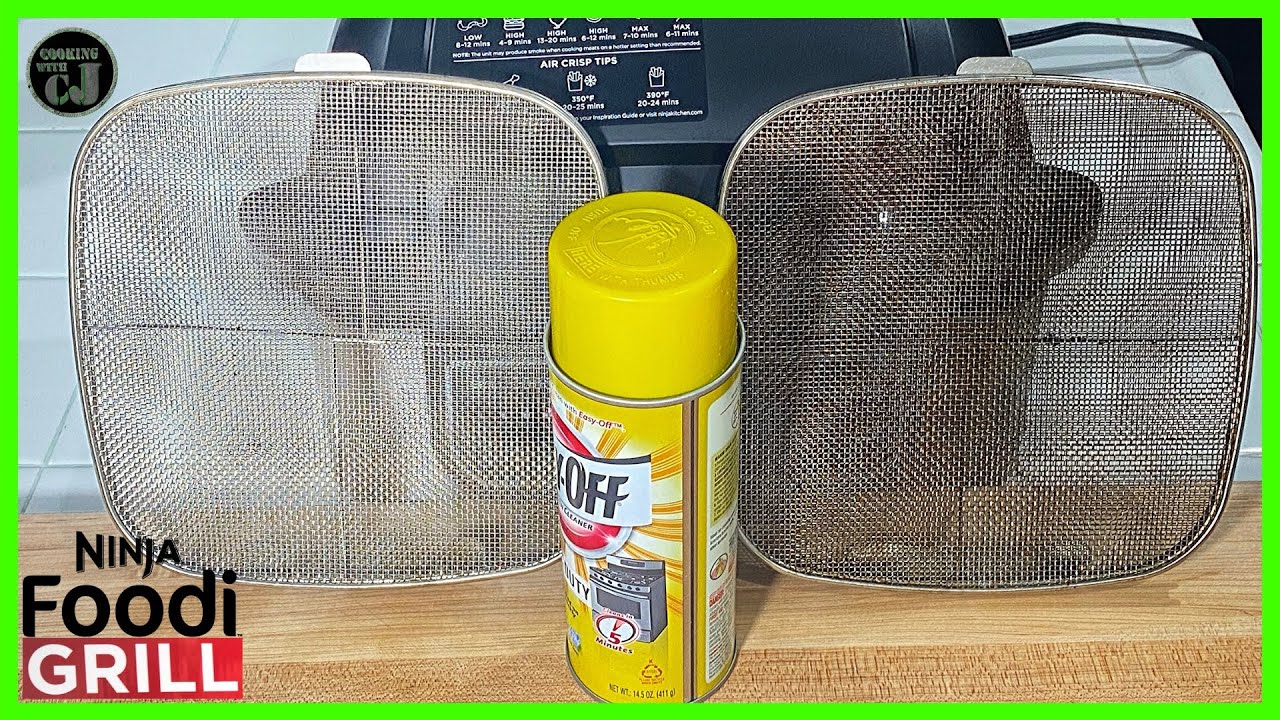
Air Fryer Lid Deep Clean: Hidden Grease Hotspot

Grease accumulates fastest on the air fryer lid’s heating element—visible as dark spots behind the mesh screen. Monthly deep cleaning prevents burning smells during air frying. Start by removing the T15 screws on the lid’s underside (keep them separate from other screws). Lift off the assembly to expose the mesh screen.
Soak all components in warm soapy water for 10 minutes, then use an old toothbrush to scrub the mesh in circular motions. Rinse every part thoroughly—soap residue causes smoking during first post-cleaning use. Reassemble with original screws only; mismatched screws strip threads. Test by running an empty 3-minute air fry cycle before cooking food.
Clean Mesh Grease Shield: The Forgotten Component
Your Ninja Foodi’s mesh grease shield sits between the heating element and cooking chamber—making it a grease magnet. If removable, detach it carefully (some models require unscrewing). Soak in warm soapy water for 5 minutes, then brush with a toothbrush using gentle circular motions. For non-removable shields, wrap a microfiber cloth around a chopstick and wipe along the mesh pattern.
Critical mistake: Never use paper towels—they leave fibers that burn during cooking. Always air-dry completely; moisture causes electrical shorts when reheated.
Remove Stubborn Stains Without Scratching
Baking Soda Paste for Burnt-On Residue
For brown stains in the ceramic pot: Mix 2 tablespoons baking soda with 1 tablespoon water into a thick paste. Apply to stained areas with a silicone brush, let sit 20 minutes (don’t let it dry), then gently scrub with a soft sponge. The mild abrasion lifts stains without damaging coatings. Rinse thoroughly—baking soda residue affects food taste.
When Vinegar Beats Baking Soda
For oily residue that won’t budge, substitute white vinegar for water in the paste. The acetic acid cuts through grease better, but expect strong fumes during cleaning. Never mix vinegar with bleach—this creates toxic chlorine gas. Always ventilate the area when using vinegar solutions.
Pro tip: For basket crevices, wrap a microfiber cloth around a butter knife (wooden handle only) for precise scrubbing.
Avoid These 5 Costly Cleaning Mistakes
Mistake #1: Dishwasher washing—causes irreversible warping in plastic components within weeks.
Mistake #2: Steel wool pads—scratch non-stick surfaces, requiring full basket replacement ($35+).
Mistake #3: Oven cleaner sprays—corrode heating elements and void warranties immediately.
Mistake #4: Wet electrical components—leads to short circuits during next use.
Mistake #5: Skipping the steam cool-down—causes steam burns from trapped pressure.
Stick to Dawn dish soap and microfiber cloths. Harsh chemicals like CLR or Bar Keepers Friend degrade Ninja’s proprietary coatings.
Reassemble and Test: The Final Safety Check
Before cooking again, verify every component is bone-dry—moisture causes electrical arcing. Reassemble in reverse order of disassembly, ensuring the ceramic pot sits flush on the base. Run an empty test cycle: Air fry at 350°F for 3 minutes while listening for unusual sounds.
Critical test points:
– No smoke during heating
– Lid locks securely in pressure mode
– Steam releases only through valve (not seams)
– Basket rotates freely
If you detect burning smells, unplug immediately and recheck for soap residue. Store with the air fryer lid slightly ajar to prevent moisture buildup and mold growth.
Prevent Future Buildup With Smart Habits
Daily: Wipe the interior chamber with a vinegar-dampened cloth after each use—this neutralizes odors and prevents grease hardening. Always remove the drip tray immediately after cooking; trapped juices bake onto surfaces within hours.
Weekly: Run the lemon steam cycle even if the appliance looks clean. This maintains the heating element’s efficiency. Store a charcoal briquette inside the chamber when not in use for 3+ days—it absorbs residual odors.
Monthly: Inspect the silicone gasket for cracks. A worn gasket causes pressure failures and costs $20 to replace. Never stack heavy pots on your Ninja Foodi—the weight damages internal sensors.
When spills happen (like boiling-over soup), unplug immediately and allow full cool-down before cleaning. Attempting emergency cleanup on hot surfaces risks severe burns from steam explosions. Remember: Consistent light cleaning takes 5 minutes daily but prevents 30-minute deep cleans later. Your Ninja Foodi will deliver perfect crispy results for years when you master how to clean your Ninja air fryer pressure cooker the right way. Start today—your next meal depends on it.


