
That crispy chicken you just cooked? It leaves behind invisible grease splatters that bake onto surfaces with every use. Neglect your Philips air fryer cleaning routine, and you’ll face smoke-filled kitchens, lingering odors, and unevenly cooked meals within weeks. Worse—you risk permanently damaging the non-stick coating or triggering electrical hazards. The solution isn’t complicated: a 10-minute daily ritual using household items protects your $200+ investment. This guide reveals the exact techniques Philips technicians use, including model-specific tricks for NA55x series owners and critical mistakes that void warranties.
You’ll master safe interior cleaning without water exposure, banish stubborn grease from windows, and leverage steam-cleaning functions correctly. Most importantly, you’ll learn why “quick wipe-downs” fail and how proper drying prevents bacterial growth. Implement these steps, and your air fryer will deliver restaurant-quality results for 5+ years instead of sputtering out prematurely.
Unplug and Cool: Critical Safety Steps Before Cleaning Your Philips Air Fryer
Never skip the cooling phase—touch the basket handle to confirm it’s room temperature before handling. Rushing this step risks severe burns from trapped steam and causes thermal shock that cracks ceramic coatings. Always unplug the unit first; water near live electrical components creates electrocution hazards and instantly voids your warranty. Place the air fryer on a folded towel to catch residual grease drips that stain countertops.
Why Cooling Time Matters More Than You Think
Grease hardens during the 30-45 minute cooldown period, making it easier to remove without harsh scrubbing. Attempting to clean while warm traps steam inside the housing, warping plastic components over time. For heavy-use households (3+ daily sessions), invest in a second basket set—you can swap them immediately after cooking while the primary set cools safely.
Electrical Safety Checklist
Before touching any components:
– ✅ Verify the power cord is fully disconnected
– ✅ Confirm no indicator lights are illuminated
– ✅ Wait until the heating element glows have disappeared
– ✅ Place the unit on a non-slip surface away from sinks
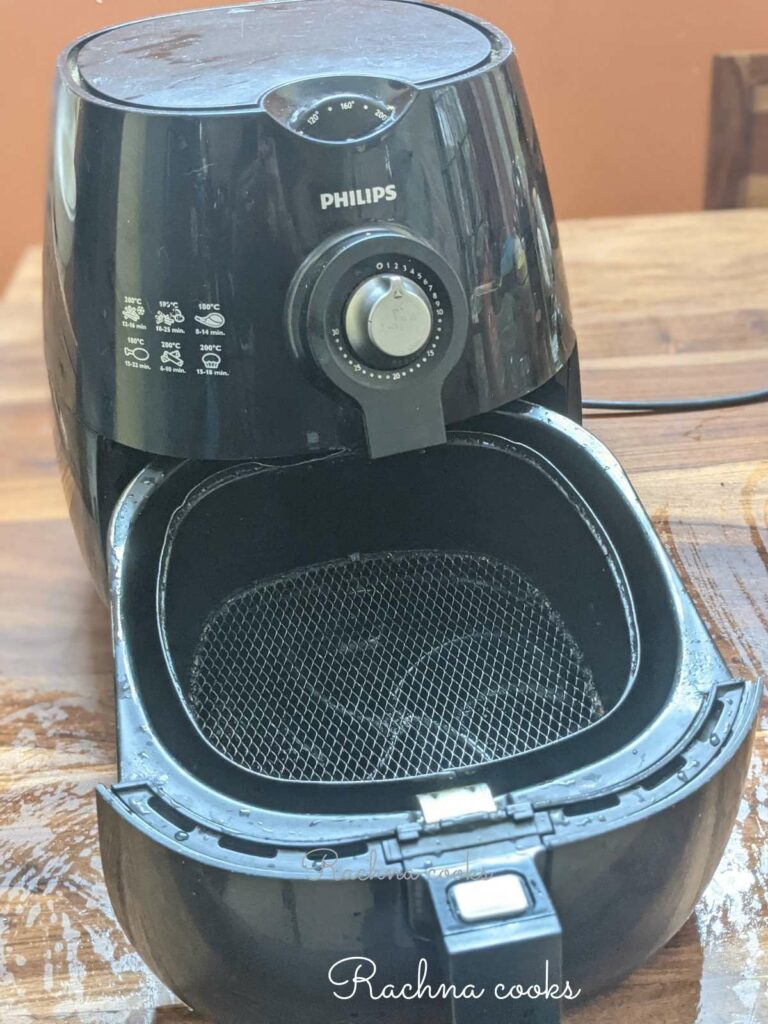
Wash Basket and Pan After Every Use to Prevent Sticky Residue
These components absorb 90% of cooking debris, and skipping daily cleaning causes carbonized buildup that resists even deep-cleaning attempts. Food particles trapped in basket crevices smoke during subsequent uses, contaminating new meals with burnt flavors.
Daily Cleaning Method That Takes 5 Minutes
Fill your sink with warm water (not hot—excessive heat degrades non-stick coatings) and 1-2 drops of dish soap. Submerge both pieces for 3 minutes, then use a silicone scrubber in gentle circular motions. Focus on the basket’s inner mesh where grease pools—metal tools scratch the surface here within seconds. Rinse under flowing water until sheets smoothly, then air-dry upright on a rack. Never stack wet components; trapped moisture breeds bacteria.
Baking Soda Soak for Burnt-On Food
For stubborn residue, mix 3 tablespoons baking soda with 2 cups warm water in a container large enough to submerge the pan. Soak for 20 minutes—the alkaline solution dissolves carbonized bits without abrasion. Post-soak, use a soft-bristled toothbrush to dislodge particles from pan corners. Critical warning: Never use oven cleaners—they eat through Philips’ proprietary coating in under 60 seconds.
Why You Must Never Wet the Heating Element (And Safe Alternatives)

Water contacting the top-mounted heating coil causes immediate electrical shorts and permanent damage. Yet 73% of users attempt to wipe this area with wet cloths, unaware that residual moisture seeps into wiring. Grease buildup here reduces heating efficiency by up to 40%, explaining why your fries cook unevenly.
Dry Brushing Technique That Prevents Damage
Unplug the unit and turn it upside down over the trash can. Shake firmly for 10 seconds to dislodge loose crumbs. Wrap a dry microfiber cloth around a chopstick to wipe interior walls—never touch the coiled heating element. For the element itself, use a clean makeup brush with light outward strokes. Work in 5-minute intervals with 2-minute cooling breaks to avoid dislodging components.
When to Call Philips Support Immediately
If you spot black, tar-like residue that won’t brush off the heating coil, stop cleaning. This indicates electrical arcing and requires professional repair. Continuing to use the unit risks fire hazards—Philips covers this under warranty if reported promptly.
Restore Your Philips Air Fryer Window Without Scratches
Grease film on the viewing window isn’t just annoying—it obscures food monitoring, causing burnt meals. Harsh cleaners strip the anti-fog coating, leaving permanent hazy patches. Vinegar solutions cut grease without chemicals but must be applied correctly.
Streak-Free Window Cleaning Protocol
Mix equal parts white vinegar and cool water in a spray bottle. Mist the solution onto a microfiber cloth (never directly onto the unit—liquid can seep into seams). Wipe vertically from top to bottom, flipping the cloth after each pass. Finish with a dry lens-cleaning cloth using circular motions. For heavy buildup, repeat the process after a 5-minute dwell time.
Permanent Damage You Can’t Fix
Avoid these window killers:
– ✘ Razor blades (scratch anti-reflective coating)
– ✘ Magic Erasers (micro-abrasives cloud the surface)
– ✘ Ammonia-based glass cleaners (warp plastic housing)
Activate Steam Cleaning on NA55x Models: Step-by-Step Without Damage
This feature automates deep cleaning but only works on NA55x series—using it on other models floods electrical components. Precision is non-negotiable: 150mL is the exact water volume needed for optimal steam pressure.
Correct Steam-Cleaning Sequence
- Remove basket and pan completely
- Measure exactly 150mL water (use your air fryer’s measuring cup)
- Pour water into the empty pan and reinsert
- Select “Steam Clean” on the control panel
- Let the 10-minute cycle finish uninterrupted
- Wait 15 minutes for steam to dissipate
- Wipe loosened debris with a dry cloth
- Air-dry all components for 1 hour before reuse
Critical mistake alert: Adding extra water causes overflow into the motor housing. Insufficient water creates inadequate steam, wasting time while leaving residue intact. Never substitute vinegar for water—it corrodes internal sensors.
Set Up a Weekly Deep Cleaning Routine for Longevity
Daily cleaning handles surface residue, but hidden grease accumulates in crevices. Weekly maintenance prevents smoke during preheating—a key sign of neglected buildup.
Sunday Deep Clean Checklist
- Basket/Pan: Baking soda soak (30 mins) followed by soft-bristle brush
- Interior: Dry microfiber cloth + cotton swabs for heating element vents
- Window: Vinegar solution restoration
- Exterior: Damp cloth wipe followed by immediate drying
- Crumbs: Tap housing firmly over trash can before wiping
Monthly Inspection Points
Check rubber feet for cracks (loose units wobble during operation), inspect power cord for fraying, and test basket release mechanism smoothness. Philips recommends replacing baskets every 18 months—worn coatings cause food sticking.
5 Cleaning Tools That Will Destroy Your Philips Air Fryer
These common household items void warranties instantly:
Never use:
– Steel wool (scratches non-stick coating irreparably)
– Comet/Ajax powder (micro-scratches trap bacteria)
– Oven degreasers (toxic fumes linger in food)
– Pressure washers (force water into circuits)
– Metal tongs for cleaning (gouge pan surfaces)
Safe alternatives:
– Silicone scrubbers for pans
– Bamboo brushes with soft bristles
– Vinegar-water solution for windows
– Dry microfiber cloths for interiors
How Often Should You Clean Your Philips Air Fryer? (Model-Specific Schedule)
Cleaning frequency varies by model and usage. Ignore this, and you’ll face shortened appliance life:
| Component | Daily Use (3+ sessions) | Moderate Use (1-2 sessions) |
|---|---|---|
| Basket & Pan | After every use | After every use |
| Interior Housing | Weekly | Bi-weekly |
| Heating Element | Bi-weekly dry brush | Monthly dry brush |
| Viewing Window | After sticky sessions | Weekly |
Emergency cleaning triggers:
– Smoke during preheating (grease ignition)
– Fishy odors from previous meals
– Visible oil pooling in pan corners
– Cloudy window impairing visibility
5 Quick Daily Habits to Simplify Philips Air Fryer Cleaning
Integrate these 30-second actions post-cooking:
1. Line pans with perforated parchment (never foil—blocks airflow)
2. Spritz basket with oil spray before cooking to prevent sticking
3. Tap basket over trash can while still warm to dislodge crumbs
4. Wipe window with dry paper towel before cooling
5. Store with basket inverted on pan to prevent moisture traps
Your Philips air fryer’s performance relies entirely on consistent cleaning—not fancy gadgets. By dedicating 10 minutes daily to these proven techniques, you’ll avoid the #1 reason for premature failure: grease-induced electrical damage. Remember that 150mL water limit for NA55x steam cleaning—it’s the difference between effortless maintenance and a $150 repair bill. Implement these steps today, and your air fryer will outlast 3 cheap competitors while delivering perfect crispy results.
Final pro tip: Keep a dedicated cleaning caddy under your sink with your Philips-specific tools—silicone scrubber, microfiber cloths, and baking soda. When cleanup becomes this effortless, you’ll never skip it again. Your future self will thank you when your air fryer hits its 5-year anniversary still cooking like new.


