
That golden, crispy blooming onion from your favorite steakhouse can now sizzle in your air fryer with 90% less oil—and no lingering kitchen odors. Skip the restaurant markup and messy deep-fryer setup. This guide reveals exactly how to cook a blooming onion in an air fryer to achieve crackling petals, restaurant-style seasoning, and that addictive crunch everyone craves. You’ll master the cutting technique, coating secrets, and temperature tricks that transform a humble onion into a showstopper appetizer in under 30 minutes.
Select the Right Onion for Guaranteed Success
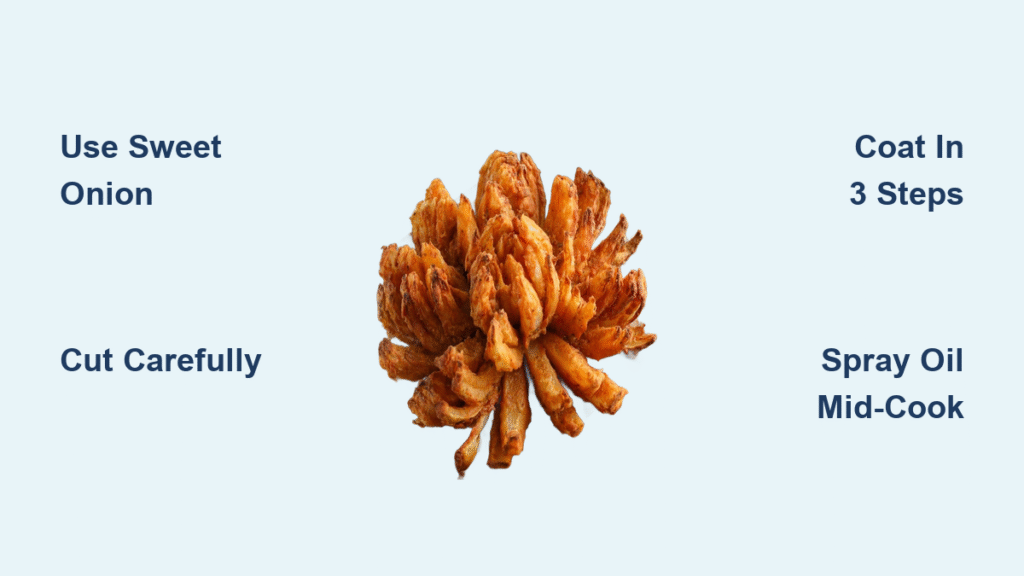
Vidalia or sweet onions are non-negotiable for authentic results—their mild sweetness prevents overpowering sharpness when air-fried. Avoid yellow or white onions; their pungency intensifies during cooking, ruining the delicate balance. Size matters critically: grab onions over 1 pound (450g) with firm, unblemished skin. The root end must stay intact—it’s your structural anchor holding petals together. If the root is cut through during prep, your bloom collapses mid-cook. Pro tip: Press the root end firmly; it should feel solid, not mushy.
Cut Petals That Hold Their Shape
Never skip the 5-minute relaxation step—this lets cut fibers loosen so petals open naturally. Start by trimming only ½ inch off the stem end to create a flat base. Keep the root intact—trim minimally just to stabilize it. Flip the onion stem-down and make 4 deep vertical cuts at 12, 3, 6, and 9 o’clock positions, stopping ½ inch from the root. Add 3 cuts between each primary section for 16 total petals. Knife tips must meet precisely at the center for uniform thickness. After cutting, flip upright and wait 5 minutes before gently separating petals with your fingers.
Critical mistake to avoid: Using a dull knife. Ragged cuts prevent even crisping. A sharp 8-inch chef’s knife with a pointed tip ensures clean slices that splay open perfectly.
Master the Three-Bowl Coating System

Undercoat = soggy petals. Overcoat = clumpy disaster. Follow this sequence exactly:
Bowl 1 (Dry Base):
– 2 cups all-purpose flour
– 1 tbsp paprika + 1 tsp garlic powder
– ½ tsp cayenne (adjust for heat)
– Salt, pepper, and dried herbs
Bowl 2 (Wet Wash):
– 2 beaten eggs + ½ cup milk
– Optional: ¼ cup beer for lighter texture
Bowl 3 (Final Coat):
– Reserved seasoned flour from Bowl 1
Coating process:
1. Generously dust Bowl 1 flour between every petal—this is messy but essential.
2. Submerge in Bowl 2 egg wash, lifting and turning to coat deep inside.
3. Roll in Bowl 3 flour, pressing gently to adhere. Shake off excess.
Pro tip: Chill the coated onion 10 minutes before air-frying. This sets the coating and prevents sloughing off mid-cook.
Pre-Air Fryer Setup for Flawless Results
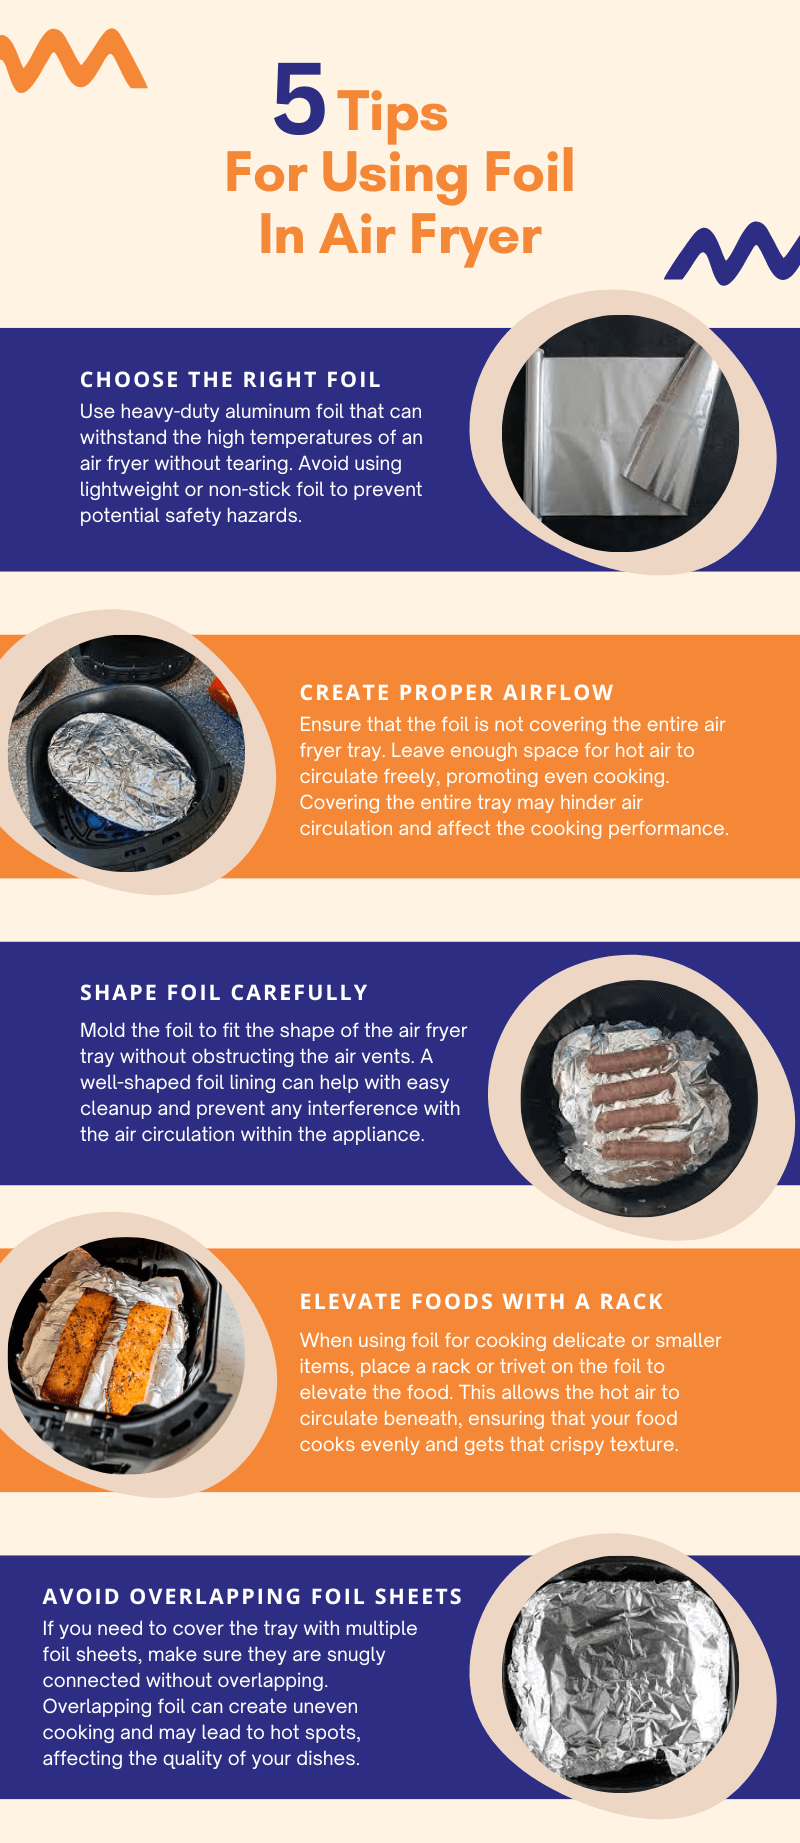
Preheat to 350°F (175°C) for 5 minutes—this ensures immediate crisping. Line your air fryer basket with a foil sling (fold an 18-inch strip to 3 inches wide) for safe flipping. Spray the coated onion generously with neutral oil (avocado or canola) using a manual pump sprayer. Aerosol cans contain additives that degrade non-stick coatings. Hit every visible flour spot—missed areas stay pale and powdery.
Key visual cue: The onion should glisten with oil but not drip. If coating looks thick, brush off excess flour before spraying.
Air Fry Temperature Guide: Crisp Without Burning
| Temperature | Time | Critical Mid-Cook Actions |
|---|---|---|
| 350°F (175°C) | 20-25 min | Spray oil deep between petals every 8 min. Flip using foil sling at 12 min. |
| 300°F (150°C) | 22 min | Spray less frequently. Gentler browning for delicate coatings. |
| 390°F (195°C) | 15 min (check at 10) | High burn risk—spray every 5 min. Only for experienced users. |
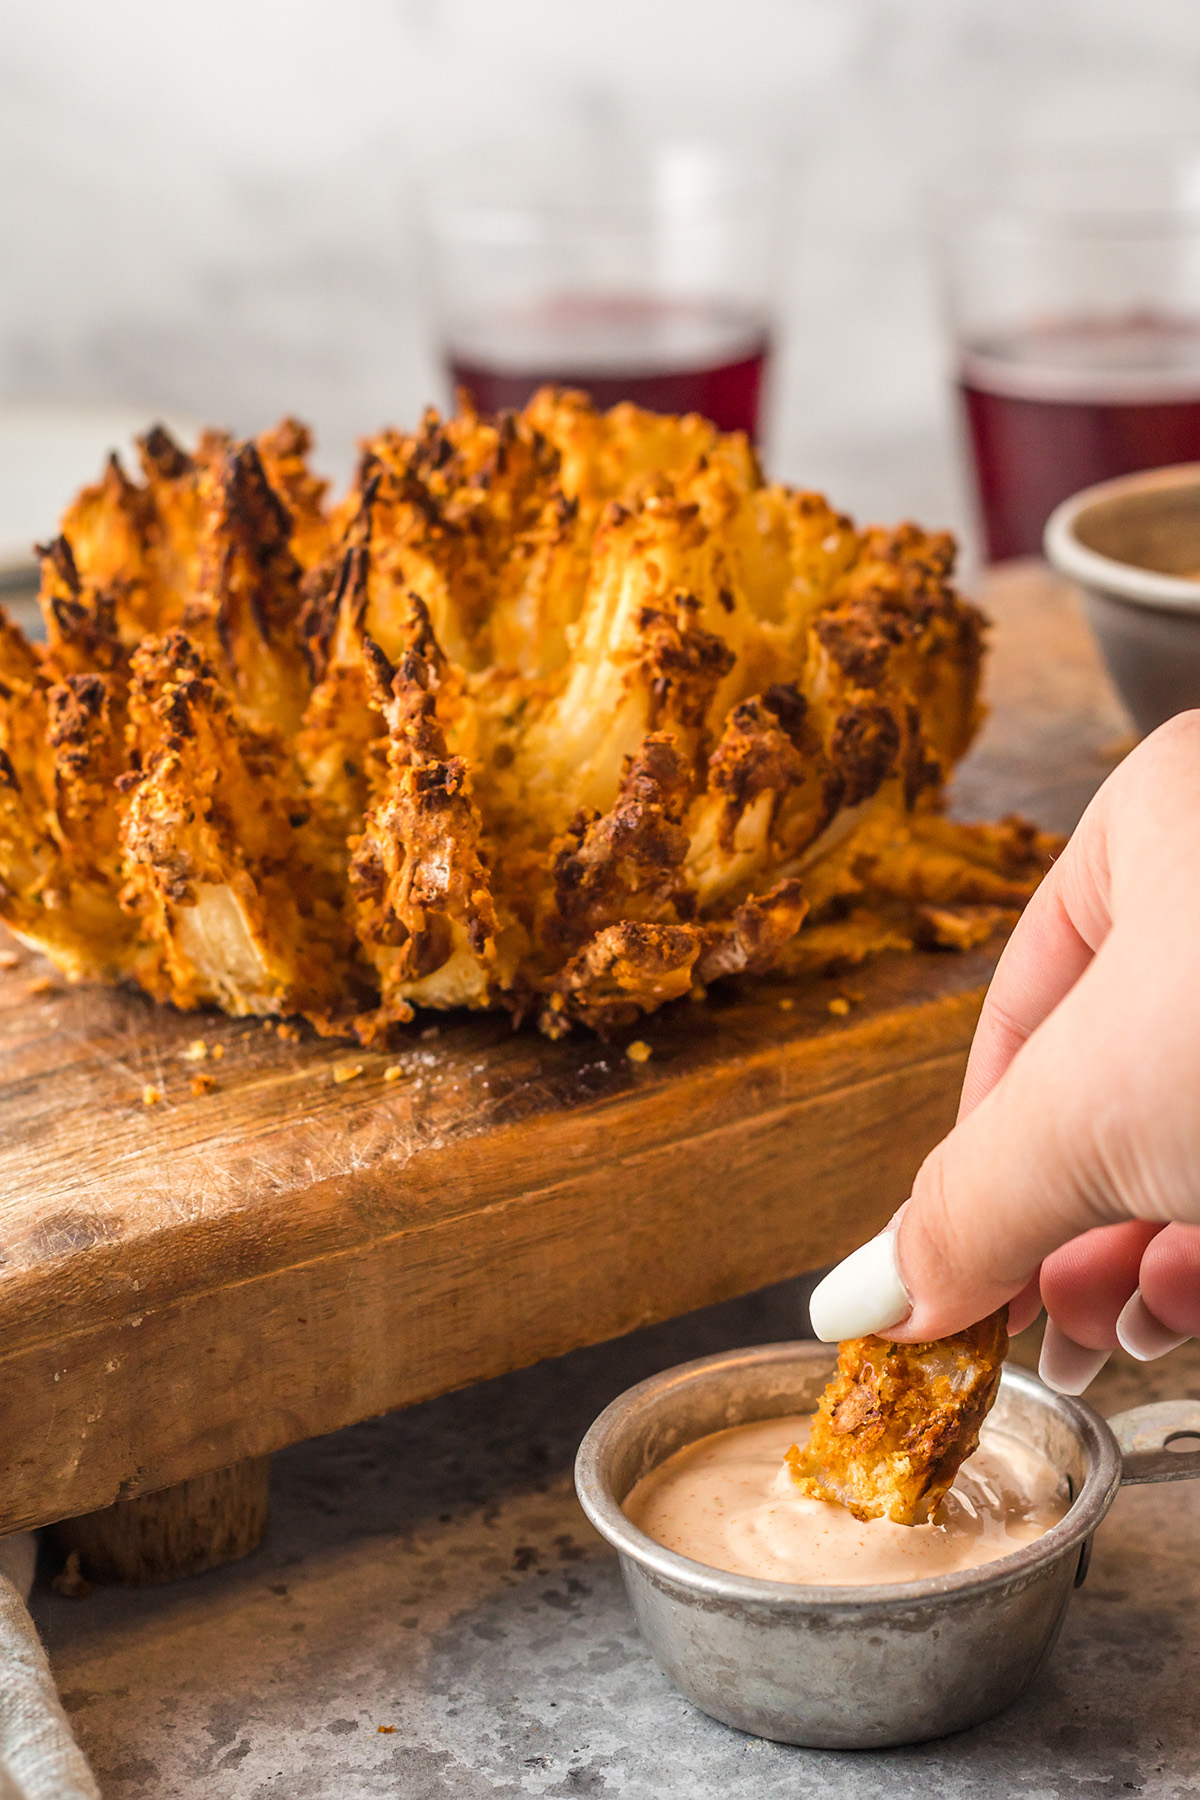
Flip technique: Slide the foil sling under the onion, lift, rotate 180°, and reposition. Never use tongs—they tear petals. Doneness cue: Petals are deep golden brown (not yellow) and pull away crisply from the core.
Fix Common Cooking Problems Instantly
Coating falls off mid-cook? Your onion was too wet before flouring. Next time, pat cut petals dry with paper towels and press flour firmly into crevices.
Gummy centers after cooking? Oil didn’t penetrate deep enough. At the 10-minute mark, use a fork to pry open petals and spray oil directly into the core.
Uneven browning? Rotate the basket 180° when flipping. If your model has hot spots, place the onion off-center.
Petals breaking off? You cut too close to the root. Maintain a ½-inch buffer zone around the root base next time.
Dipping Sauces Ready in 2 Minutes
Classic Steakhouse: Mix ½ cup mayo + 2 tbsp ketchup + 1 tsp Worcestershire + ½ tsp paprika.
Creamy Horseradish: Blend ¼ cup mayo + ¼ cup sour cream + 1 tbsp horseradish + lemon juice.
Vegan Option: Vegan mayo + ketchup + smoked paprika + pickle juice splash.
Pro tip: Double sauce batches—they disappear faster than the onion!
Gluten-Free Adaptation That Actually Crisps
Swap all-purpose flour for Better Batter GF blend—it mimics wheat flour’s binding power. For crunch, press gluten-free panko onto the egg-washed onion before the final flour coat. Soak the bloomed onion in 1 cup buttermilk for 1 hour first; this tenderizes the onion and improves GF adhesion. Avoid rice flour—it turns gummy.
Serving & Storage: Keep It Crisp
Serve within 10 minutes—crispness peaks immediately after cooking. One large bloom feeds 6-10 people as an appetizer. For leftovers, store in an airtight container up to 5 days. Never microwave—it creates rubbery petals. Instead, air-fry at 350°F for 3 minutes to restore crunch.
Mini Blooms & Flavor Boosts
Make individual servings with 2-3 inch sweet onions—reduce cook time to 12-15 minutes at 350°F. For extra kick, add 1 tsp Cajun seasoning to your flour mix. Beer batter secret: Replace half the milk in Bowl 2 with lager—it creates airier, crispier petals.
Essential Equipment Checklist
- 1 large Vidalia onion (>1 lb)
- Sharp 8-inch chef’s knife
- 3 mixing bowls (medium size)
- Manual oil sprayer (no aerosols)
- Aluminum foil (for sling)
- Air fryer (3.5-5.8 qt capacity)
Final touch: Your air-fried blooming onion will rival any restaurant version—crispy, golden, and ready in half the time. Master how to cook a blooming onion in an air fryer once, and you’ll never pay $12 for this appetizer again. The secret? Perfect cuts, disciplined coating, and strategic oil spraying. Now go make that bloom!


