
Tired of stovetop splatters and unevenly cooked bacon? Your Cuisinart Air Fryer Oven holds the secret to achieving restaurant-quality bacon with minimal mess and maximum crispiness. This countertop powerhouse uses precision heat circulation to transform raw strips into perfectly rendered, golden-brown perfection—without the greasy aftermath of traditional frying. Whether you’re meal prepping for the week or cooking a single breakfast, mastering how to cook bacon in Cuisinart Air Fryer Oven delivers consistent results that make your morning routine something to savor rather than dread.
The beauty of this method lies in its simplicity and control. Unlike unpredictable stovetop cooking where bacon sticks or burns, your Cuisinart oven provides even heat distribution while containing all the splatter. You’ll never have to dodge hot grease again or wonder if your bacon is done—just set the temperature, walk away, and come back to beautifully crisp strips every single time. Let’s dive into the exact techniques that will transform your bacon game permanently.
Prep Bacon for Air Frying Success
Select Even Thickness Strips
Choose bacon with consistent thickness—regular cut at 1/16 inch or thick-cut at 1/8 inch—so every piece finishes cooking simultaneously. Inconsistent strips mean some pieces will be rubbery while others burn to a crisp. Check packaging for uniform marbling and avoid pre-cooked varieties that won’t achieve proper crispiness in the air fryer environment. Pro tip: Specialty butcher shops often provide more consistent thickness than supermarket brands.
Room Temperature Trick
Remove bacon from refrigeration 10-15 minutes before cooking to reduce curling dramatically. Cold bacon contracts unevenly when exposed to high heat, creating twisted strips that cook inconsistently. This simple step promotes even heat penetration from edge to edge while preventing the bacon from seizing up during cooking. You’ll notice significantly flatter, more uniform strips that cook to perfection.
Dry Surface Method
Pat each bacon strip thoroughly with paper towels to eliminate surface moisture before loading into your Cuisinart oven. Moisture creates steam that prevents proper browning and delays the Maillard reaction—the chemical process responsible for bacon’s signature golden crust. This extra step accelerates crisping time while reducing internal splatter that can cause smoking. Warning: Skipping this step often results in chewy, unevenly cooked bacon that never achieves true crispiness.
Set Up Your Cuisinart Oven for Perfect Results

Optimal Rack Positioning
Place cooking racks in the middle or lower-middle position to maximize heat circulation while preventing scorching from the top heating element. The powerful fan needs adequate space above and below the bacon to distribute hot air evenly around each strip. Upper rack positions expose bacon to excessive direct heat that causes uneven cooking and potential burning.
Drip Tray Placement
Position the drip tray on the lowest rack level before preheating—this catches rendered fat as it melts, preventing smoking and simplifying cleanup. A properly placed drip tray eliminates the risk of grease dripping onto heating elements below, which causes unpleasant smoke and potential fire hazards. Pro tip: Line the drip tray with aluminum foil for effortless cleanup—just discard the foil after cooking.
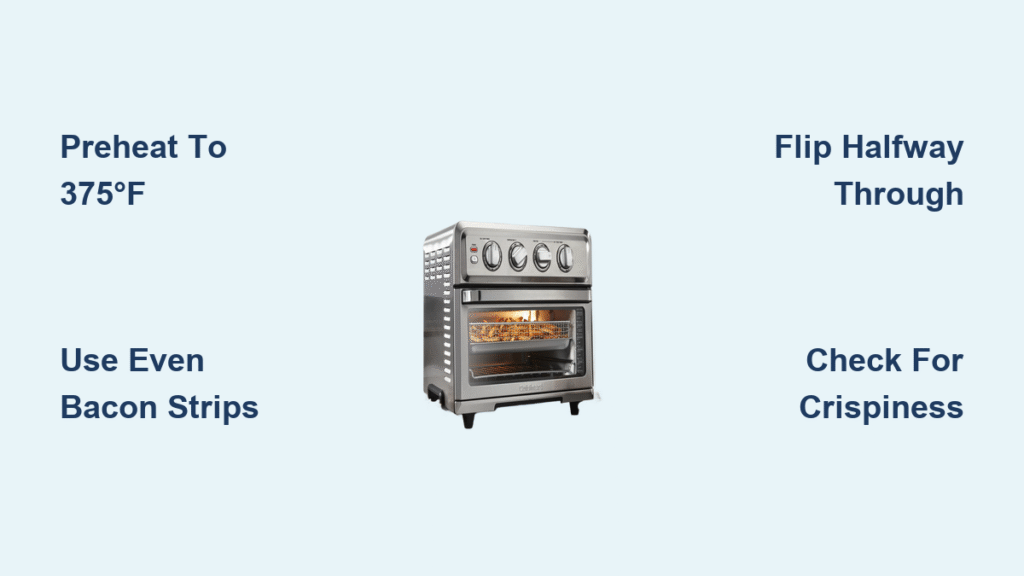
Preheat Protocol
Preheat your Cuisinart Air Fryer Oven to 375°F for 3-5 minutes before adding bacon. This stabilizes the cooking temperature and ensures immediate crisping when bacon enters the chamber. Skipping preheat leads to extended cooking times and uneven results as your oven struggles to reach temperature with cold food inside. You’ll notice significantly better browning and texture when starting with a properly preheated unit.
Master Cooking Times and Temperatures Like a Pro
Regular Cut Bacon Formula
Cook at 375°F for 8-12 minutes, flipping once at the 4-6 minute mark. Regular-cut bacon transforms from raw to perfectly crisp within this window. Watch for the meat to turn deep red-brown and the fat to become translucent golden. For chewier results, remove at 8 minutes; for shatter-crisp texture, push toward 12 minutes while monitoring closely during the final minutes.
Thick-Cut Bacon Method
Increase cooking time to 12-16 minutes at 375°F for thick-cut varieties. Thick bacon needs extra time for the center to cook through while allowing the exterior to achieve proper crispness. Flip at the halfway point to ensure both sides render evenly. Time-saver: Set your timer for 10 minutes initially, then check every 2 minutes until reaching your preferred doneness.
Batch Cooking Strategy
Never overcrowd the racks—cook in single layers only with space between strips. For larger quantities, prepare multiple batches and allow 1-2 minutes between batches for the oven to return to temperature. Use the upper rack position for subsequent batches to maintain consistent timing. Warning: Overcrowding traps steam between strips, resulting in soggy, unevenly cooked bacon that never achieves proper crispness.
Achieve Your Perfect Crispiness Level Every Time

Soft and Chewy Results
Set temperature to 325°F and cook 10-12 minutes for regular cut or 13-15 minutes for thick-cut bacon. This lower temperature renders less fat while keeping the bacon tender and pliable—ideal for sandwiches or breakfast platters where you want some chew. The slower cooking process develops richer flavor while maintaining moisture.
Medium Crisp Balance
375°F delivers the sweet spot between tender and crisp—8-10 minutes for regular bacon or 11-13 minutes for thick slices. The meat develops slight chew while the fat achieves satisfying crunch. This texture pleases most bacon lovers and works perfectly for salads, breakfast plates, or standalone enjoyment.
Extra Crispy Bacon
Crank the temperature to 400°F for 6-8 minutes (regular) or 9-11 minutes (thick). This high-heat method creates shatter-crisp bacon that snaps when bent—perfect for crumbling over salads or soups. Pro tip: Monitor closely during the final 2 minutes as bacon can transition from perfect to burnt in seconds at this temperature.
Read Visual Doneness Cues Like an Expert
Color Indicators
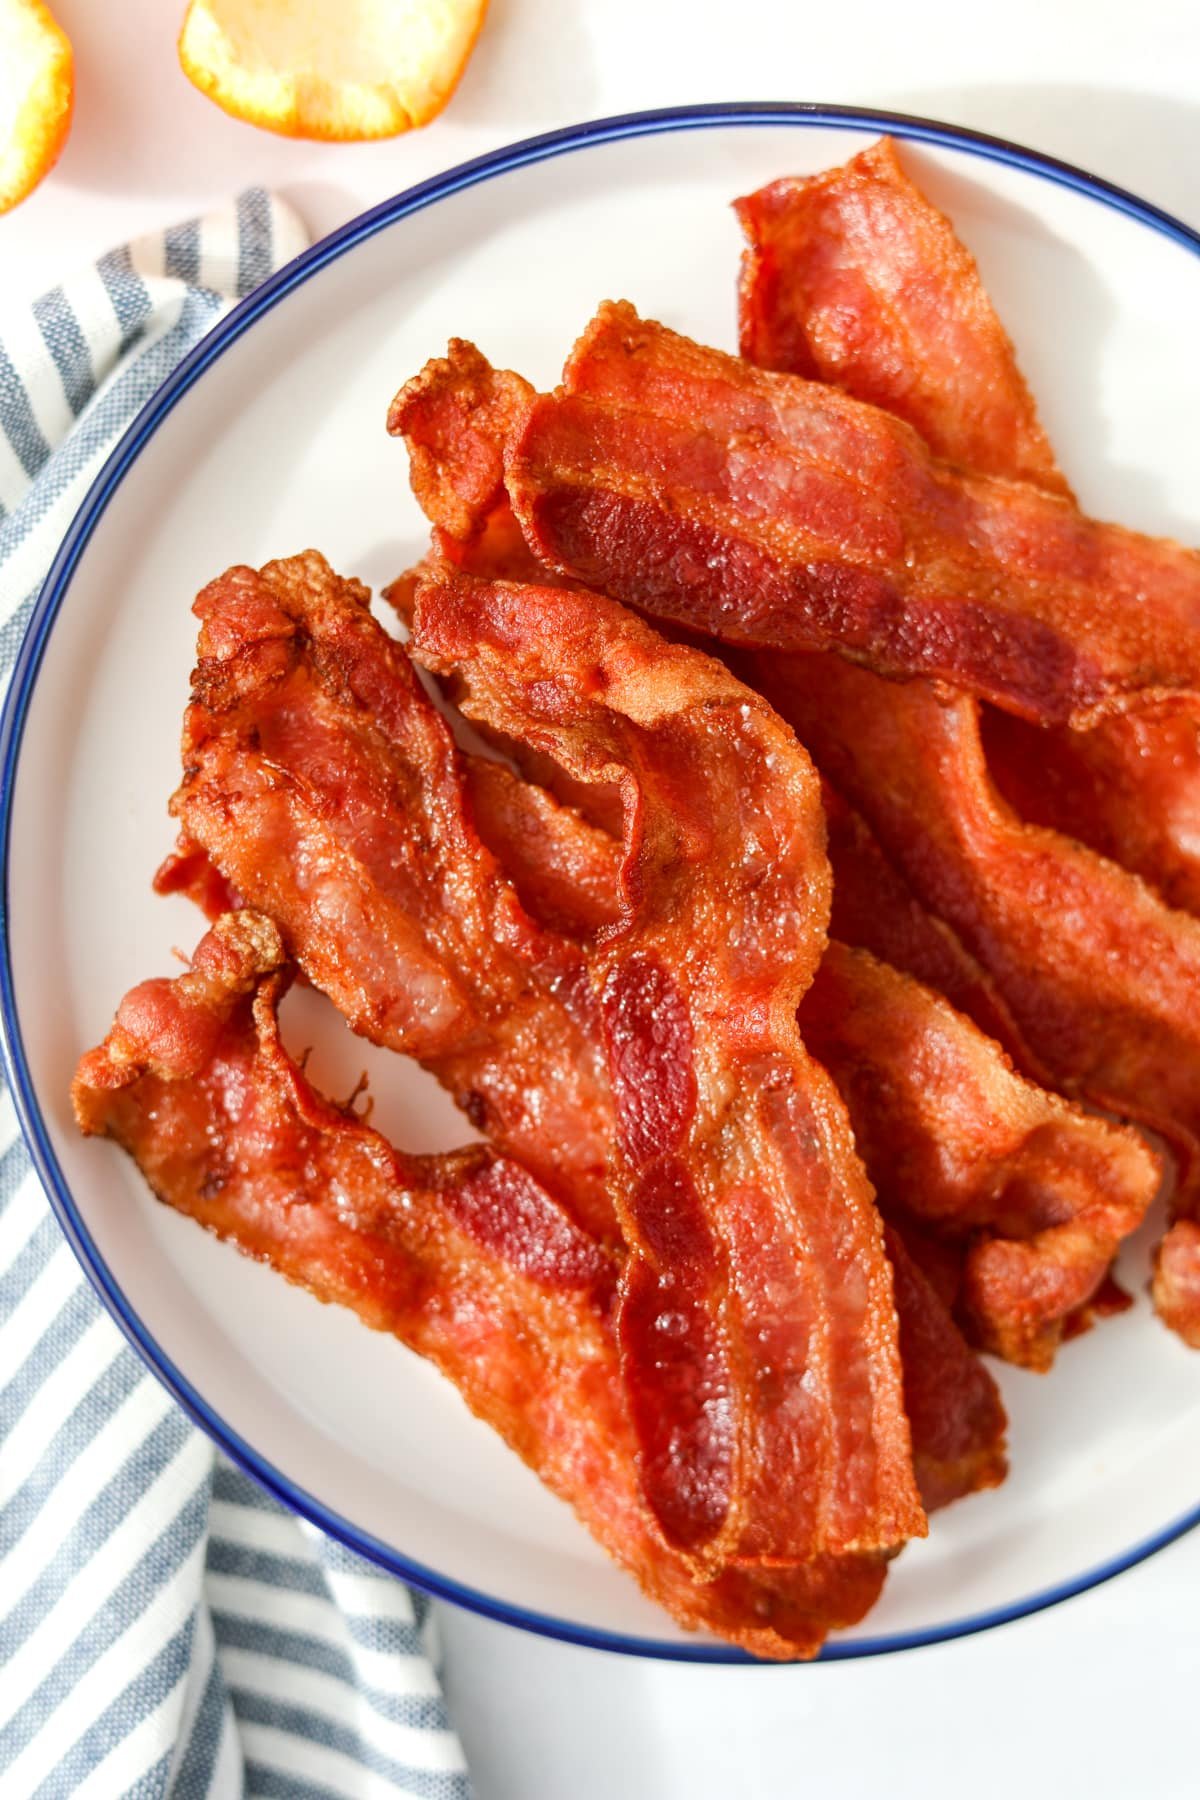
Bacon reaches optimal doneness when the meat portions turn deep mahogany and the fat becomes transparent golden. These colors signal complete fat rendering and proper caramelization. Pale or rubbery areas indicate undercooking, while dark brown or black spots mean overcooking has begun.
Foam Formation
White foam bubbling on bacon’s surface indicates rapid fat rendering. This visual cue appears during the final cooking phase—remove bacon shortly after foam formation subsides for perfect texture without over-crisping. The foam appearance varies by bacon type but typically happens during the last 2-3 minutes of cooking.
Edge Curling
Slight curling at the edges signals bacon is nearly done. The edges appear dry and slightly lifted while the center remains flat. Remove immediately as residual heat will continue cooking and crisping after removal. Excessive curling indicates you’ve waited too long and the bacon will become overly brittle.
Prevent Common Bacon Problems Before They Start
Stop Curling Completely
Lay a second air fryer rack upside-down on top of bacon strips to keep them flat throughout cooking. This weighted method produces picture-perfect strips ideal for presentation. Alternatively, cut strips in half crosswise before cooking to reduce the curling tendency by shortening the length that can contract.
Fix Uneven Browning
Rotate the cooking rack 180 degrees halfway through cooking time to compensate for any hot spots in your Cuisinart oven. Ensure uniform strip thickness and avoid overlapping—crowding prevents proper air circulation. Pro tip: If one side consistently browns faster, clean your oven’s heating elements as grease buildup can cause uneven heat distribution.
Eliminate Excessive Smoke
Reduce cooking temperature by 25°F and extend time slightly if smoke appears. Empty the drip tray between batches and clean built-up grease from heating elements. Fresh grease smokes less than reheated residue, so never skip emptying the drip tray between batches when cooking multiple rounds.
Clean Up Like a Pro Without the Hassle
Immediate Post-Cooking Steps
Turn off and unplug your Cuisinart Air Fryer Oven after the final batch. Allow all components to cool for 20-30 minutes—hot grease can cause serious burns. Remove the drip tray carefully and pour cooled grease into a heat-safe container for disposal or storage. Warning: Never pour hot bacon grease down drains as it will solidify and cause plumbing disasters.
Component Cleaning Method
Wash the drip tray, cooking racks, and basket in hot, soapy water. Soak for 15-20 minutes to loosen baked-on residue. Use a non-abrasive sponge to avoid scratching non-stick surfaces. The stainless steel interior wipes clean with a damp cloth—no harsh chemicals needed for routine maintenance.
Deep Maintenance Schedule
Monthly deep cleaning prevents grease buildup that affects performance. Mix baking soda with water to form a paste for stubborn stains on stainless steel surfaces. Clean heating elements gently with a soft brush to remove residue that can cause smoking during future cooking sessions.
Mastering how to cook bacon in Cuisinart Air Fryer Oven eliminates the guesswork and delivers consistent results every time you fire up your appliance. The key lies in understanding your preferred crispiness level and adjusting temperature and timing accordingly. With proper prep, temperature control, and cleanup habits, you’ll never dread bacon cooking again. Start with these guidelines, then experiment with flavors and techniques to create your signature bacon style—your perfect morning routine awaits with just a few simple adjustments to your cooking process.


