That urgent craving hits—you need buttery, garlicky bread now to pair with spaghetti or soup. But your oven takes 20 minutes to preheat, and the microwave ruins texture. Good news: your air fryer transforms frozen garlic bread into golden, crispy-edged perfection in under 6 minutes, straight from the freezer. No thawing. No fuss. Just pull out those Texas toast slices or baguette halves, follow these battle-tested methods, and serve restaurant-quality bread faster than delivery arrives. You’ll discover why this technique beats ovens and toasters every time—melty centers, crackly crusts, and zero soggy bottoms.
Air Fryer Size Secrets for Flawless Results
Match Your Model to Slice Capacity
Overcrowding guarantees limp, unevenly cooked bread. Use this exact guide:
| Air Fryer Size | Slices Per Batch | Critical Warning |
|---|---|---|
| 3-4 quart | 2-3 slices | Never stack—soggy bottoms guaranteed |
| 6 quart | 4 slices | Standard for Texas toast brands |
| 8+ quart | 5-6 slices or ½ loaf | Rotate basket 180° halfway for even browning |
Pro Tip: If your basket has a crisper plate, remove it. Direct heat circulation creates superior crunch. For cheese-topped varieties, line the basket with parchment paper—this prevents molten cheese from welding to the metal.
Must-Have Tools (Beyond the Air Fryer)
- Silicone tongs: Metal tongs scratch baskets; silicone grips hot bread safely
- Instant-read thermometer: Verify internal temp hits 165°F for food safety
- Butter brush: Melt extra garlic butter after cooking for glossy sheen
Temperature & Time Cheat Sheet for Every Bread Type
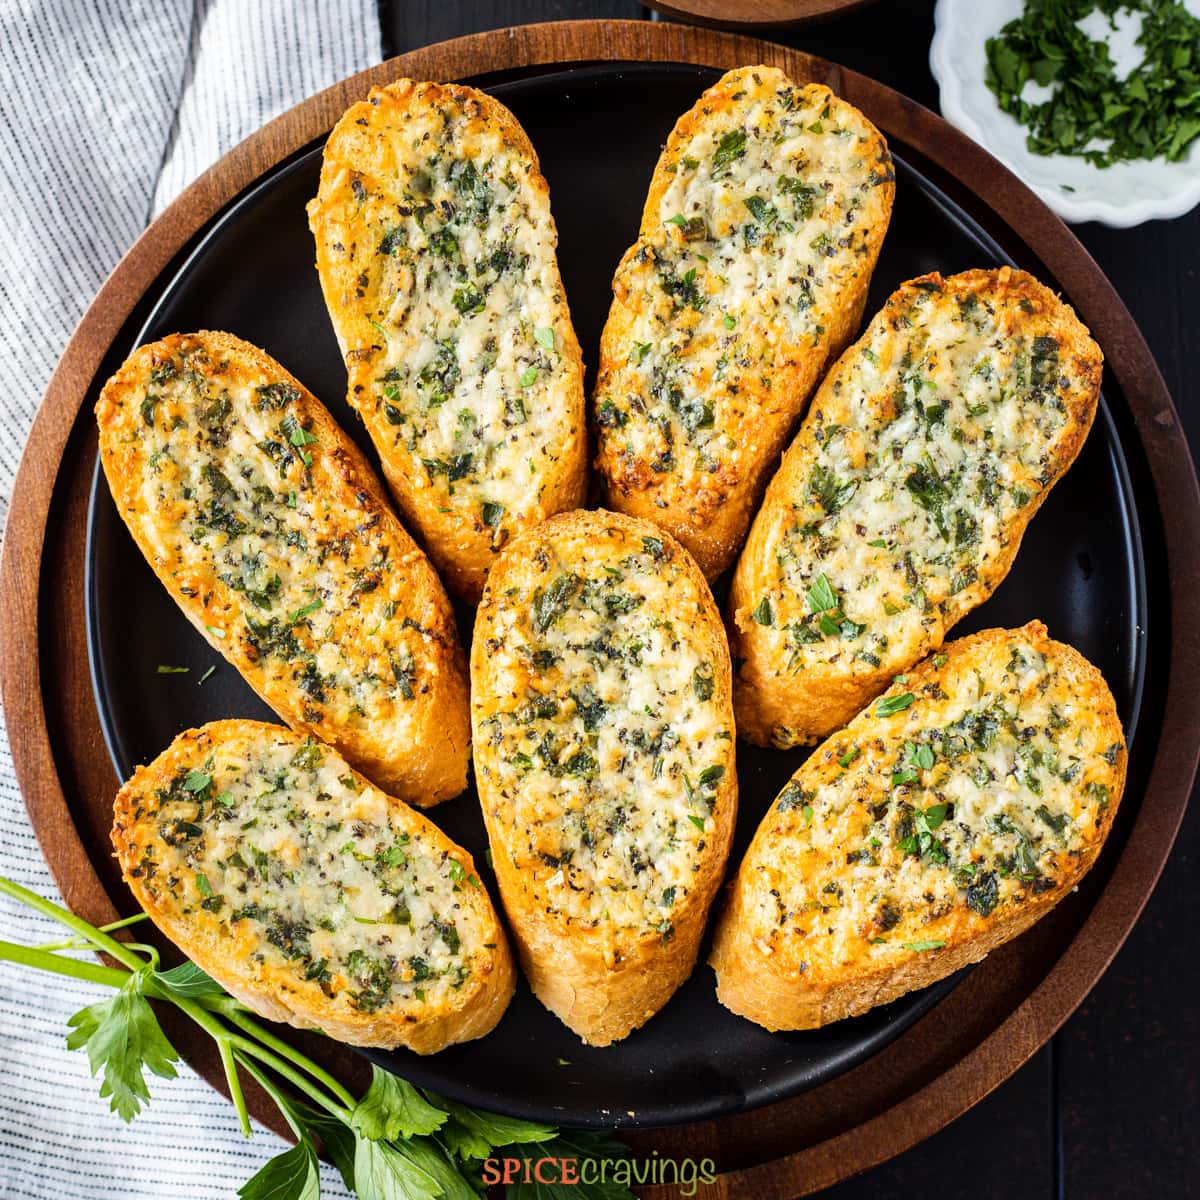
Never Guess Again: Exact Settings
Your bread style dictates the method. Bookmark this chart:
| Bread Type | Temp (°F) | Total Time | Flip? | Visual Cue for Perfection |
|---|---|---|---|---|
| Plain Texas Toast | 380-400 | 4-6 min | Optional | Deep golden edges, steam rising from center |
| Cheese-Topped | 375-380 | 5-6 min | Never | Cheese bubbling but not separating |
| Baguette Slices | 360-375 | 6-7 min | Halfway | Uniform crust with no pale patches |
| Whole Loaf (halved) | 360 | 5-7 min | No | Hollow sound when tapped on bottom |
Critical Rule: Always check at 60% of the minimum time. At 4 minutes for Texas toast, pull the basket. If edges aren’t golden, add 30-second increments. Your air fryer’s wattage changes everything—yours may cook faster than mine.
5-Minute Texas Toast Method (No Preheat)
Why This Beats Oven Cooking Every Time
Ovens dry out bread while preheating. The air fryer’s focused heat locks in moisture. Here’s the fastest path to crispy garlic bread:
- Unwrap completely—never cook in plastic bags (fire hazard!)
- Arrange 2-4 slices butter-side up in single layer (cheese-side up if pre-topped)
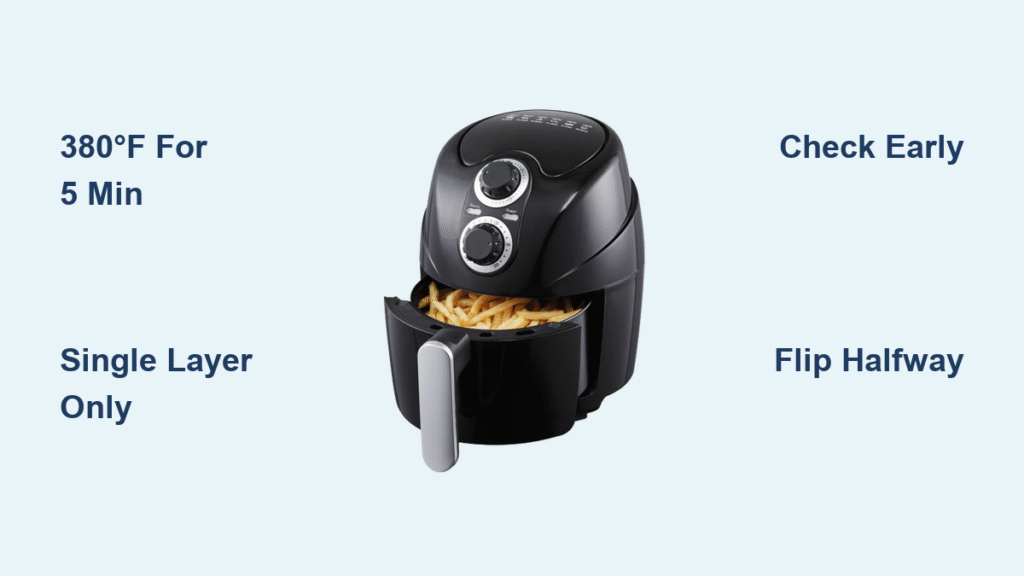
- Set to 380°F for 5 minutes—no preheating needed
- Peek at 4 minutes: Pull if edges are golden; add 60 seconds if pale
- Serve immediately—crispness fades within 90 seconds
Works best for: Store-bought Texas toast (like Pepperidge Farm or Kroger brand). Avoid if your bread is thicker than 1 inch—use the preheat method below instead.
Crispy Crust Technique (Preheat for Maximum Crunch)
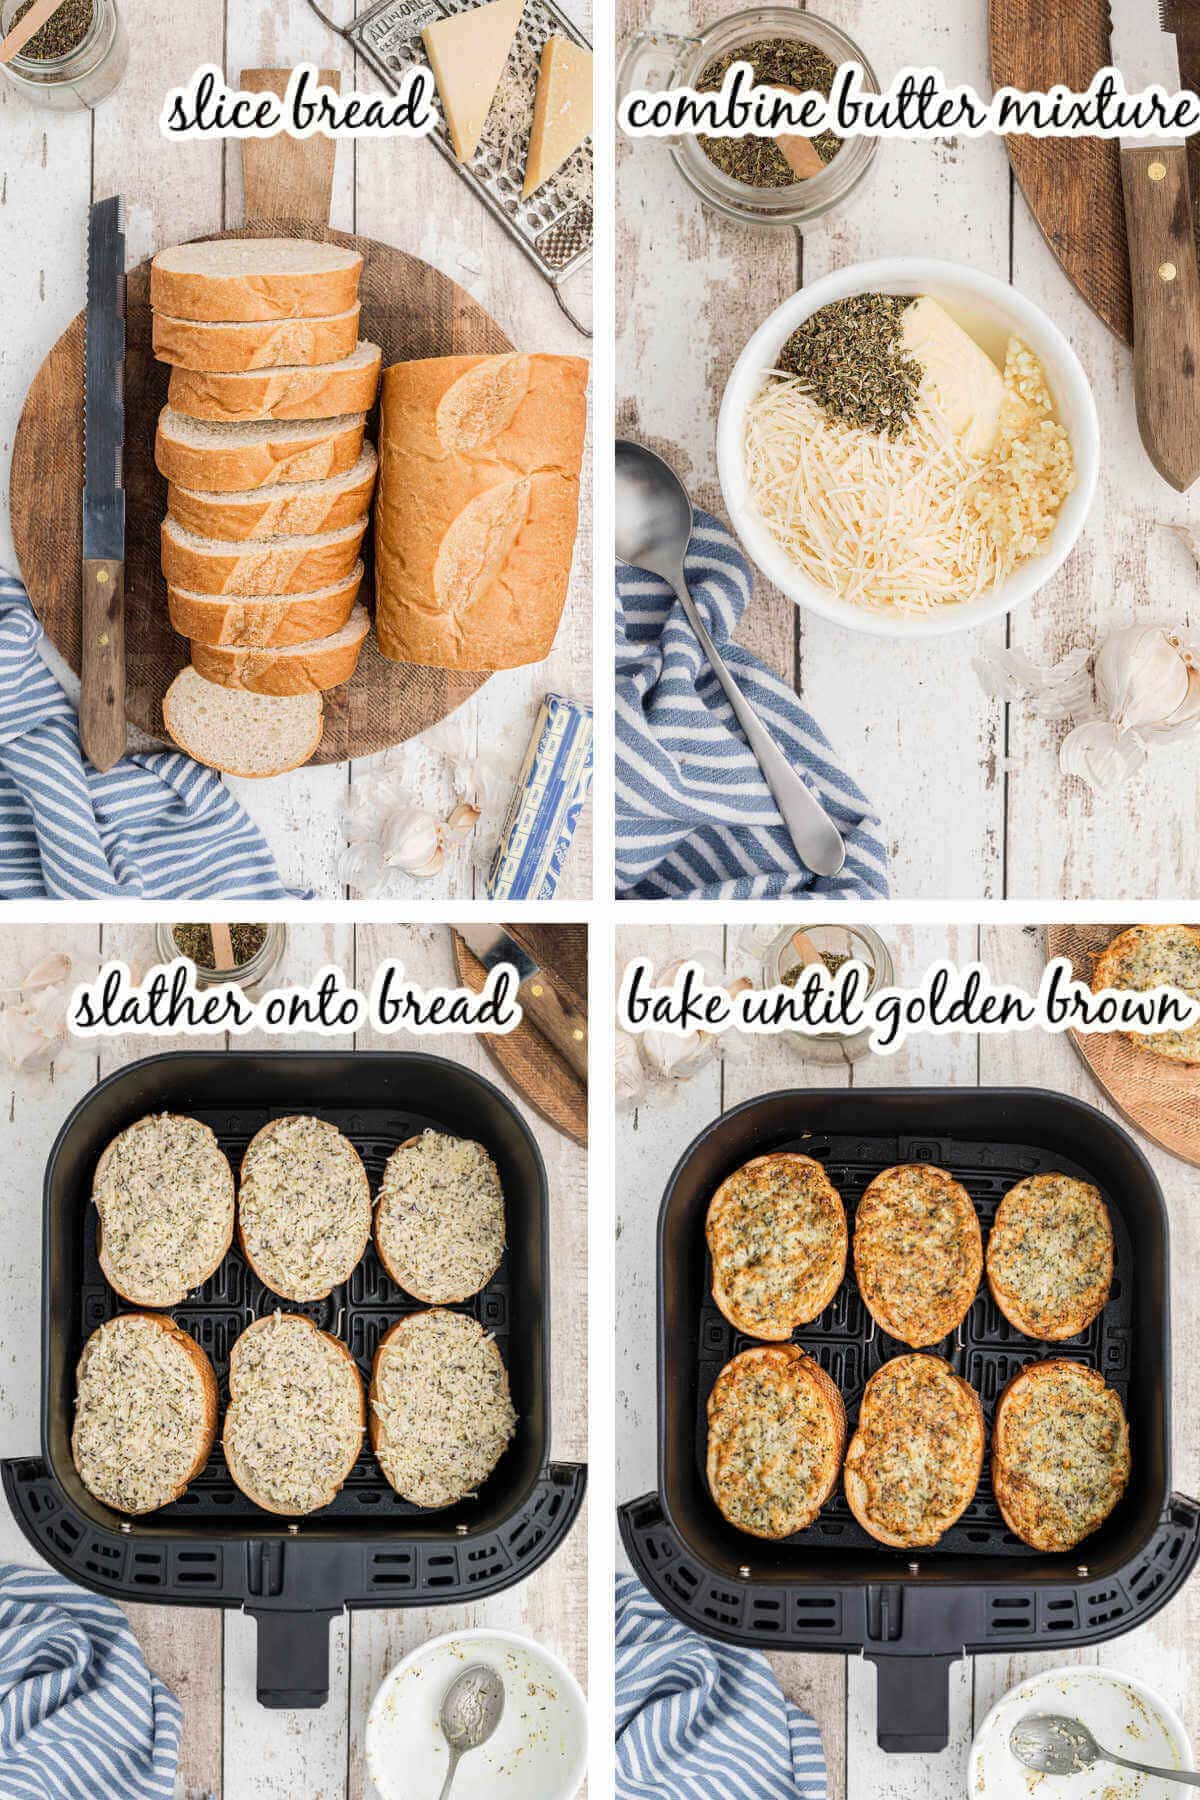
When You Demand Restaurant-Quality Edges
This method mimics a professional deck oven’s intense initial heat blast:
- Preheat air fryer to 390°F for 5 minutes—critical for crust formation
- Place frozen bread in basket—ensure ½-inch space between slices
- Cook at 390°F for 6 minutes straight—no flipping required
- Listen for the sizzle: Butter should audibly melt at the 3-minute mark
You’ll notice: Edges turn deep amber (not dark brown), while centers stay pillowy soft. Ideal for garlic bread accompanying steak or roasted veggies where crunch contrasts tender proteins.
Baguette Rescue Protocol: Fix Uneven Cooking in 2 Steps
Why Baguettes Fail in Air Fryers (and How to Win)
Frozen baguettes scorch on top before centers thaw. The two-stage flip solves this:
The Flip Sequence That Works
- First 2 minutes: Place slices cut-side down at 375°F
– Why: Direct heat melts frozen butter/garlic paste trapped in crevices - Flip upright: Cook additional 6 minutes at same temp
– Why: Vertical positioning allows steam to escape, preventing sogginess
Result: Crisp exteriors with fully melted garlic butter pooling in the center. Never skip the flip—this is non-negotiable for baguettes.
Cheese Upgrade Hacks That Prevent Disaster
The #1 Mistake: Adding Cheese Too Early
Melting cheese during initial cook burns edges and creates basket-welding. Fix it with these pro moves:
Residual Heat Melt (Zero Burn Risk)
- After main cook cycle, sprinkle 2-3 Tbsp cheese per slice
- Return to basket with AIR FRYER OFF for 60-90 seconds
- Science: Residual heat (300°F+) melts cheese without browning
Active Melt for Golden Bubbles
- Sprinkle cheese, set to 370°F for 90 seconds
- Stop immediately when cheese bubbles—no waiting for color
Best cheeses: Low-moisture mozzarella (stretch), aged parmesan (salty punch), or pepper jack (spicy kick). Avoid fresh mozzarella—it steams bread.
Batch Cooking Like a Pro: Avoid Burnt Second Batches
The Hidden Time Trap
Later batches cook 25% faster due to residual heat. Here’s how to adjust:
| Batch Number | Temp Adjustment | Time Adjustment | Critical Move |
|---|---|---|---|
| First batch | As chart | As chart | None |
| Second batch | -20°F | -45 seconds | Rotate basket 180° |
| Third+ batch | -30°F | -60 seconds | Pre-cool basket 2 min |
Never stack batches—keep extras frozen until needed. If serving immediately, store finished bread in a 200°F oven on a wire rack (not paper towels—that traps steam).
Troubleshooting Soggy or Burnt Garlic Bread
Instant Fixes for 4 Common Nightmares
| Problem You See | What’s Really Happening | 60-Second Solution |
|---|---|---|
| Burnt edges, icy center | Too-high temp cooks outside before heat penetrates | Drop temp 20°F, add 90 seconds |
| Soggy bottom layer | Steam trapped under bread | Flip halfway OR raise bread on crisper plate |
| Cheese stuck to basket | Cheese melted onto hot metal | Line with parchment before first batch |
| Pale tops, dark bottoms | Heat source is below basket | Rotate basket 180° at halfway point |
First-time tip: Set timer for 3 minutes regardless of bread type. Open and assess—most failures happen because people don’t check early enough.
Creative Serving Ideas Beyond the Obvious
Transform Leftovers in 90 Seconds
- Garlic Bread Croutons: Cube stale bread, air fry at 370°F for 2 minutes
- Open-Face BBQ Sandwiches: Top toast with pulled pork + coleslaw
- Breakfast Bruschetta: Rub warm toast with tomato, top with fried egg
Pairings That Elevate Weeknight Meals
- With lasagna: Dip corners into marinara for extra sauce
- With tomato soup: Tear into shards for crunchy topping
- With steak: Use as edible “spoon” for roasted mushrooms
The 10-Second Reheat Protocol (No Microwave!)
Why Microwaves Ruin Garlic Bread Forever
Microwaves excite water molecules, turning crispy crusts into chewy rubber. Instead:
- From fridge: 340°F for 2 minutes
- From frozen (previously cooked): 360°F for 3 minutes
- Test doneness: Should feel hot through center when held 2 inches from ear
Never reheat more than twice—moisture loss makes bread cardboard-dry after third cycle.
Master these techniques and you’ll never wait 20 minutes for oven-preheated garlic bread again. In under 6 minutes, you can serve golden, buttery slices with crackly edges and molten centers—straight from freezer to table. Remember the core formula: 380°F for 5 minutes, single layer, check early. Adjust one variable (temp or time) per batch based on results. Your air fryer isn’t just for fries—it’s the secret weapon for perfect frozen garlic bread any night of the week.

