
That stubborn black residue clinging to your Instant Pot Air Fryer’s walls and the lingering odor of burnt oil aren’t just unsightly—they’re actively ruining your crispy fries and chicken wings. Whether you own the compact Vortex Plus drawer model or the larger Omni oven, baked-on grease compromises cooking performance and creates hazardous smoke during use. As appliance technicians confirm, a single 30-minute deep clean session can revive even the grimiest unit, eliminating odors and restoring factory-fresh performance. This guide delivers the exact step-by-step process used by professionals to safely remove carbonized grease without damaging non-stick coatings or electrical components.
Critical Safety Steps to Avoid Damaging Your Instant Pot Air Fryer
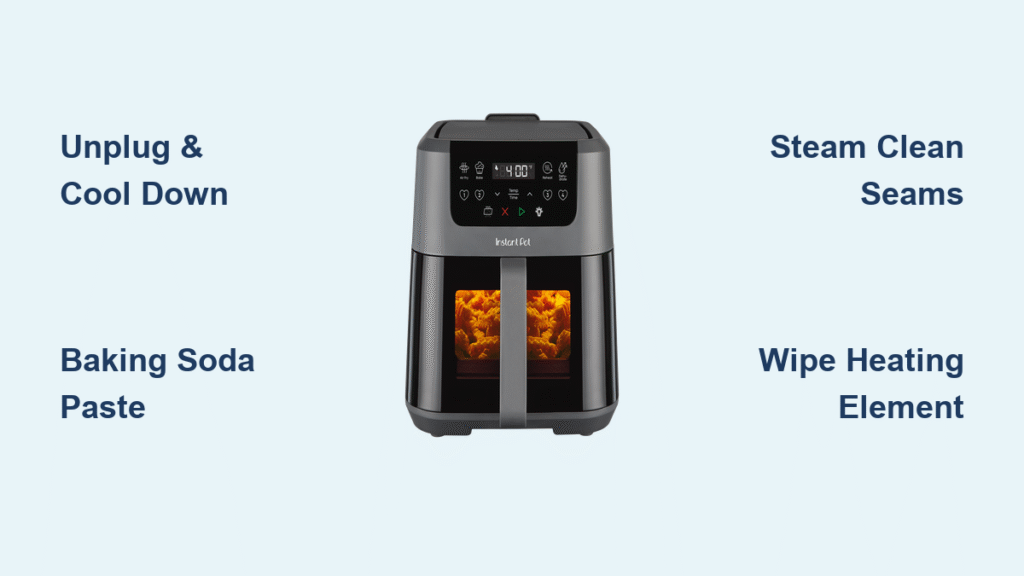
Unplug the unit immediately after use and wait a full 30 minutes before touching—this prevents electrical shocks and thermal burns. Never immerse the base unit in water or allow liquids to seep into ventilation slots, as moisture destroys internal circuitry. Start by removing all detachable parts: pull the basket straight out (Vortex models) or slide racks forward (Omni series), then lift the drip tray from the bottom. Inspect each component for warping or cracks that could indicate overheating damage.
Non-Negotiable Safety Checks Before Cleaning
- Cool-down verification: Place your palm near the heating element—only proceed when no warmth remains
- Electrical isolation: Confirm the power cord is fully unplugged from the wall outlet
- Component triage: Discard any parts with flaking non-stick coating (a fire hazard)
Model-Specific Disassembly Shortcuts
- Vortex Plus: Grasp basket handle firmly and pull straight outward—don’t tilt
- Omni series: Slide lower rack forward first, then lift drip tray from front lip
- Rotisserie models: Unhook spit rod ends before removing fork prongs
2-Minute Post-Cook Wipe Down That Prevents Deep Cleaning Nightmares
Skip this daily ritual, and you’ll face hour-long scrubbing sessions later. While the interior is still warm (but cool enough to touch safely), shake loose crumbs directly into the trash. Immediately wipe walls and heating elements with a barely damp microfiber cloth—the residual heat lifts fresh grease before it bakes on. Hand-wash the basket and trays in hot soapy water, then air-dry completely on a rack. Finish with a quick exterior wipe using a vinegar-water mix to prevent streaking on stainless steel surfaces.
Daily Maintenance Checklist That Saves Hours
- [ ] Shake crumbs from basket over trash can before removing
- [ ] Wipe interior walls within 5 minutes of cooking ending
- [ ] Hand-wash removable parts (dishwasher use degrades non-stick coating)
- [ ] Dry all components 100% before reassembly (dampness causes rust)
Baking Soda Deep Clean for Instant Pot Air Fryer Walls and Ceiling

This chemical-free method dissolves decade-old grease using alkaline chemistry. For Vortex Plus drawer units, mix ¼ cup baking soda with 2 Tbsp warm water to form a thick paste. Omni oven models require ½ cup baking soda with enough water for spreadable consistency. Lay parchment paper across the oven floor to catch drips—this prevents paste from hardening on the base.
Strategic Paste Application Process
- Protect sensitive zones: Avoid heating elements, connection points, and plastic knobs
- Target high-grease areas: Coat side walls, back wall, and ceiling (skip unreachable corners)
- Optimal dwell time: Let paste dry white (30-60 minutes), then wait 12-24 hours—this gives baking soda time to break molecular grease bonds
Removing Baked-On Residue Without Scrubbing
Dip a non-abrasive sponge in warm water and wipe in circular motions, rinsing the sponge after each pass. For drawer seams and bracket corners, use a straw-cleaning brush with stiff nylon bristles. Critical final step: Wipe all surfaces with a vinegar-dampened cloth to neutralize alkaline residue, followed by a plain water cloth rinse. Skip this, and white film will appear during your next cook.
Steam Cleaning Your Instant Pot Air Fryer’s Hidden Grease Traps
A handheld steam cleaner (like Dupray models) liquefies grease in areas brushes can’t reach. Hold the nylon brush attachment ½ inch from surfaces and steam each spot for exactly 10 seconds—longer durations risk moisture damage. Focus steam on three trouble zones: Vortex drawer cavity seams, Omni metal bracket corners, and door-to-glass hinge gaps.
Steam Zones to Avoid Like the Plague
- Danger: Heating elements, ceiling fan vents, rotisserie knobs
- Safe: Interior walls, basket grooves, drip tray channels
- Pro tip: Work in 3×3 inch sections—steam one spot, wipe immediately, then move on to prevent condensation buildup
How to Clean Instant Pot Air Fryer Basket Without Ruining Non-Stick Coating
Dishwasher use accelerates non-stick coating degradation—hand-washing extends basket life by 2+ years. For stuck-on cheese or batter, spray Dawn Platinum Powerwash directly on residue and wait 3 minutes. Gently scrub with a soft produce brush (never metal scour pads), then rinse under hot water. Dry immediately with a lint-free towel—air-drying causes mineral deposits that pit the coating.
Metal Rack and Tray Revival Protocol
Soak racks in hot, soapy water for exactly 12 minutes (longer risks rust on lower-quality metals). Use only the non-abrasive sponge side to lift grime—steel wool creates microscopic scratches that trap future grease. After rinsing, towel-dry every crevice, especially where racks contact the heating element. Reinsert only when fully dry to prevent electrical shorts.
Heating Element Deep Clean: Stop Smoke Before It Starts

Carbonized food particles on the element cause the telltale smoke during preheating. Once the unit is stone-cold, wipe the element with a wring-dry microfiber cloth—never damp. Check for black specks between coil loops; these require a toothpick gently nudged between wires (no liquids!). Critical warning: Moisture near the element causes permanent electrical damage—never spray cleaners directly on it.
Door and Control Panel Cleaning Without Electronics Damage
Interior glass accumulates grease film that smokes violently during reheating. After deep cleaning, wipe with 1:1 vinegar-water solution using downward strokes to prevent streaks. For the control panel, use a cloth barely moistened with rubbing alcohol—circular motions push liquid into buttons, so wipe in straight lines only. Dry immediately with a separate cloth to prevent moisture seepage.
Monthly Deep Clean Schedule That Prevents Overhauls
| Task | When to Do It | Time Required |
|---|---|---|
| Baking soda paste treatment | Monthly or when walls feel sticky | 24 hours (mostly waiting) |
| Steam clean hidden seams | Quarterly or before holiday cooking | 25 minutes |
| Heating element inspection | Before every deep clean session | 3 minutes |
| Non-stick coating check | Every 6 months | 2 minutes |
Pro prevention tip: Line drip trays with perforated parchment paper—holes allow airflow while catching drips. Never use solid silicone mats near heating elements.
Why Your Instant Pot Air Fryer Smokes After Cleaning (And How to Fix It)
Smoke on first post-clean use? Residual oil remains on the heating element. Immediately unplug, let cool, then wipe the element with a vinegar-dampened cloth followed by a dry pass. White film on walls? Baking soda wasn’t fully neutralized—repeat the vinegar-water wipe. Grease between glass panes? Steam-clean along the door edge for 5 seconds; if inaccessible, contact Instant Pot support—self-disassembly voids warranties.
Must-Have Supplies for Instant Pot Air Fryer Deep Cleaning
- Baking soda (¼ cup for Vortex, ½ cup for Omni)
- White vinegar (for neutralizing and grease-cutting)
- Microfiber cloths (3+ for rinsing between wipes)
- Straw-cleaning brush (reaches drawer seams)
- Dawn Platinum Powerwash (for basket residue)
- Parchment paper (protects oven floor during paste treatment)
A single deep clean session transforms your Instant Pot Air Fryer from smoke-spewing hazard to crispy-food powerhouse. By combining daily 2-minute wipe-downs with monthly baking soda treatments, you’ll eliminate odors, prevent smoke, and extend your appliance’s lifespan by years. Start tonight—your next batch of fries will taste noticeably cleaner, with zero chemical aftertaste. For ongoing maintenance, always dry components completely before reassembly and avoid overcrowding the basket (spills accelerate grease buildup). Your appliance deserves this 30-minute investment—your taste buds will thank you tomorrow.


