
Your new air fryer promises restaurant-quality crispy chicken wings and golden fries with minimal oil—but the array of buttons and settings leaves you hesitant to even plug it in. Mastering how to operate an air fryer doesn’t require culinary school training; it’s about understanding six core principles that transform confusing controls into consistent, crave-worthy results. Skip these fundamentals, and you’ll battle soggy fries or smoke alarms. Nail them, and you’ll cut cooking times by 30% while achieving perfect crispness every time.
This guide cuts through the confusion with step-by-step instructions verified by appliance engineers. You’ll discover why preheating isn’t always necessary, the single-layer rule that prevents 90% of cooking disasters, and exact temperatures for 15+ popular foods. By the time you finish reading, you’ll confidently convert oven recipes, troubleshoot smoke issues, and revive last night’s pizza to near-fresh perfection—all while using 80% less oil than traditional frying.
Select Your Ideal Air Fryer Design

Basket models dominate kitchens for good reason: their compact footprint fits under cabinets, and the pull-out basket makes loading intuitive. These units use a high-speed fan and heating coil to circulate 400°F air around food in a perforated basket, creating crispy exteriors through rapid moisture evaporation. Most handle 2-4 person meals, making them ideal for weeknight dinners.
Air fryer ovens function like miniature convection ovens with interior racks and viewing windows. They accommodate whole chickens or multiple dishes simultaneously but demand permanent counter space. Crucially, both types operate on identical rapid-air technology—the difference lies in capacity and workflow, not cooking science. Choose baskets for speed and storage flexibility; opt for ovens if you regularly cook for crowds.
Critical Pre-Use Checks
Always review your manual first—some models require specific clearance (5-6 inches) around vents to prevent overheating. Place the unit on heat-resistant surfaces away from walls, then remove all plastic films from baskets and trays. Never skip the initial 10-minute burn-off cycle at 400°F; this eliminates manufacturing residues that cause unpleasant odors during first use.
Perfect Food Preparation Every Time

Dry and Oil Strategically
Pat proteins and vegetables bone-dry with paper towels—residual moisture creates steam that blocks crisping. Apply oil after seasoning using a spray bottle (1-2 teaspoons max) or pastry brush for even coverage. Skip oil entirely for frozen foods or reheating; their existing fats prevent sticking. Never use wet batters—they’ll splatter and create a mess.
Avoid the #1 Mistake: Overcrowding
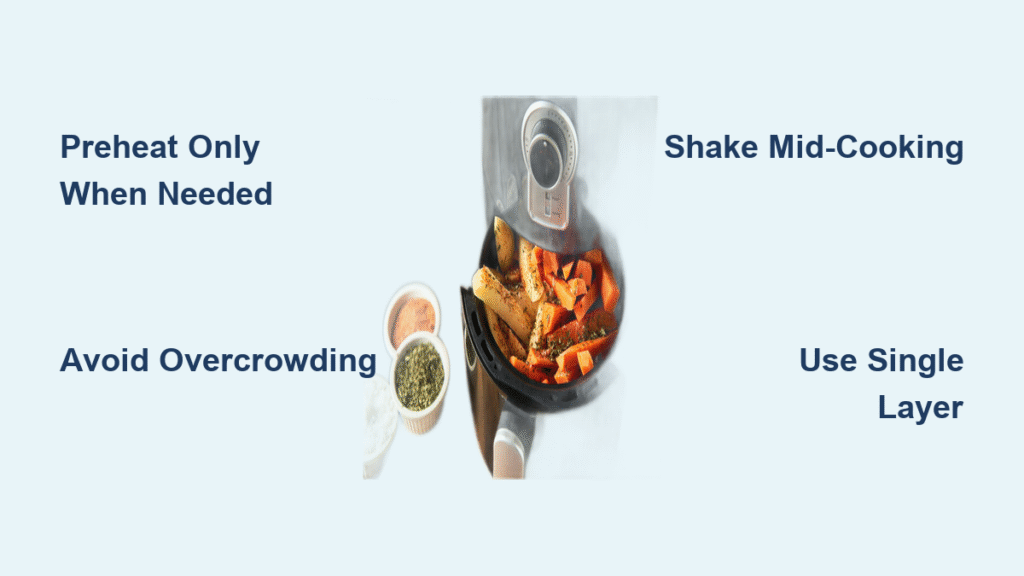
Stacking food blocks airflow, causing uneven cooking and sogginess. Cook in single layers with space between pieces, even if it means running two batches. For dense items like potatoes, arrange larger pieces toward the basket’s outer edge where heat concentrates most intensely.
Master Temperature and Timing Conversions

Instant Recipe Adapting Formula
Reduce oven temperatures by 25°F and cooking time by 20% for foolproof conversions. For deep-fried foods (like chicken tenders), use the original fry temperature minus 25°F with identical timing. This scientific adjustment leverages the air fryer’s concentrated heat without guesswork.
Verified Settings for Popular Foods
Proteins:
– Chicken wings: 425°F for 18-20 minutes (flip at 10 minutes)
– Salmon fillets: 450°F for 12-14 minutes (no flip needed)
– Steak (1-inch): 410°F for 15 minutes for medium-rare
Vegetables:
– Fresh fries: 425°F for 22-24 minutes (shake twice)
– Brussels sprouts: 425°F for 10 minutes (start cold for even cooking)
– Broccoli: 400°F for 6 minutes (toss halfway)
Frozen Items:
– Mozzarella sticks: 400°F for 5-7 minutes (no preheat)
– Chicken nuggets: 400°F for 8-10 minutes (shake at 5 minutes)
Preheat Only When It Matters
Not all air fryers require preheating—check your manual first. When recommended, 2-3 minutes suffices to stabilize temperature for consistent browning. Skip preheating for delicate vegetables like broccoli or Brussels sprouts; starting cold prevents burnt edges while centers cook through. Dense foods (potatoes, meats) always benefit from preheating—set the timer before loading food.
Load the Basket for Maximum Crispness
Place the perforated basket insert inside the main tray—never cook directly on solid surfaces. Lightly spray basket walls with oil to prevent sticking, then arrange food in a single layer. For mixed batches (like wings and fries), position larger items on the bottom and smaller pieces on top. Overfilling by just 20% creates steam pockets that ruin texture—when in doubt, cook in batches.
Manage Cooking Without Guesswork
Shake or Flip? Here’s the Rule
Flip dense items (steak, potato wedges) halfway through cooking. Shake baskets for small, loose foods (fries, broccoli) using the pause-and-resume feature—most units auto-pause when the basket is removed. Premium models with 360° airflow (like KitchenAid®) eliminate flipping needs.
Doneness Visual Cues
Golden-brown color and audible sizzling indicate proper crisping. For proteins, insert a thermometer: chicken must hit 165°F internally, while steak follows standard doneness temps (130°F for medium-rare). Never rely solely on timers—pull the basket early to check progress.
Unlock Advanced Functions
Core Settings Decoded
- Air Fry: Default mode for crispy results (use for 95% of foods)
- Reheat: 350°F for 3-6 minutes restores crispness without drying
- Keep Warm: Holds food at 170°F after cooking completes
Specialty Features (Premium Models)
- Dehydrate: 135°F for 6+ hours makes jerky or fruit leather
- Proof: 85°F environment rises dough in 45 minutes
- Broil: Top-down heat sears steaks or melts cheese in 90 seconds
Safe Removal and Cleaning Protocol
Always use silicone-tipped tongs or oven mitts—the basket exceeds 400°F. Remove food immediately post-cycle to prevent overcooking from residual heat. For cleaning:
1. Cool completely (15+ minutes)
2. Soak basket in warm, soapy water for 10 minutes
3. Scrub gently with non-abrasive sponge (no steel wool!)
4. Dry thoroughly before reassembly
Never immerse the main unit in water—wipe exteriors with damp cloth only. Clean after every use to prevent oil buildup that causes smoke and flavor transfer.
Reheat Leftovers Like Fresh
Use 30-50°F lower than original cooking temp:
– Pizza: 350°F for 4 minutes (single layer, no overlapping)
– French fries: 350°F for 3-5 minutes (shake at 2 minutes)
– Fried chicken: 375°F for 5 minutes to revive crisp coating
Overheating causes burning—set timers 2 minutes shorter than you think. Always place reheated items in a single layer; stacking traps steam and creates sogginess.
Fix Common Failures in 60 Seconds
Food Isn’t Crispy?
- Cause: Excess moisture or overcrowding
- Fix: Pat food drier, reduce batch size, and increase temp by 25°F
Smoke During Cooking?
- Cause: Oil buildup or fatty foods without drip tray
- Fix: Clean crumb tray immediately and lower temp by 50°F
Uneven Browning?
- Cause: Poor airflow or incorrect shaking
- Fix: Arrange food in single layer and shake basket every 5 minutes
Pro Efficiency Hacks
- Batch Cooking: Cook proteins first, then vegetables using residual heat
- Flavor Boost: Toss hot fries with garlic powder immediately post-cook
- Time Savings: Air fryers cook 25% faster than ovens—set timers 5 minutes early
Operating your air fryer successfully hinges on respecting airflow physics, not complicated techniques. Start with frozen fries using the 425°F/22-minute guideline to build confidence, then experiment with custom recipes. Remember the non-negotiables: single-layer placement, precise temperature adjustments, and immediate post-cook cleaning. Within two weeks, you’ll intuitively know when to skip preheating for broccoli or add a 25°F boost for extra-crispy wings. This appliance rewards attention to detail with consistently golden, oil-free perfection—making it the hardest-working tool in your kitchen. Master these fundamentals, and you’ll never settle for soggy leftovers or deep-fried guilt again.


