
Your air fryer sits ready on the counter, recipe in hand, but something feels off. That golden-brown chicken won’t achieve restaurant-quality crispiness without the right start. Learning how to preheat air fryer properly transforms it from a glorified toaster oven into a precision cooking tool that locks in juices while creating that coveted crispy exterior. Most home cooks skip this crucial step, wondering why their fries turn out limp or chicken breasts emerge unevenly cooked.
The difference between mediocre and exceptional air fryer results often comes down to these first few minutes of preparation. When you master how to preheat air fryer correctly, you trigger the Maillard reaction—the chemical process that creates complex flavors and textures—ensuring food makes immediate contact with super-heated air. In this guide, you’ll discover the exact steps to achieve perfectly crispy exteriors and juicy interiors every time.
Why Your Air Fryer Needs Proper Preheating
Preheating isn’t just warming empty space—it’s creating the ideal cooking environment for immediate high-heat contact. Without this step, food starts cooking in cool air, leading to uneven results and soggy textures. When you correctly preheat your air fryer, the circulating super-heated air removes surface moisture instantly, which is essential for achieving that professional crispiness you expect.
Universal Preheat Method for All Models
Follow this sequence regardless of your air fryer brand or size:
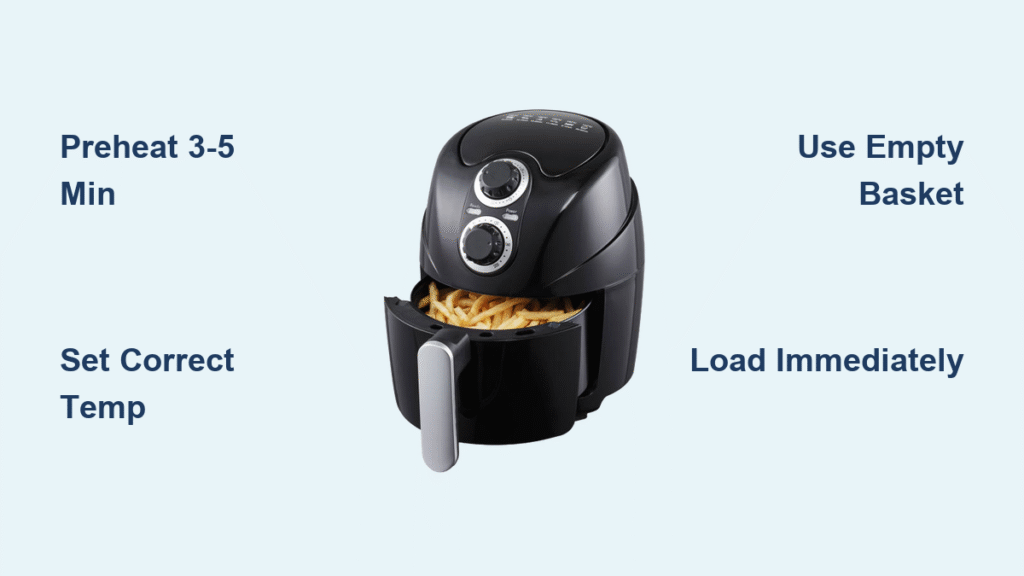
Step 1: Basket Preparation
– Thoroughly clean and dry the basket and crisper plate
– Ensure all components click securely into place
– Verify 6+ inches of clearance around the unit
Step 2: Temperature Setup
– Set the exact temperature from your recipe—no guessing
– Avoid max-heat settings for delicate foods like fish
Step 3: Timing Execution
– Compact units (2-4L): Preheat 2-3 minutes at target temperature
– Standard models (5-10L): Run empty for 3-4 minutes
– Large/oven-style (10L+): Allow 4-5 minutes for full heat saturation
Step 4: Loading Protocol
– Use heat-resistant gloves—the basket gets extremely hot
– Load food within 30 seconds of preheat completion
– Start your cooking timer immediately after loading
Model-Specific Preheat Techniques
For Units With Dedicated Preheat Button
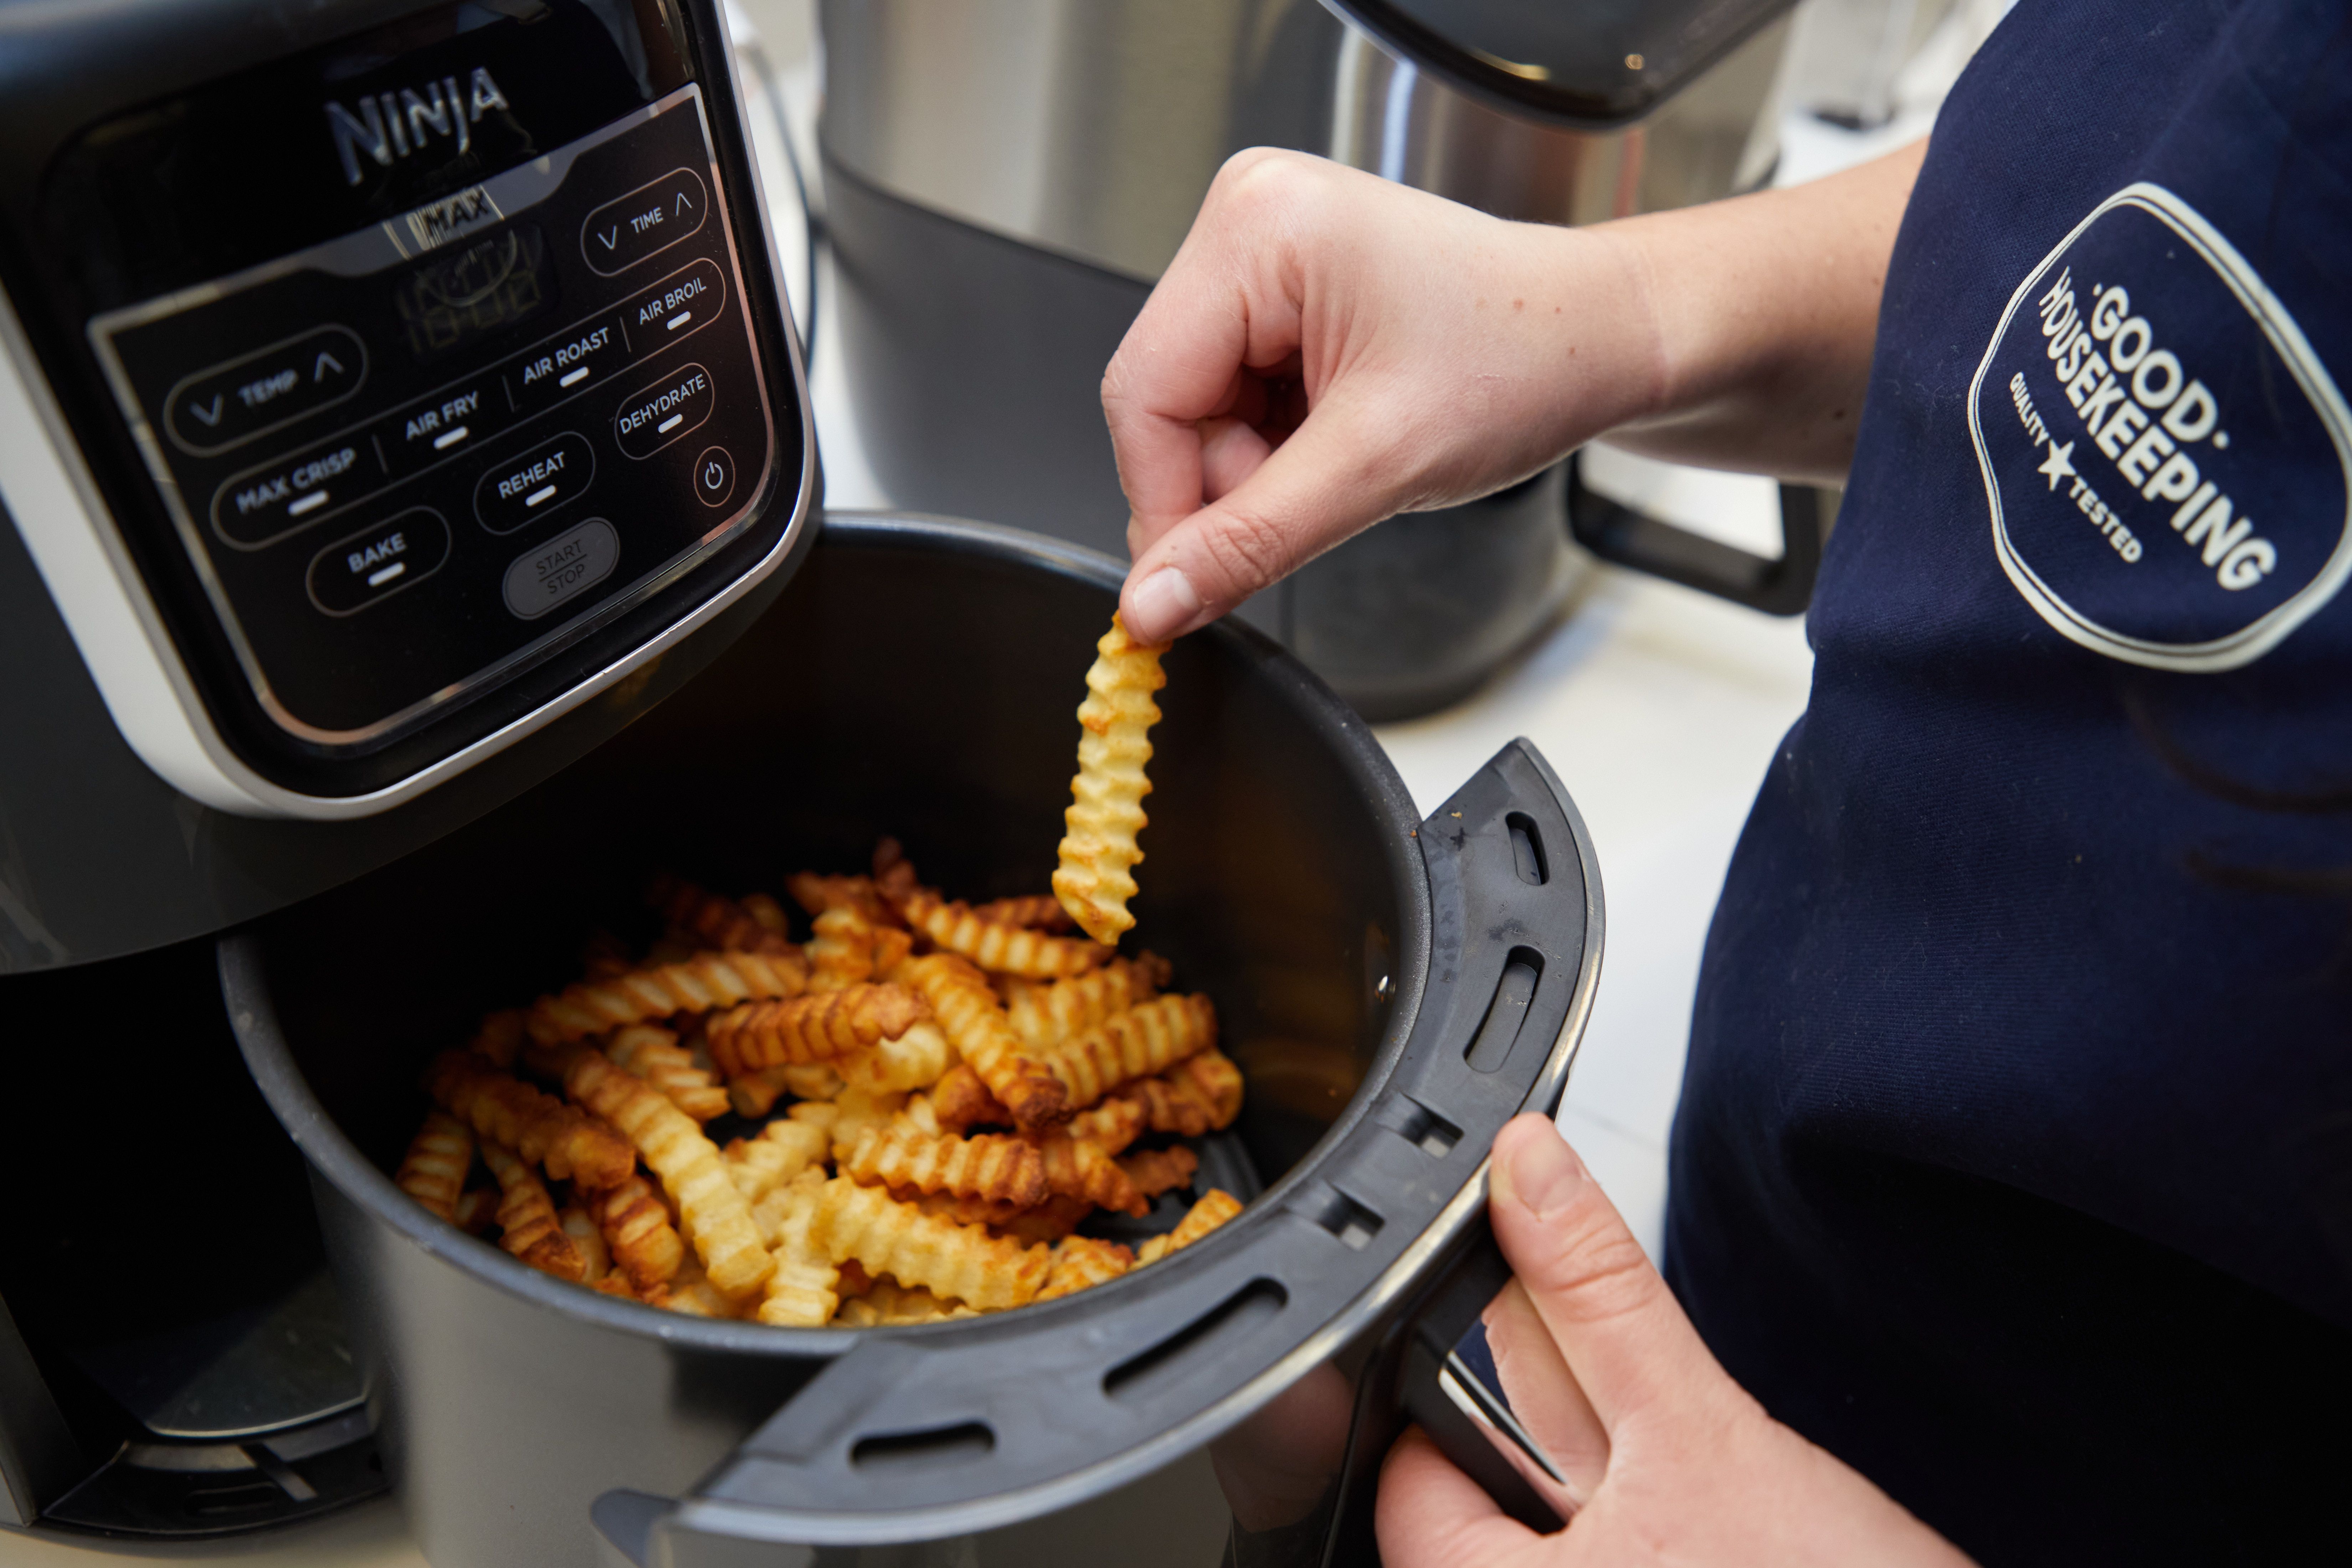
Press the preheat function, select your recipe temperature, and let the unit auto-calculate timing. Premium models like newer Ninja Foodi or Cosori units will alert you with beeps or indicator lights when ready. Never override the automatic timer—these systems optimize heating cycles for your specific model.
For Manual-Only Air Fryers
Set your desired temperature, then manually program a 3-5 minute timer based on capacity. Start the timer immediately after setting the temperature. Listen for the completion beep or watch for the heating element to cycle off. This method works perfectly for classic Philips or older Instant Vortex models.
Optimal Preheat Timing by Model Size
Quick Reference Timing Chart
| Capacity | Temperature | Preheat Duration | Visual Cue |
|---|---|---|---|
| 2-4L compact | 400°F | 2-3 minutes | Heating element glows steadily |
| 5-10L standard | 400°F | 3-4 minutes | Fan noise stabilizes |
| 10L+ large | 400°F | 4-5 minutes | Interior light dims slightly |
| Oven-style | 400°F | 5+ minutes | Dual-zone models require separate timing |
Critical Timing Adjustments
Cold kitchen environments below 65°F add 30-45 seconds to preheat time—common in winter months. High-altitude cooking (above 3,000 feet) requires 30-60 extra seconds due to thinner air. If your air fryer’s stored in a garage or basement, always add 1 minute to compensate for the lower starting temperature. Never skip these adjustments—your crispy results depend on precise heat saturation.
Foods That Absolutely Require Preheating
Crispy-Focused Foods
Preheating creates instant surface dehydration essential for these items:
– Frozen fries and tater tots: Prevents sogginess by immediately sealing exterior
– Breaded chicken cutlets: Ensures coating adheres while developing golden crust
– Mozzarella sticks: Forms instant crust to prevent cheese leakage
– Reheated pizza: Restores crispy base while melting toppings evenly
– Bacon strips: Creates immediate sear for reduced grease and perfect crispness
When Preheating Is Non-Negotiable
Always preheat when cooking from frozen, seeking maximum crispiness, or following recipes specifying 400°F+. This step reduces overall cooking time by 2-3 minutes while ensuring even browning. Foods requiring a sear—like burgers or pork chops—demand preheating to lock in juices from the first second of contact.
Delicate Foods That Skip Preheating
Avoid Preheating For
- Small shrimp or scallops: Overcook instantly on hot surfaces
- Garlic cloves or fresh herbs: Burn before cooking through
- Cherry tomatoes: Burst from sudden heat exposure
- Large roasts or whole chickens: Exterior burns before interior reaches safe temperature
- Moisture-rich vegetables: Zucchini or eggplant dry out prematurely
When Manufacturer Guidance Overrides
Check your manual—if it explicitly states “no preheating” for specific functions (like dehydrating), follow those instructions. Some air fryer models integrate preheating into preset programs, making manual preheating unnecessary for those functions.
Critical Preheating Mistakes That Ruin Results

Top 5 Errors to Avoid
1. Skipping preheat entirely
Result: Uneven cooking, soggy textures, extended cook times
Fix: Always preheat for crispy foods—set phone timer if needed
2. Preheating with food inside
Result: Altered cooking chemistry, undercooked centers
Fix: Load food only after preheat cycle completes
3. Overheating beyond 5 minutes
Result: Damaged heating elements, wasted energy
Fix: Never exceed manufacturer’s max preheat time
4. Ignoring basket residue
Result: Smoke from burning old food particles
Fix: Wipe basket with damp cloth before every use
5. Crowding the basket post-preheat
Result: Temperature drop ruins crispiness
Fix: Arrange food in single layer with space between pieces
Quick Troubleshooting Guide
Problem: Food sticks despite preheating
Solution: Lightly coat basket with avocado oil spray after preheating
Problem: Smoke during preheat cycle
Solution: Immediately unplug, cool, then clean heating element with vinegar solution
Problem: Uneven browning on one side
Solution: Rotate basket 180 degrees halfway through preheating
Pro Techniques for Perfect Preheating
Temperature Verification Hack
Grab an infrared thermometer ($15 on Amazon) to check actual basket temperature. Most units read 25-50°F cooler than the set temperature—this is normal and doesn’t affect results. When your air fryer beeps at 400°F, the basket typically measures 350-375°F, which is ideal for starting most foods.
Energy-Saving Strategy
Preheating uses minimal power—equivalent to running a lightbulb for 3 minutes. But here’s the real win: preheated air fryers cook food 15-20% faster, offsetting the energy use. Empty preheating is 30% more efficient than heating with food inside because the air circulates freely without obstruction.
Recipe Conversion Formula
When adapting oven recipes:
1. Always preheat when oven temp exceeds 375°F
2. Reduce total cook time by 20% after preheating
3. Check for doneness 3 minutes early
Example: A 20-minute oven recipe becomes 12 minutes (3-min preheat + 9-min cook)
Model-Specific Preheating Adjustments
Basket vs. Oven-Style Units
Compact basket models (2-8L):
– Standard 3-minute preheat suffices
– Single heating zone requires no rotation
– Ideal for 1-2 servings—perfect for weeknight dinners
Oven-style air fryers (10-25L):
– Extend preheat to 5+ minutes for full chamber saturation
– Rotate racks halfway through preheating cycle
– Essential for family meals to prevent cold spots
Dual-Zone Model Protocol
Preheat each zone separately when cooking different foods. Set protein zone to 400°F (4 minutes) while vegetable zone runs at 375°F (3 minutes). This technique—used in Ninja Foodi 10-in-1 models—ensures bacon crisps perfectly while asparagus stays tender-crisp.
Preheat Maintenance for Longevity
30-Second Pre-Preheat Checklist
- [ ] Wipe basket interior with damp microfiber cloth
- [ ] Verify no food particles under crisper plate
- [ ] Ensure basket slides in smoothly without resistance
- [ ] Confirm 6-inch clearance on all sides
Warning Signs During Preheating
Metallic rattling: Indicates loose fan assembly—unplug immediately
Persistent smoke: Signals hidden grease buildup—requires deep cleaning
Error codes: Document code and consult manual before continuing
Burning odor: Usually from new unit coating—run empty at 400°F for 10 minutes
Master Your Air Fryer Results Today
Preheating transforms ordinary ingredients into extraordinary meals with minimal effort. That 3-5 minute investment delivers golden-brown exteriors, juicy interiors, and consistent results you’ll rely on daily. Start with the universal method, adjust for your model’s capacity, and soon you’ll instinctively know exactly how to preheat air fryer for any dish.
Remember: Perfect fries, crispy chicken, and revitalized leftovers all begin with proper preheating. Your air fryer is primed for greatness—now you have the exact steps to unlock its full potential. Grab your favorite recipe and experience the difference today.


