
Nothing ruins dinner faster than soggy fries or unevenly cooked chicken because your air fryer wasn’t properly preheated. Knowing exactly how to preheat Gourmia air fryer models transforms your cooking results from mediocre to mouthwatering. Whether you’re using a basic GAF518 or a high-tech GTF7460, this guide delivers the precise preheating techniques that create restaurant-quality meals in your kitchen.
Your Gourmia air fryer needs proper preheating to reach optimal cooking temperature before adding food. Skipping this critical step means your first batch will cook unevenly, potentially leaving you with undercooked centers and pale exteriors. Mastering the preheat process ensures that hot air circulates immediately upon loading ingredients, creating that perfect golden crust while locking in moisture.
Position and Prepare Your Gourmia Air Fryer Correctly
Before you start the preheating process, proper setup ensures safety and optimal performance. Place your air fryer on a heat-resistant surface with at least 5 inches of clearance on all sides—especially from walls and cabinets. This ventilation space prevents overheating and allows proper air circulation, which is essential for consistent preheating.
Remove All Packaging and Position Basket
Remove every sticker, protective film, and packaging material from the basket and interior surfaces. These residues can burn during preheating, creating unpleasant odors and potentially damaging the non-stick coating. Insert the empty basket completely until you hear it click into place—this triggers the safety mechanism that allows operation. A partially inserted basket causes safety shutoffs and uneven heating, wasting valuable preheating time.
Set Temperature and Timer Based on Recipe Needs
Choose your recipe’s specified temperature, typically between 350-400°F for most foods. Set the timer specifically for preheating: 3 minutes at 350°F, 3-4 minutes at 375°F, 4-5 minutes at 400°F, and 5 minutes for temperatures above 425°F. Press the start button and listen for the heating element activating immediately. The unit will begin circulating hot air through the cooking chamber as the temperature climbs toward your setting.
Digital Models: Preheat with Precision (GAF6xx/7xx Series)
Gourmia’s digital display models take the guesswork out of preheating with dedicated features and real-time feedback.
Activate Dedicated Preheat Button
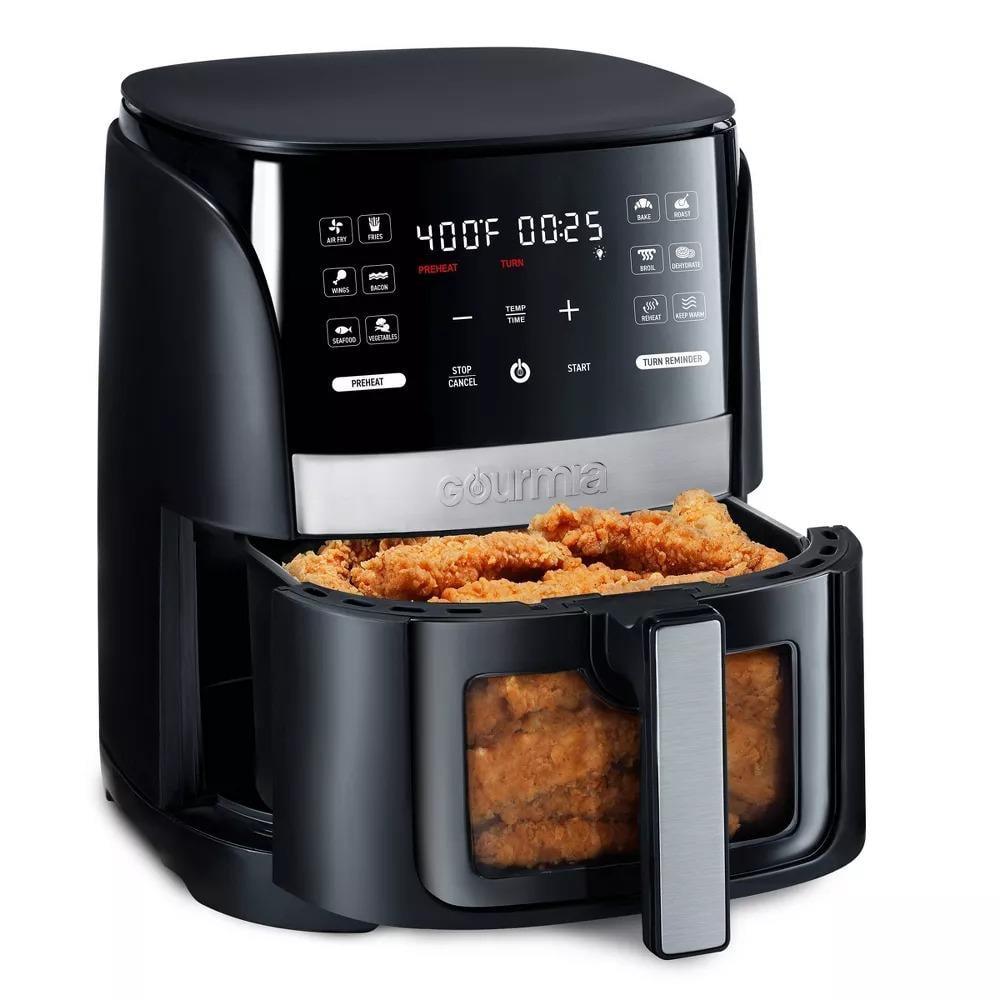
Locate the “Preheat” button on your control panel—press it once, then use the temperature arrows to select your desired setting. The display shows “PrE” during preheating and automatically calculates optimal time based on your temperature selection. You’ll see the temperature climb in real-time on the digital display, eliminating guesswork about when your unit is ready.
Monitor Progress and Completion Signals
Watch the temperature display climb steadily toward your target—digital models update every few seconds for precise monitoring. When preheating completes, most models emit a triple-beep and return to the main screen showing your set temperature. Advanced units maintain this temperature for up to 10 minutes, giving you perfect timing to prepare ingredients before cooking begins.
Analog Dial Models: Simple but Effective Preheating (GAF5xx Series)

Traditional dial controls require manual attention but deliver reliable preheating performance for budget-friendly models.
Set Temperature and Timer Manually
Turn the temperature dial clockwise until the arrow points to your desired setting, clicking through each 25°F increment. Set the timer dial to 3-5 minutes based on your temperature target. The indicator light illuminates during heating and turns off automatically when the set temperature is reached—this visual cue replaces digital displays on these models.
Avoid Critical Over-Preheating Mistakes
Stay nearby during preheating since analog models don’t automatically shut off after the timer completes. Listen for the timer bell or watch for the indicator light to turn off—over-preheating beyond 7 minutes wastes energy and can overheat internal components. Unlike digital models, you must manually stop the cycle when the light turns off to prevent unnecessary energy consumption.
Verify Your Air Fryer Actually Reached Temperature

Don’t trust the display blindly—confirm your Gourmia air fryer reached proper cooking temperature.
Use Oven Thermometer for Accuracy
Place an oven thermometer in the center of the empty basket during preheating. After the cycle completes, wait 2 minutes for stabilization before checking. If readings vary beyond ±10°F from your set temperature, your unit may need calibration or cleaning. This simple verification step prevents countless cooking disasters caused by inaccurate temperature readings.
Recognize Visual Heat Indicators
A properly preheated Gourmia produces visible heat shimmer when you open the basket briefly. The basket surface should immediately sizzle when flicked with water drops—if water evaporates slowly, extend preheating by 1-2 minutes. The basket handle should feel warm but not uncomfortably hot to touch, indicating ideal preheating conditions.
Eliminate Common Preheating Mistakes Immediately
Even experienced users make errors that compromise results and appliance longevity.
Never Preheat with Accessories Inside
Absolutely never preheat with parchment paper, paper liners, or plastic accessories in the basket—they can burn, melt, or blow into heating elements causing damage. Only preheat with metal accessories specifically designed for high-temperature use, adding 1-2 minutes to standard preheat time when using them.
Fix Basket Positioning Problems
A partially inserted basket triggers safety shutoffs and causes uneven heating. Always push the basket until it clicks firmly into place—clean the basket track monthly to prevent sticking that leads to improper positioning. This simple action ensures consistent preheating and prevents frustrating error messages during operation.
Troubleshoot Preheating Failures Like a Pro
When your Gourmia air fryer won’t preheat properly, these solutions get you cooking again.
Solve Extended Preheat Times
If preheating exceeds 8 minutes consistently, check these critical factors:
– Basket fully inserted and locked in place
– Air vents clear of dust and debris
– Crisping tray properly positioned
– Unit placed with adequate 5-inch clearance
Decode Error Messages Quickly
- E1: Basket positioning error—remove and firmly reinsert
- E2: Overheating protection—let unit cool 30 minutes before retry
- E3: Temperature sensor issue—contact Gourmia support with model number
Energy-Smart Preheating Strategies
Preheating consumes 1,200-1,700 watts—use these techniques to maximize efficiency.
Skip Preheating When Appropriate
Save energy by skipping preheating for vegetables, reheated leftovers, and slow-cooking items that don’t require immediate searing. Reserve preheating for foods needing that crucial initial burst of heat: frozen fries, breaded meats, or baked goods. This selective approach cuts energy use by up to 30% without compromising results.
Batch Cooking for Maximum Efficiency
Cook multiple food types during one preheat cycle—start with items requiring highest temperature, then lower settings for subsequent batches. The residual heat reduces preheating needs for later items, saving both time and electricity. This strategy is perfect for meal prep days when cooking multiple components.
Advanced Preheating Techniques for Perfect Results
Elevate your air frying skills with these professional methods.
Multi-Stage Preheating for Thick Cuts
For thick meat cuts like chicken breasts or pork chops, use two-stage preheating: heat to 400°F for 3 minutes, then reduce to cooking temperature for 2 minutes. This creates superior searing while maintaining precise cooking temperature throughout the entire cooking cycle, preventing overcooked exteriors with underdone centers.
Altitude Adjustments for Mountain Dwellers
At elevations above 3,000 feet, increase preheat time by 30-60 seconds. Lower air density affects heating efficiency, requiring slightly longer preheating. Monitor food closely—cooking times may need adjustment even after proper preheating due to reduced atmospheric pressure at higher elevations.
Monthly Maintenance for Reliable Preheating
Regular care ensures consistent preheat times throughout your air fryer’s lifespan.
Deep Clean Heating Elements
Clean the heating element area monthly with a damp cloth (unit must be completely cool and unplugged). Built-up residue acts as insulation, requiring longer preheat times. Descale interior surfaces using a 1:1 vinegar-water solution for 30 minutes when cool to remove mineral deposits that affect heating efficiency.
Monitor Performance Changes
Track your preheat times monthly—gradual increases indicate maintenance needs. If preheating suddenly takes twice as long, check for blocked vents or contact Gourmia support for heating element inspection. Consistent preheating performance ensures your recipes deliver reliable results every time.
Mastering how to preheat Gourmia air fryer models correctly transforms everyday meals into crispy, evenly-cooked perfection. Whether you’re searing frozen vegetables or baking delicate pastries, proper preheating sets the foundation for success. Start with these precise guidelines, adjust for your specific model and kitchen conditions, and enjoy consistently excellent results every time you cook. The small investment in proper preheating delivers outsized rewards in texture, flavor, and cooking consistency that makes your Gourmia air fryer indispensable in the kitchen.


