
That leftover Philly cheesesteak in your fridge holds serious potential—but one wrong move with the microwave turns it into a soggy disaster. You’ve experienced it: the Amoroso roll dissolves into mush, cheese separates into greasy pools, and steak turns rubbery overnight. The solution? Your air fryer transforms yesterday’s disappointment into today’s masterpiece in under 5 minutes. Forget rubbery reheats—this method delivers crackling-crisp bread edges, perfectly melted cheese, and tender steak that tastes freshly made. I’ll show you the exact temperature settings, timing tricks, and pro techniques that guarantee restaurant-quality results every time you tackle how to reheat cheesesteak in air fryer.
The secret lies in the air fryer’s rapid, even heat circulation. Unlike microwaves that steam bread into oblivion or ovens that dry out fillings, the air fryer’s focused airflow crisps exteriors while gently warming interiors. No more sacrificing texture for convenience. Whether you’re reviving a Cheez Whiz-drenched classic or a veggie-loaded version, these techniques work for any cheesesteak. By the end of this guide, you’ll never dread leftovers again—and you’ll actually crave second-day sandwiches.
Diagnose Your Leftover Cheesesteak Before Heating
Your reheating success hinges entirely on pre-flight inspection. Skip this step and you’ll battle sogginess or dryness before the air fryer even powers on.
Remove Temperature-Sensitive Toppings Immediately
Never reheat lettuce, tomatoes, or mayo inside the air fryer—these turn slimy and bitter within 60 seconds of heat exposure. Pull off cold toppings now and set them aside in small bowls. This simple move prevents the “wilted lettuce syndrome” that ruins 90% of reheated cheesesteaks. If you spot condensation inside your storage container, pat the roll exterior dry with a paper towel to avoid steam buildup during heating.
Reinforce Weak Structural Points
Light, airy rolls like Amoroso’s become airborne missiles in your air fryer’s powerful airflow. Secure the top bun with two toothpicks inserted diagonally through both sides of the roll—position them where the filling meets the bread to anchor without creating cheese-leak holes. For overstuffed sandwiches, gently press down the top bun to compact fillings before inserting toothpicks. If your roll feels brittle (common after 48 hours refrigeration), skip toothpicks and wrap the entire sandwich in a single layer of parchment paper instead.
Counteract Dryness Proactively
Dry fillings are the enemy of juicy reheats. Lightly mist the steak and bread interior with water or beef broth using a spray bottle—just 2-3 pumps max. This isn’t about soaking; it’s reactivating moisture that evaporates during refrigeration. Watch for visual cues: if the cheese looks cracked or the steak fibers appear separated, add one extra spray. For cheesesteaks stored beyond 48 hours, place a small cup of water in the air fryer basket (away from the sandwich) during reheating to create gentle steam.
Configure Your Air Fryer for Cheesesteak Success

Most reheating failures stem from incorrect machine setup—not user error. Nail these settings to avoid burnt edges and cold centers.
Set the Exact Temperature for Your Sandwich Type
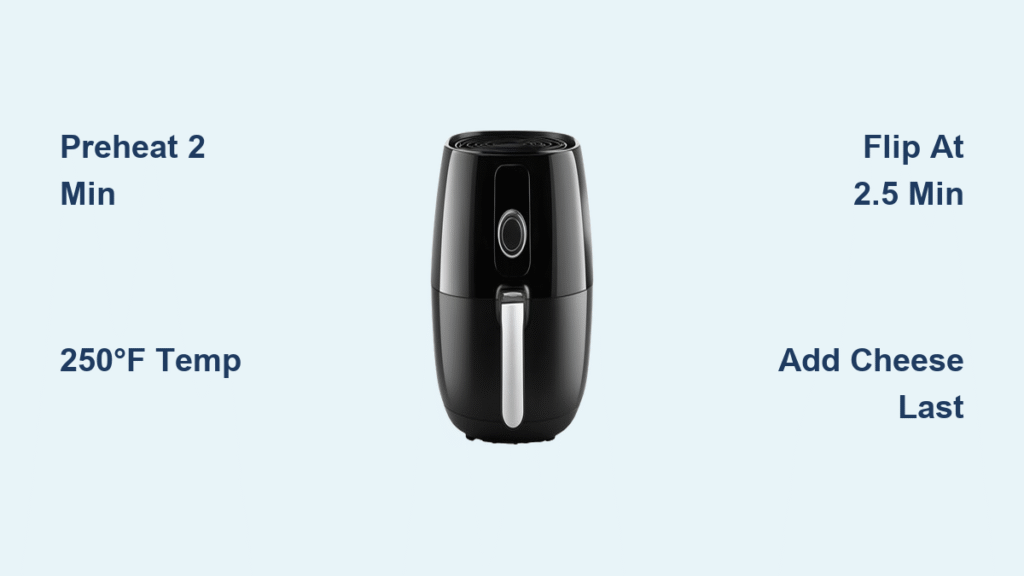
250°F (120°C) is your baseline for standard cheesesteaks—it crisps bread without browning edges. Crank to 300°F (150°C) only if you crave extra crunch, but set a timer for strict 3-minute intervals to prevent burning. Never exceed 350°F (175°C)—this creates charcoal-like bread exteriors while the center stays ice-cold. For frozen cheesesteaks, start at 300°F wrapped in foil (more on this later). Pro tip: If your air fryer has “reheat” presets, ignore them—they’re calibrated for pizza, not delicate sandwiches.
Preheat Strategically (Yes, Really)
Preheat for exactly 2 minutes at your target temperature—this eliminates the 90-second warm-up lag that causes uneven heating. Modern air fryers technically don’t require preheating, but skipping this creates cold spots where cheese congeals. Place the empty basket inside during preheating so it reaches optimal temperature. You’ll hear the fan stabilize—that’s your signal to load the sandwich.
Choose the Right Basket Liner
Use perforated parchment paper ONLY—not solid sheets. Solid parchment traps steam, creating a soggy-bottom disaster. Perforated liners catch cheese drips while maintaining critical airflow. If you lack perforated paper, place the sandwich directly on the basket rack—never wrap in foil during initial heating (this steams the bread). For messy Cheez Whiz versions, position the sandwich seam-side down to contain drips.
Execute the 5-Minute Reheating Sequence
Precision timing separates decent reheats from extraordinary ones. Follow this military-grade protocol for flawless results.
Position for Maximum Airflow Coverage
Place the sandwich dead-center in the basket, ensuring 1 inch of clearance from all sides. This guarantees 360-degree airflow penetration—critical for even crisping. Never stack sandwiches; even two small ones block circulation and create damp zones. For half-eaten sandwiches, position cut-side down to protect exposed fillings from direct heat blasts.
Flip at the Critical 2.5-Minute Mark
Rotate the basket 180 degrees OR flip the sandwich with tongs at exactly 2 minutes 30 seconds. This counters the air fryer’s directional heat bias that typically over-browns one side. Use silicone-tipped tongs (not forks!) to avoid piercing the roll and leaking precious juices. If reheating multiple sandwiches, rotate their positions in the basket during this flip.
Verify Temperature with Instant Precision
Pull an instant-read thermometer at 4 minutes—this is non-negotiable for food safety and texture control. Target 135°F (57°C) at the steak’s core for optimal juiciness (165°F only if originally undercooked). If below 110°F, add 30-second increments at 250°F. Never judge doneness by appearance alone—a golden-brown exterior can hide a cold center. Pro move: Insert the thermometer through the roll’s side seam to avoid visible holes.
Elevate Your Reheated Cheesesteak with Finishing Touches
The real magic happens after the air fryer cycle ends. These 60-second upgrades transform good reheats into legendary ones.
Melt Cheese Like a Philly Pro
Add a fresh cheese slice during the last 45 seconds if yours didn’t fully re-melt. American cheese works fastest for seamless melting, while provolone needs 10 extra seconds. For authentic Whiz-drip, spoon 1 tsp extra Cheez Whiz on top before the final crisp cycle. Never add cheese pre-reheat—it burns and turns bitter under prolonged heat.
Revive Flavors with Strategic Seasoning
Dust with garlic powder or steak seasoning IMMEDIATELY post-heat while surfaces are warm and receptive. The heat activates aromatics without burning—unlike pre-reheat seasoning which chars instantly. For pepper-jack lovers, add thin jalapeño slices during the last minute. Skip salt though; refrigerated meats already concentrate sodium during storage.
Rebuild with Fresh Toppings
Assemble in this order: hot sandwich → fresh lettuce → tomatoes → condiments. The residual heat slightly wilts lettuce for perfect texture—not raw crunch nor slimy mush. For maximum contrast, chill your toppings 10 minutes pre-assembly. Pro tip: Place tomatoes between lettuce and steak to prevent bread sogginess.
Rescue Common Reheating Disasters
Even with perfect technique, surprises happen. These fixes save your sandwich in under 90 seconds.
Fix Soggy Bread in 60 Seconds
Separate roll halves from filling immediately. Heat empty roll halves at 350°F for 60 seconds while warming filling wrapped in foil at 250°F for 2 minutes. Reassemble—the roll regains structural integrity while filling stays juicy. Prevention tip: Always store rolls and fillings separately after day one.
Repair Overcooked Steak Instantly
Slice steak into thinner strips and toss with 1 tsp beef broth in a microwave-safe bowl. Heat 20 seconds while the roll crisps. For future reheats, wrap the entire sandwich in foil for the first 3 minutes at 250°F, then unwrap for final crisping. Never exceed 5 minutes total for standard sandwiches.
Reverse Cheese Separation
Scrape separated oil into a small bowl and mix with 1 tsp cornstarch. Microwave 15 seconds to thicken, then drizzle over reheated sandwich. Next time, reduce temperature to 225°F and extend time by 90 seconds—gentle heat prevents fat separation.
Master Frozen Cheesesteak Reheating
Frozen sandwiches require a two-stage approach. Get this wrong and you’ll serve frozen centers wrapped in burnt bread.
Thaw and Crisp Without Compromise
Wrap frozen cheesesteak in double foil and heat at 300°F for 8 minutes. This gently thaws the interior without scorching. Unwrap and re-crisp at 350°F for 90 seconds—watch like a hawk to prevent burning. Never skip the foil stage; direct heat creates lava-hot exteriors with ice-cold cores.
Deconstruct for Ultimate Quality
Store components separately: filling in one bag, bread in another. Reheat filling in a foil pouch at 300°F for 3 minutes, toast bread at 325°F for 2 minutes, then assemble with fresh cheese. This method preserves ideal texture for all elements—critical for high-moisture veggies like peppers.
Storage Protocols for Reheating Success
How you store leftovers determines reheating outcomes. Follow these rules for consistently crisp results.
Refrigerate Like a Pro
Wrap ONLY the filling in foil, leaving bread separate in a paper bag. This prevents bread sogginess from trapped moisture. Never refrigerate with toppings attached—condensation from lettuce creates a steam chamber. Consume within 72 hours; day-four cheesesteaks lose structural integrity even with perfect reheating.
Freeze for Future Victory
Double-wrap fillings: plastic wrap first (pressed against meat), then heavy-duty foil. Label with date—two months max for quality. Always reheat directly from frozen; thawing creates mushy bread. Pro tip: Freeze fillings in portion-sized logs for easy single-serving reheats.
Pro Tips for Next-Level Results
- Butter the roll cut-sides before reheating for golden-brown edges
- Place a 1/4 cup water in basket during first minute for moisture boost
- Position cheese on TOP of steak (not inside) for maximum melt coverage
- Never reheat more than one sandwich at a time—crowding kills crispiness
Your air fryer just transformed yesterday’s leftovers into today’s triumph. Run this final checklist before biting: golden-crisp bread edges, fully melted cheese, steak at 135°F+, fresh toppings added post-heat, and zero sogginess. Master these techniques, and you’ll start ordering extra cheesesteaks just for tomorrow’s air fryer victory.


