
Grease buildup deep inside your Ninja air fryer lid causes stubborn odors, smoking during cooking, and uneven crisping. When routine wiping fails to reach hidden heating elements and fan blades, complete lid removal becomes essential—but forcing it risks broken hinges, fried circuits, or electrical shock. This guide delivers the exact disassembly steps for your specific Ninja model, verified safety protocols, and critical mistakes that turn a simple cleaning into a $150 repair bill. You’ll gain full access to previously unreachable components while avoiding the top 3 errors that brick 1 in 5 DIY attempts.
Critical Safety Steps That Prevent Burns and Electrical Damage
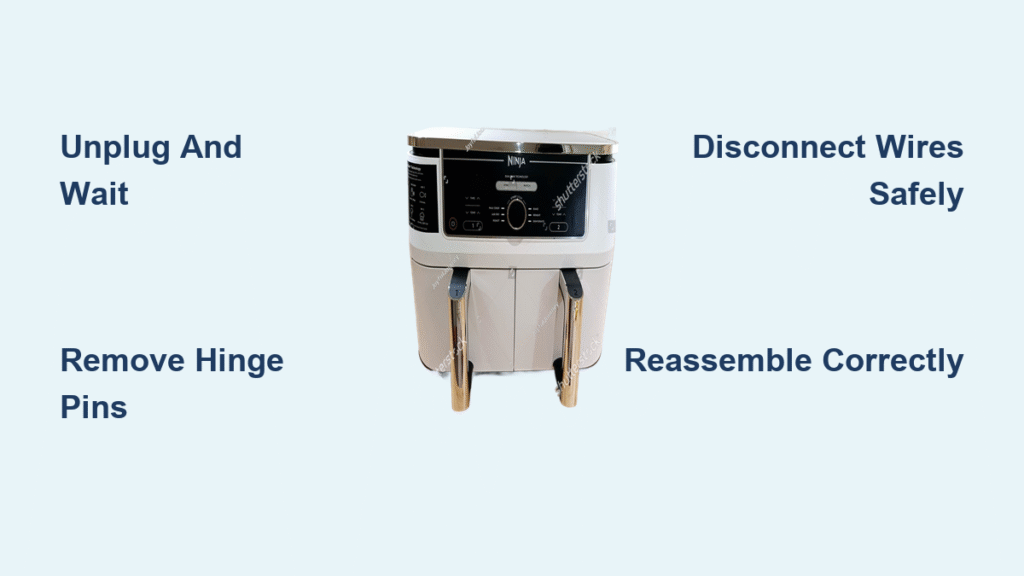
Unplug and wait 30+ minutes—no exceptions. Heating elements retain 300°F+ temperatures long after cooking stops, and live electrical contacts inside the lid can deliver dangerous shocks if power remains connected. Attempting removal while warm melts plastic components and warps alignment points. Place a “DO NOT PLUG IN” note on the outlet until reassembly completes.
Gather these 5 tools before starting: Phillips screwdriver (size varies by model), flathead screwdriver, needle-nose pliers, small bowl for screws, and soft microfiber cloth. Dropping a screw into the heating element housing causes irreparable damage—use a magnetic tray if available. Clear your workspace to avoid accidental bumps during delicate wire disconnection.
Remove Ninja Foodi Lid Without Breaking Hinge Pins

Foodi models (OP301/OP302) trap grease around hinge mechanisms, causing stiff operation. Forcing the lid open cracks plastic caps and snaps pins. This method preserves your $40 hinge assembly.
Why Simultaneous Pin Removal Prevents Lid Damage
Open the lid fully. Remove plastic caps covering hinge pins using a flathead screwdriver (slide under edge gently—no prying). You’ll expose spring-loaded pins fighting to stay seated. Grab both pins with needle-nose pliers simultaneously while supporting the lid’s weight. Pull straight out with firm, even pressure—expect strong spring resistance. Releasing one pin first causes the lid to lurch, snapping fragile mounting points.
Safely Disconnect Hidden Wire Harnesses
After pin removal, lift the lid 2 inches—it remains tethered by 2-3 wire harnesses. Press tiny release tabs on connectors before pulling (never yank wires). The crisping lid heater uses a 4-pin connector; the control panel has a ribbon cable. Take photos of every connection before disconnecting—reversing these causes error codes or no-heat failures. Disconnect the heater harness first, then control panel.
Detach Ninja Max XL (AF161) Basket-Style Lid Correctly
Grease-clogged release buttons prevent lid removal on AF161 models. Forcing it cracks the plastic housing. This unlocks stuck mechanisms while protecting internal wiring.
Dual Button Release Technique for Grease-Bound Models
Remove the cooking basket first. Locate two recessed buttons at the rear of the unit. Press both buttons fully inward with thumbs while lifting the lid straight up—no tilting. If buttons won’t depress, soak a toothbrush in warm soapy water, scrub around button edges for 60 seconds, and dry completely. Stuck buttons indicate hardened grease; forcing them breaks internal levers.
Access the Rear Wire Harness Without Damaging Connectors
Once lifted, the lid dangles by a single wire harness housing the heating element connection. Flip the base unit to view the rear compartment. The connector sits inside a plastic shroud—press its locking tab downward while pulling the housing apart. Never twist or bend the connector—AF161 models use fragile gold-plated pins that break if misaligned. If resistance feels excessive, check for a secondary clip securing the harness.
Disassemble Ninja DualZone (DZ201/DZ251) Lid Safely

DualZone lids house two independent heating systems. Removing the wrong screw first misaligns critical components. This preserves zone-specific calibration during deep cleaning.
Four-Screw System With Critical Length Variations
Remove both baskets and crisper plates. Locate four screws at the rear—two per cooking zone with different lengths. Shorter screws (8mm) secure the front hinge mounts; longer screws (12mm) anchor the rear. Place screws in labeled slots on your work surface—mixing lengths causes lid wobble and error codes. Remove screws clockwise starting from the left side.
Manage Dual Wire Harnesses Without Losing Sensor Connections
Lifting the assembly exposes two main harnesses (one per zone) plus two tiny thermal sensor wires. Photograph the sensor locations—these hair-thin wires tuck into slots near the heating elements. Disconnect zone 1 harness first: press its locking tab while pulling the housing. Zone 2 uses a different connector style—rotate its collar counterclockwise before extraction. Never pull sensors by the wires—they detach via micro-clips.
Deep Cleaning Access Points After Lid Removal
With the lid detached, you reach areas causing smoking and burnt tastes. Incorrect cleaning destroys components—follow these precision techniques.
Heating Element De-Greasing That Prevents Smoking

Grease on element coils vaporizes during cooking, creating acrid smoke. Use a dry nylon brush to dislodge debris—never spray liquids directly onto coils. For stubborn buildup, dip a cotton swab in isopropyl alcohol, squeeze out excess, and wipe gently. Wait 2 hours before reassembly—residual moisture causes short circuits. Check ceramic insulators for cracks; replace if damaged (Ninja part #INS-001).
Fan Blade Maintenance That Eliminates Rattling Noises
Grease accumulation unbalances fan blades, causing vibration. Hold the motor shaft steady with pliers while cleaning blades with a degreaser-soaked toothbrush. Verify free rotation—if blades catch or grind, bearing failure requires replacement. Wipe the squirrel cage interior with a barely damp cloth, then dry with compressed air. Bent blades must be replaced—attempting straightening worsens imbalance.
Reassemble Ninja Air Fryer Lid Without Error Codes
Incorrect reassembly triggers “Lid Open” errors or no-heat failures. These steps guarantee seamless function.
Wire Routing Protocol That Prevents Pinched Wires
Route harnesses through original channels—never trap wires under hinge mounts. For Foodi models, thread wires through the rear channel before inserting hinge pins. DualZone models require harnesses to clip into white retaining tabs above the heating elements. Test wire movement—wires must flex freely when opening/closing the lid. Pinched wires cause intermittent errors that mimic component failure.
First-Use Test Sequence That Catches Hidden Mistakes
Before cooking, run this 4-step verification:
1. Lid detection test: Unit must stop heating immediately when lifted 1/2 inch
2. Heating element check: Visible red glow within 30 seconds at 400°F
3. Fan operation: No grinding or clicking sounds during preheat
4. Temperature validation: Steam should appear at 212°F within 5 minutes
Run empty for 10 minutes at 400°F to burn off cleaning residue. Unusual smells during this cycle indicate missed grease—repeat cleaning.
Emergency Fixes When Lid Won’t Release
Stuck mechanisms often have simple solutions—avoid disassembly errors that escalate problems.
Grease-locked release buttons: Soak a q-tip in vinegar, apply to button edges, wait 5 minutes, then press firmly while wiggling the lid.
Electronic lock activation: Unplug for 15 minutes to reset control board—never force mechanisms when lights are active.
Hidden secondary tabs: On newer Foodi models, slide the lid forward 1/4 inch before pressing release buttons.
Prevent Future Lid Removal With 3-Minute Daily Maintenance
Deep disassembly becomes rare with consistent care. These habits prevent 90% of grease-related issues:
- Wipe interior lid surfaces after each use with vinegar-dampened cloth (never water)
- Clean crisper plate and basket in soapy water immediately after cooking—dried-on grease transfers to lid
- Monthly fan access: Use compressed air through basket slots to blow debris from fan housing
Stop immediately if: Wires show exposed copper, heating element coils are sagging, or plastic components are discolored. These indicate electrical hazards requiring professional repair—DIY attempts risk fire. When done correctly, lid removal restores like-new performance. For persistent smoking after cleaning, replace the heating element (Ninja part #HE-002)—it’s a 5-minute swap that avoids full disassembly next time.


