
That stubborn grease buildup is affecting your cooking results, and you know it’s time to properly clean your Cosori air fryer. Before you can tackle the hidden grime that impacts performance, you need to know exactly how to take apart Cosori air fryer components safely and efficiently. This comprehensive guide provides the precise disassembly steps you need whether you’re troubleshooting heating issues, eliminating persistent odors, or performing essential maintenance that requires accessing internal components.
Unlike simpler kitchen appliances, your Cosori air fryer contains multiple integrated systems that work together to create that perfect crispy texture. Taking apart your Cosori air fryer properly ensures you don’t damage critical components like the heating element or control board during the process. By following these specific steps, you’ll maintain your appliance’s functionality while extending its lifespan through proper care.
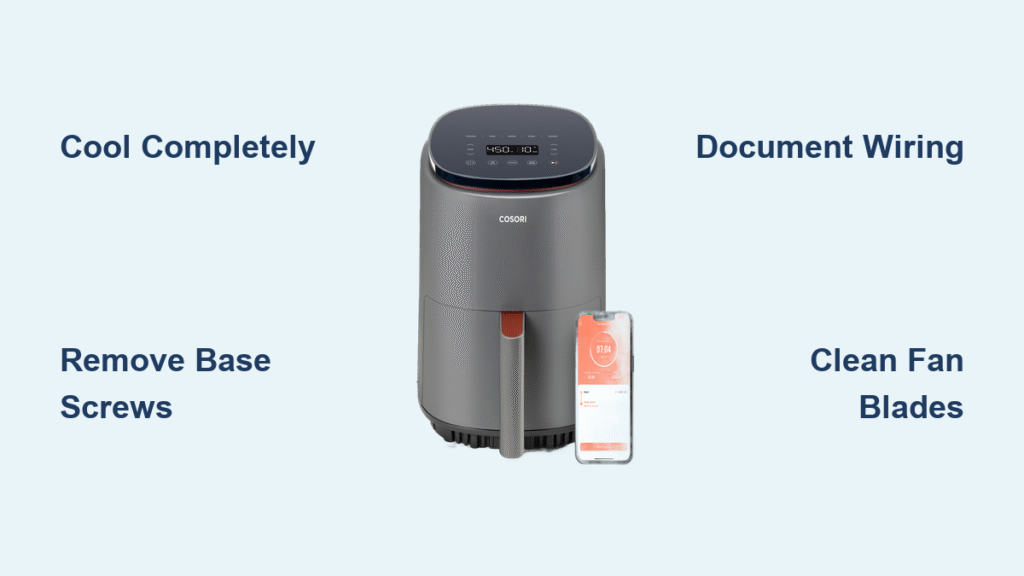
Safety First: Cool Down Protocol
Wait at least 30 minutes after unplugging your air fryer before attempting any disassembly. The ceramic heating element retains extreme heat that can cause severe burns even when the unit appears cool to the touch. To safely check temperature, hover your hand near the cooking chamber—never directly touch internal surfaces until you’re certain they’ve cooled completely.
Create your workspace on a clean, well-lit surface with a soft towel spread out to protect components and prevent small parts from rolling away. Keep a small magnetic tray or bowl nearby for organizing screws—this simple step prevents the frustration of missing hardware during reassembly. Remember that rushing this cooling phase is the most common cause of beginner mistakes when taking apart your Cosori air fryer.
Essential Tools for Cosori Air Fryer Disassembly
Primary toolkit you’ll need:
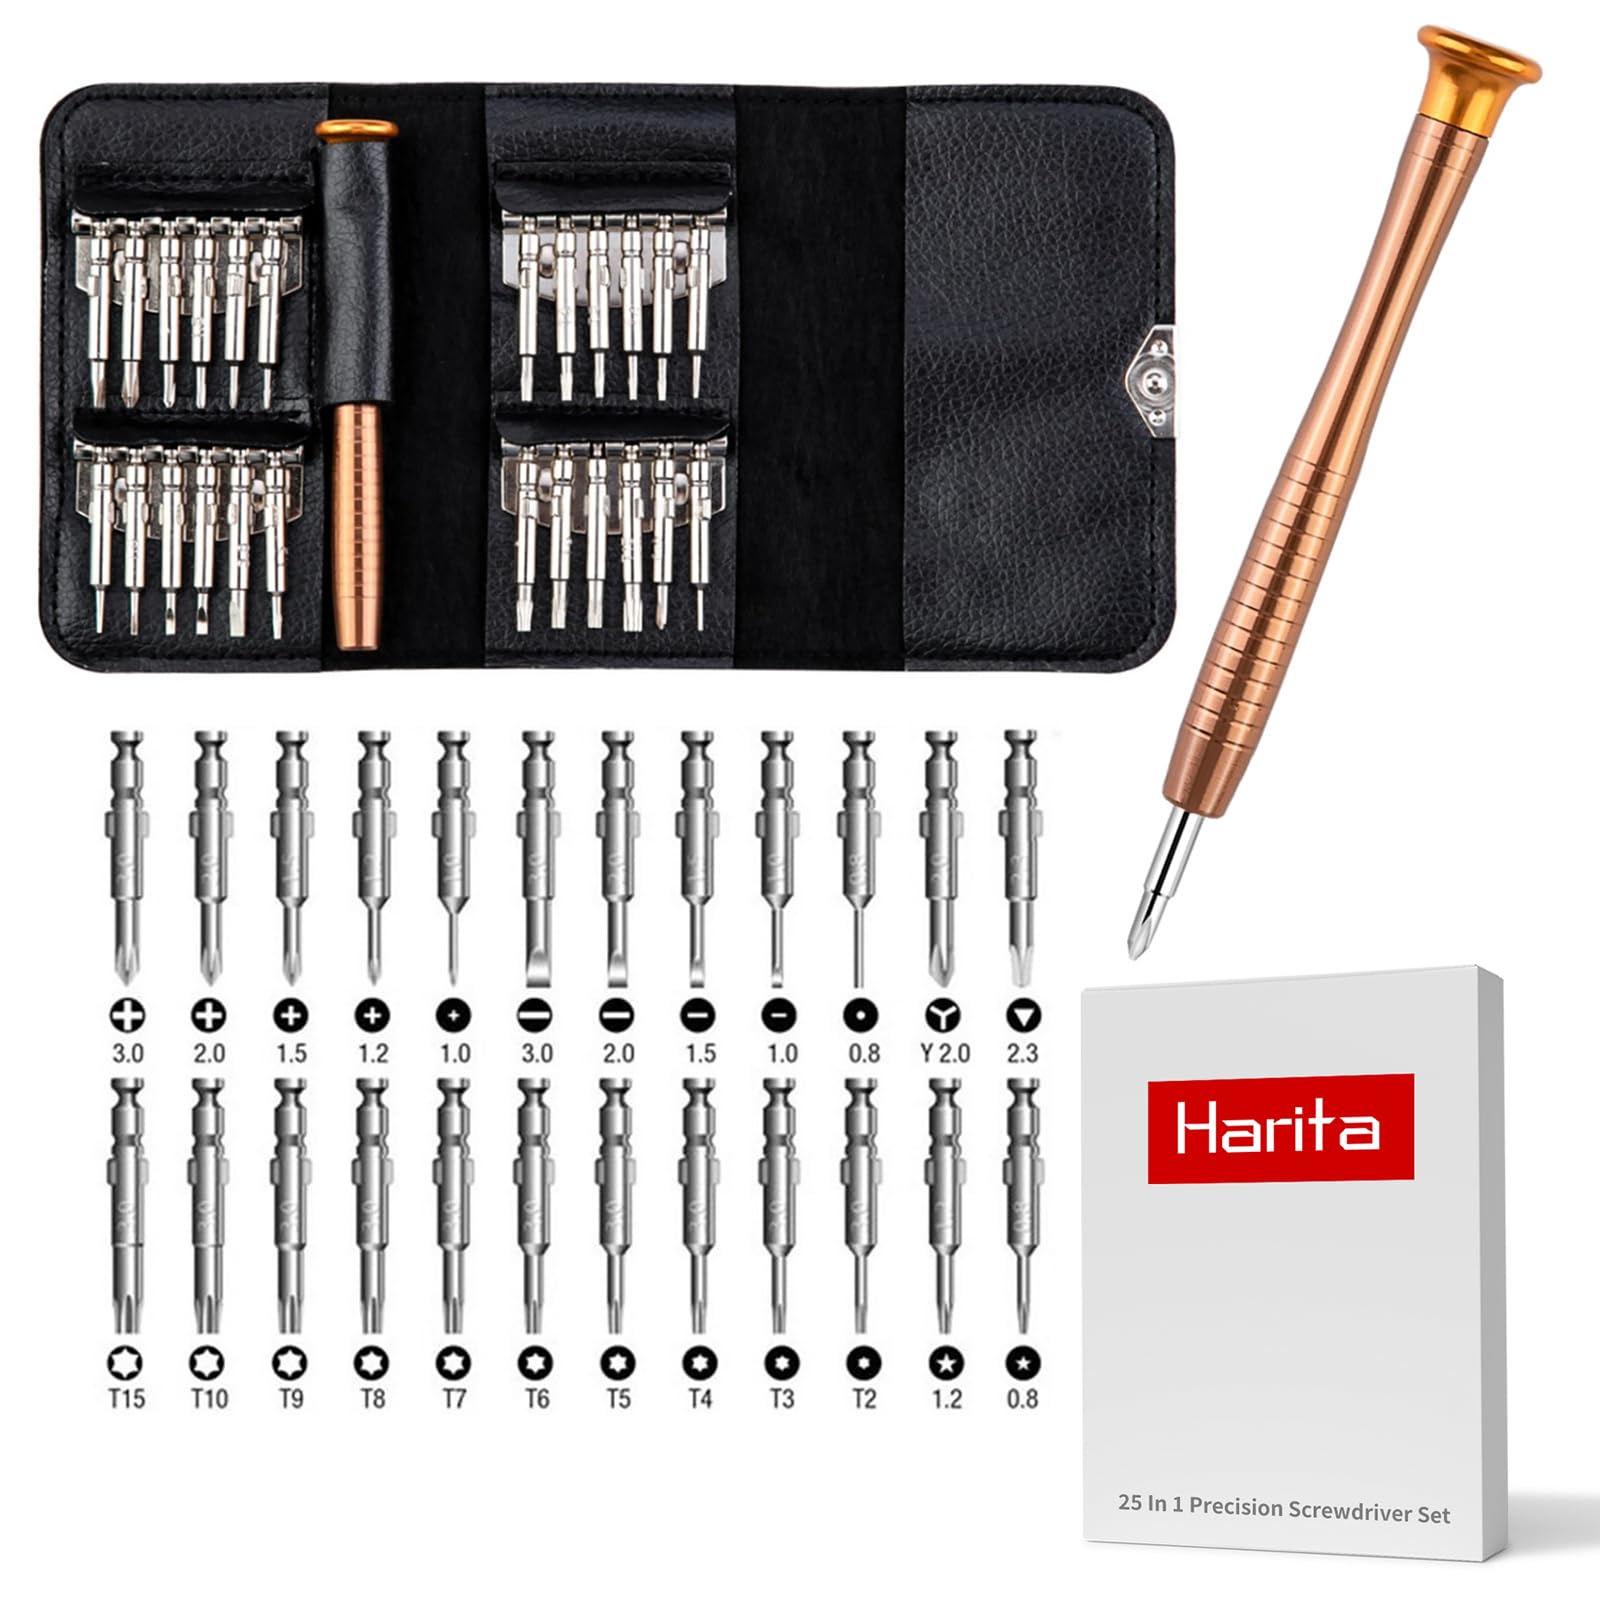
– Phillips head screwdriver (#1 and #2 sizes)
– Flathead screwdriver or plastic pry tool
– Needle-nose pliers for delicate wire connections
– Small magnetic parts tray for hardware organization
– Clean microfiber cloth for component placement
Pro tip: Keep your smartphone ready to take reference photos at each disassembly stage. These visual guides prove invaluable when you’re putting your Cosori air fryer back together, especially when dealing with wire connections that must be restored exactly as found. Without these photos, many users struggle with reassembly and accidentally create electrical hazards.
Remove Basket Components Before Full Disassembly
Start by lifting out the cooking basket and crisper plate—these components detach without tools and should be cleaned immediately if greasy. This preliminary step prevents transferred grease from complicating the disassembly process and gives you clean components ready for reinstallation. If your basket feels sticky or has visible residue, wash it thoroughly before setting it aside.
Critical step: Take a photo showing how the basket sits in the housing with the release button engaged. This simple visual reference ensures proper alignment during reassembly—a common pain point when taking apart your Cosori air fryer that many guides overlook. The basket mechanism must click into place correctly to function properly after reassembly.
Access Bottom Panel Screws Safely
Flip your Cosori air fryer upside down to locate the base plate screws, typically 4-6 Phillips head fasteners arranged in a rectangular pattern. Carefully check for hidden screws under rubber feet—gently pry these up with a flathead screwdriver to reveal additional fasteners that many users miss during initial disassembly attempts. These hidden screws secure critical structural components that affect stability.
Document screw positions as you remove them using your magnetic tray with labeled sections. Some screws may be different lengths, and mixing them up during reassembly can cause alignment issues or damage internal components. Taking apart your Cosori air fryer properly requires this level of organization—don’t skip this step even if you’re confident you’ll remember.
Lift Base Plate Without Damaging Wires
Separate the base plate slowly and carefully to avoid damaging internal wiring. As you lift, watch for the power cord’s strain relief connection—some models have wires attached here that shouldn’t be disconnected unless necessary for repair. Note the wire routing pattern before fully removing the plate, as this guides proper reinstallation.
The base plate often contains the crumb tray mechanism, which accumulates debris affecting airflow and heating efficiency. Clean this thoroughly while accessible using a soft brush and compressed air—this maintenance step significantly improves performance after you’ve taken apart your Cosori air fryer and reassembled it.
Identify Critical Internal Components

What you’ll see inside your disassembled Cosori air fryer:
– Circular or rectangular heating element assembly
– Fan motor mounted to the heating chamber
– Control board housed in protective casing
– Temperature sensor with thin wire connections
– Wiring harness connecting all components
Take detailed reference photos before proceeding—these visual guides prove invaluable during reassembly when wire positions become unclear. Many users who skip this step when taking apart their Cosori air fryer struggle to reconnect components properly, leading to malfunction or safety hazards.
Remove Control Panel Without Damage
Access the control panel screws from inside the unit—these typically secure the PCB that manages your air fryer’s functions. The control panel usually slides upward or outward after removing its securing screws. Apply gentle pressure during removal to prevent cracking the plastic housing, which is a common mistake when taking apart your Cosori air fryer.
Handle control boards by the edges only and avoid touching circuit traces. These components contain static-sensitive elements that can be damaged by improper handling. If you’re taking apart your Cosori air fryer for cleaning rather than repair, you may not need to fully disconnect the control panel—just enough to access surrounding areas.
Heating Element Disconnection Process
Document wire positions thoroughly before disconnecting anything—the heating element uses 2-4 screws for mounting plus quick-disconnect terminals. Take a close-up photo of wire colors and positions to prevent dangerous misconnections during reassembly. The heating element may have attached thermal fuses that look like small cylindrical components—these critical safety devices must remain intact.
Handle the heating element with care as you remove mounting screws. This component is fragile and can crack if mishandled, rendering your air fryer inoperable. When taking apart your Cosori air fryer, never force connections—gently wiggle terminals loose if they feel stuck.
Extract Fan Motor Assembly Properly
Remove the mounting screws securing the motor to the heating chamber, then gently lift the assembly straight out. The attached fan blade may require careful wiggling to clear the housing—never force it as this can damage the motor shaft. Check blade condition for cracks or warping that cause vibration and noise during operation.
Clean the blades using a soft brush while accessible—built-up grease here reduces airflow efficiency and creates burning odors. When taking apart your Cosori air fryer, this is your opportunity to address performance issues that regular cleaning can’t reach. Spin the fan manually after cleaning to ensure smooth operation before reassembly.
Basket Release Mechanism Deep Cleaning
Access the handle assembly by removing its securing screws to reach the spring-loaded release mechanism. This area accumulates grease and debris over time, causing sticky basket release that frustrates many users. Clean thoroughly with degreaser, ensuring the spring mechanism moves freely through its full range of motion.
Lubricate sparingly with food-safe silicone if needed—never use petroleum-based lubricants that can degrade plastic components. When taking apart your Cosori air fryer, this often-overlooked maintenance step resolves common usability issues that make the appliance feel less responsive.
Model-Specific Disassembly Variations

Cosori Pro Series (5.8QT) Special Considerations
Additional steps required:
– Remove upper rear vent screws before shell separation
– Control panel slides forward after top cover removal
– Heating element uses 3 screws instead of 4
Cosori Compact Series (3.7QT) Simplified Process
Key differences:
– Single-piece outer shell removes completely
– Control board integrated into top panel
– Two-wire heating element connection
Cosori Dual Blaze Series Advanced Disassembly
Critical considerations:
– Separate top and bottom heating elements
– Individual temperature sensors for each element
– More extensive wiring harness requiring careful documentation
Reassembly Critical Checklist
Before closing your Cosori air fryer:
– Verify all wire connections match your reference photos
– Ensure heating element sits flush in mounting bracket
– Check fan blade spins freely without wobbling
– Confirm control panel buttons align with housing openings
– Tighten base plate screws evenly in cross-pattern
Test before regular use by running the air fryer empty for 5 minutes at 350°F. Listen for unusual noises and check for proper heating—this safety step identifies reassembly errors before they cause damage. Taking apart your Cosori air fryer is only half the process; proper reassembly ensures continued safe operation.
When to Seek Professional Help
Disassembly becomes risky when you encounter:
– Cracked or damaged heating elements
– Melted wiring insulation
– Burnt control board components
– Persistent error codes after reassembly
– Electrical arcing or burning smells during testing
Don’t continue troubleshooting if you notice these serious issues when taking apart your Cosori air fryer—consult a professional technician to avoid safety hazards. Some problems require specialized knowledge that exceeds DIY repair capabilities, especially with electrical components.
Final reminder: Taking apart your Cosori air fryer properly requires patience and organization, but the payoff is significantly improved performance and extended appliance life. By following these precise steps and documenting each phase, you’ll transform what seems like a daunting task into manageable maintenance that keeps your air fryer functioning like new. Remember to clean accessible areas monthly to minimize the need for full disassembly—your future self will thank you when cooking perfect crispy meals with your well-maintained Cosori air fryer.


