

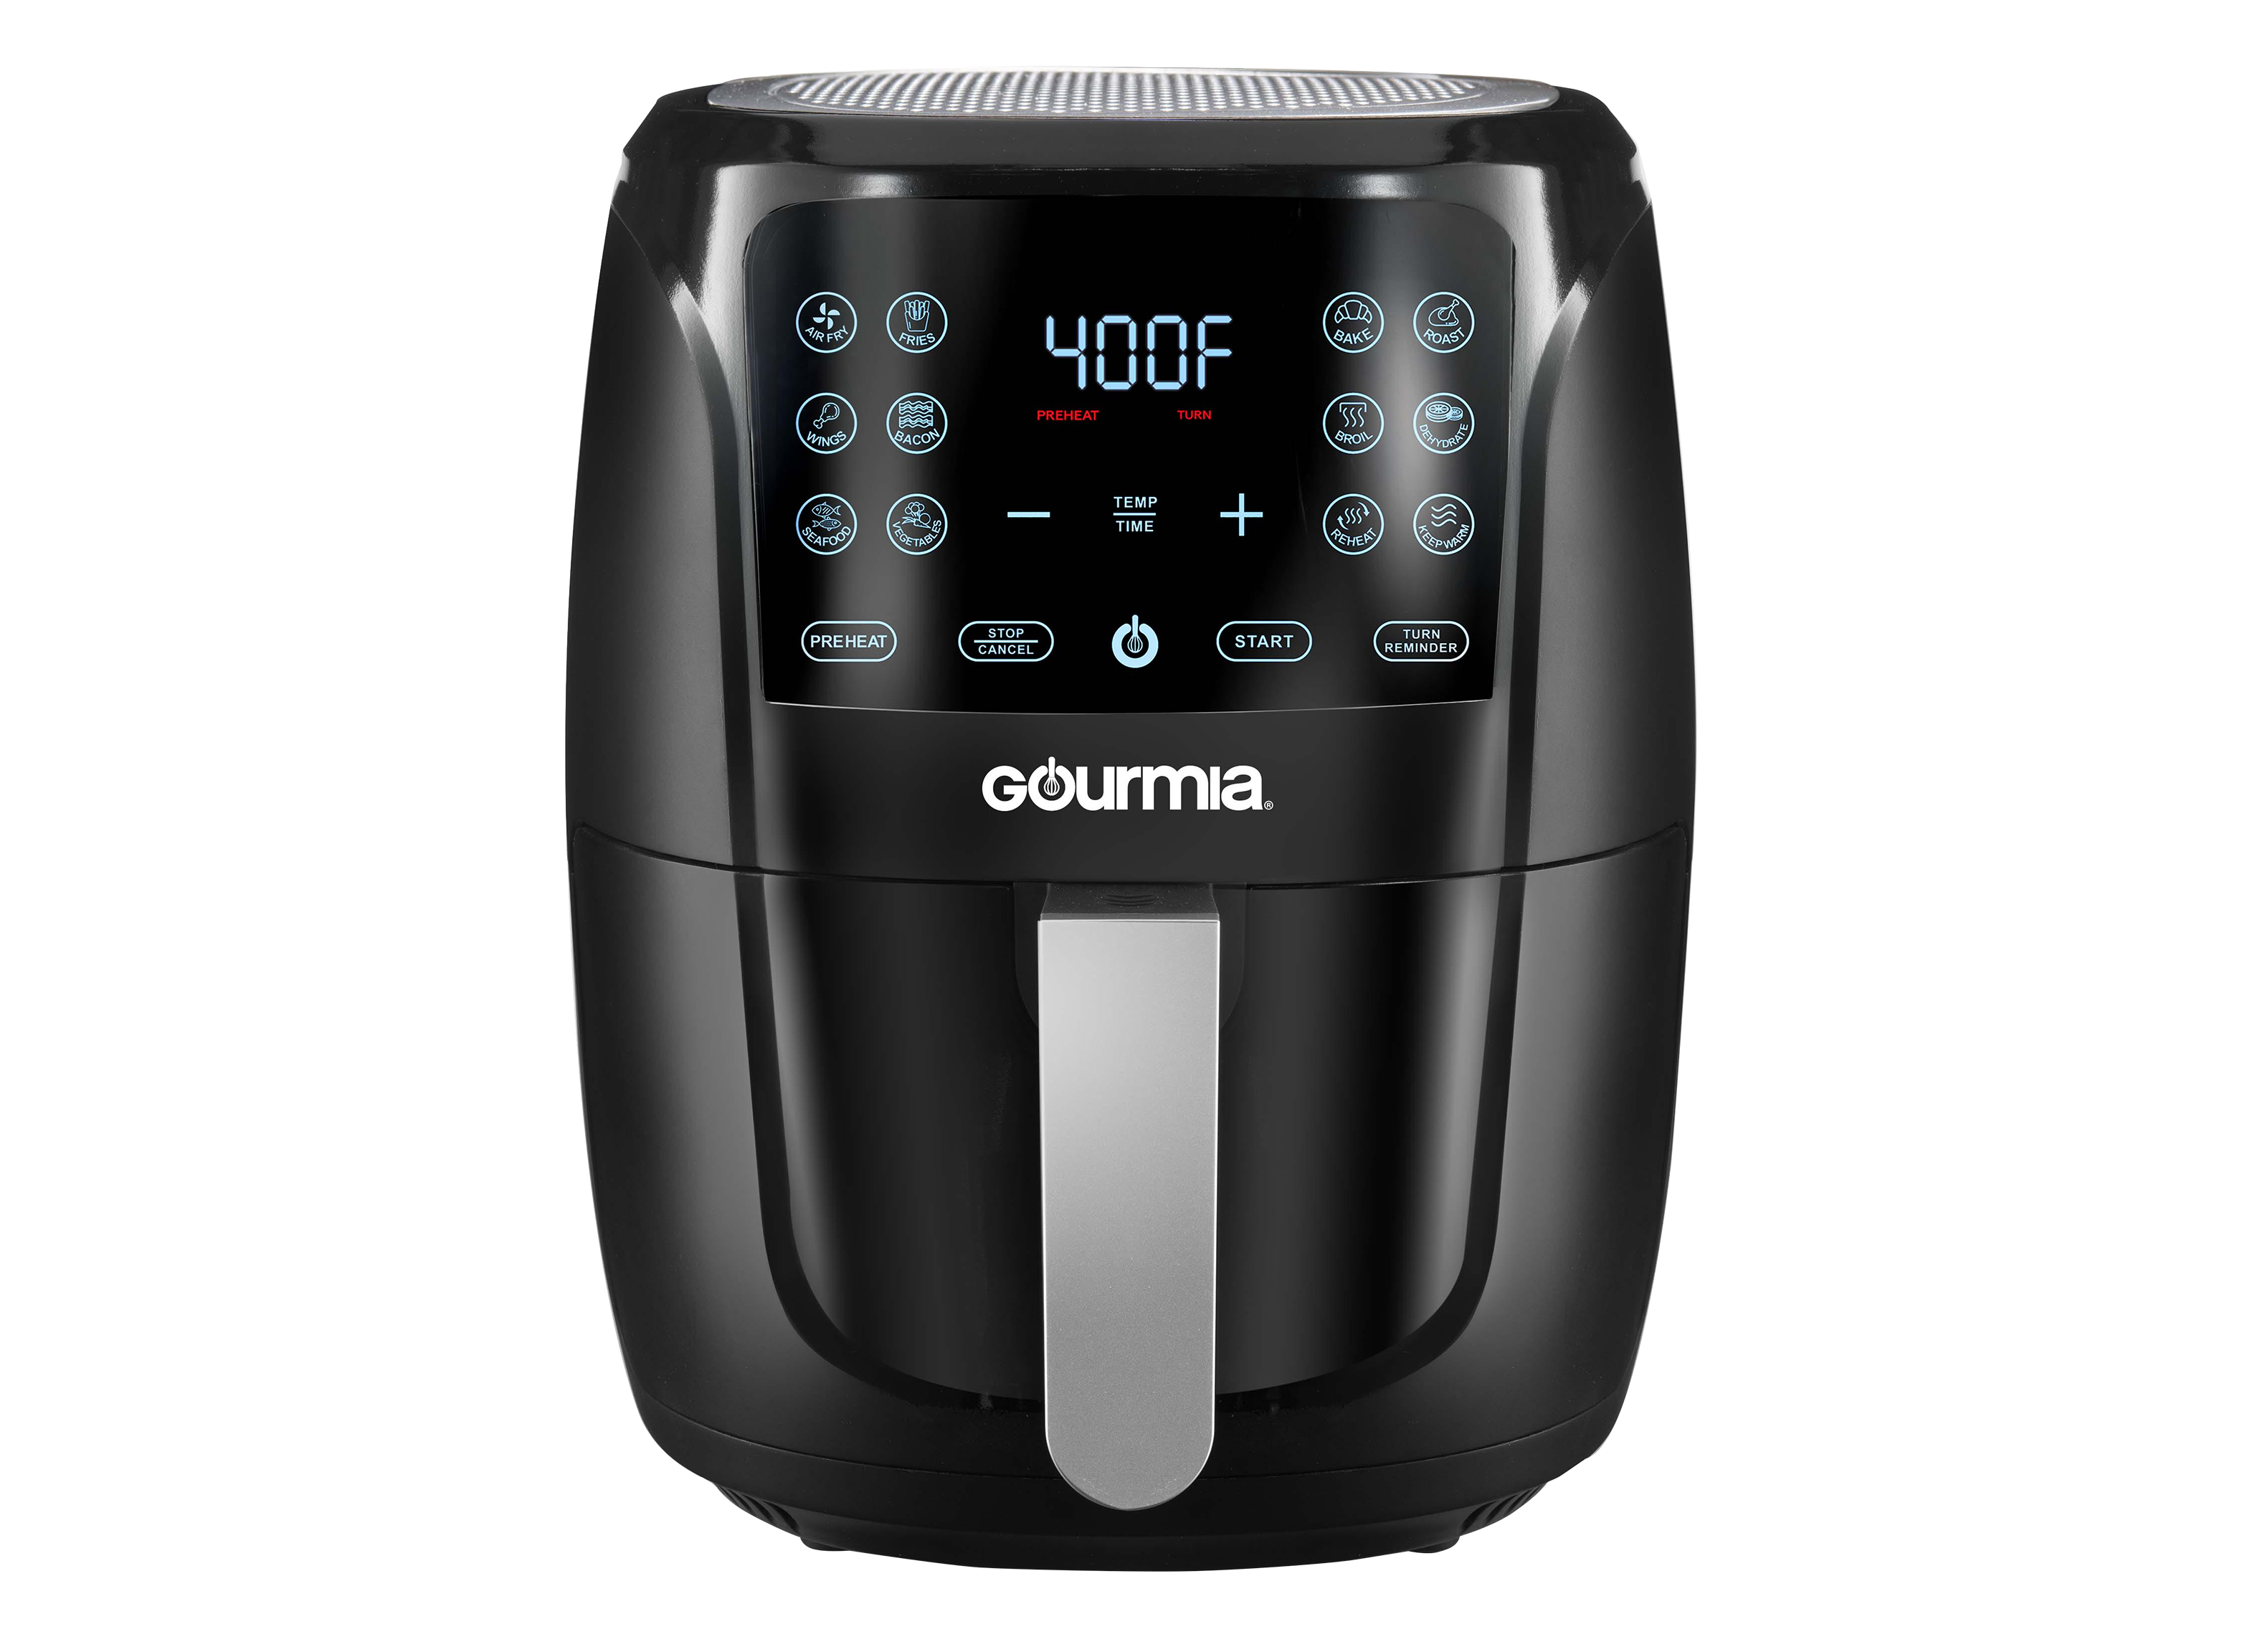
Your Gourmia air fryer suddenly stopped heating evenly, or maybe it’s making that unsettling grinding noise that makes you dread every cooking cycle. You’ve tried basic troubleshooting, but now you’re staring at the unit wondering: Can I safely take apart my Gourmia air fryer without causing permanent damage? The truth is, with the right approach, you can confidently disassemble your appliance for deep cleaning, part replacement, or repairs. This complete guide delivers the exact steps to take apart your Gourmia air fryer safely—no prior technical skills required—while avoiding the costly mistakes that turn a simple fix into a $200 replacement.
Unlike generic appliance guides, this walkthrough addresses Gourmia’s unique engineering quirks across all major series (GAF6, GAF8, GAF12). You’ll learn where manufacturers hide screws under rubber feet and warranty stickers, how to handle fragile heating elements, and why certain models require specialized sequences. By the end, you’ll know precisely how to take apart your Gourmia air fryer while preserving warranty coverage where possible. Let’s transform that intimidating black box into accessible components you can troubleshoot like a pro.
Critical Safety Precautions Before Disassembly
Skipping these steps risks severe burns or electric shock—never proceed without completing this checklist.
Complete Cool-Down Protocol
Wait at least 60 minutes after your last use before touching internal components. Gourmia’s quartz heating elements retain scorching temperatures (over 400°F) long after the exterior cools—a frequent cause of third-degree burns during DIY repairs. Verify cooling by placing your palm near the air vents; if you feel warmth, wait another 15 minutes. This patience prevents irreversible damage to your hands and sensitive internal wiring.
Power Disconnection Verification
Unplug directly from the wall outlet—don’t rely on the unit’s power switch. Confirm total power loss by checking that the display is completely dark with no standby lights. For hardwired installations, flip the dedicated circuit breaker off and test with a voltage meter. Pro tip: Photograph your plug’s orientation in the outlet before disconnecting; this eliminates reconnection errors that could fry the control board.
Workspace Preparation Checklist
Clear a waist-high surface with bright, shadow-free lighting—overhead kitchen lighting often creates dangerous blind spots. Lay down an anti-static mat to prevent electrostatic discharge that kills circuit boards. Use a magnetic bowl to organize screws by size and location (Gourmia mixes 8-12mm screws that look identical). Most crucially: place your phone on a stand to photograph every step—this 10-second habit prevents 90% of reassembly disasters.
Essential Tools for Gourmia Air Fryer Disassembly

Using incorrect tools strips Gourmia’s soft metal screws permanently. Gather these before starting.
Non-Negotiable Core Toolkit
- Phillips #1 and #2 screwdrivers with magnetic tips (standard flat Phillips will cam out and damage heads)
- T15 and T20 Torx bits (hidden in GAF8/GAF12 series under rubber feet)
- Small flat-head screwdriver with plastic tape wrapped around the shaft to prevent housing scratches
- Needle-nose pliers for delicate wire connector handling
Game-Changing Accessories
- Plastic pry tools (or old credit cards) to release snap-fit panels without cracking
- Hair dryer on low heat to soften plastic clips before prying (30 seconds max per section)
- Masking tape and fine-tip marker for labeling wire positions—Gourmia uses identical-looking connectors
- Headlamp to illuminate dark interior cavities where debris hides
Identify Your Gourmia Series First
Attempting disassembly without confirming your model risks broken clips and misaligned components. Flip your unit over and locate the model number (e.g., GAF687, GAF1200).
GAF6 Series Specific Protocol
Remove the top cover first using a hair dryer to soften perimeter clips—this exposes hidden screws under the handle. The control panel detaches via plastic clips (no screws), requiring gentle upward pressure at all four corners simultaneously. Note the extra metal shield around the heating element that must slide out before bracket removal.
GAF12 Series Critical Difference
Side panels come off before rear access—remove the two rubber feet on each side to expose Torx T20 screws. The digital display integrates directly into the front panel, meaning ribbon cables run through narrow channels. Never force separation; if resistance occurs, check for additional hidden screws under the basket release button.
GAF8 Series Snap-Fit Challenge
Start by heating the brand logo badge on the front panel for 20 seconds with a hair dryer—this releases the single hidden screw beneath. The entire shell uses interlocking plastic tabs requiring systematic prying: begin at the rear seam, work clockwise, and apply even pressure every 2 inches. Attempting front-first removal cracks the housing 80% of the time.
External Component Removal Sequence
Basket and Pan Disassembly
Pull the cooking basket straight out—no twisting. Press the red basket release button firmly to separate inner and outer frames. Remove the crisper plate and set aside. Crucial step: Pop off all rubber feet on the pan assembly with your thumbnail—they conceal 3-4 screws securing the bottom panel. Missing these traps you mid-disassembly.
Bottom Panel Access
Lay the unit on its side with controls facing up. Remove all visible bottom screws (4-6 total), placing each in your magnetic bowl in removal order. Watch for: Warranty stickers covering additional screws—peel back carefully to avoid tearing. If screws won’t budge, apply a drop of penetrating oil and wait 10 minutes before retrying with firm, steady pressure (no hammering).
Heating Element and Fan Access
Control Panel Removal Without Damage
Locate 2-3 screws on the rear edge (GAF6) or side seams (GAF12). Take a photo before unscrewing. Gently insert plastic pry tools at the seam and work around the perimeter—never apply force at corners. Disconnect ribbon cables by lifting the black retention flap (not pulling wires). For GAF8 models, note the spring-loaded door switch that disengages when the panel lifts.
Heating Element Extraction
The circular metal housing holds the element. Remove its 3-4 bracket screws while supporting the element with your free hand. Critical warning: Never touch the quartz tube with bare fingers—skin oils cause hot spots leading to cracks. Disconnect quick-release terminals by squeezing the connector sides and pulling straight out. Set the element on a heat-resistant surface away from your workspace.
Motor and Fan Disassembly

Fan Blade Removal Technique
After removing the 3-screw cover, photograph the blade orientation—installing it backward creates dangerous turbulence. Most Gourmia models use left-hand threads, so turn the blade clockwise to loosen. If stuck, tap the motor shaft gently with a plastic mallet while holding the blade. The blade should slide off smoothly; forcing it damages the shaft bearing.
Motor Assembly Extraction
Remove the 4 mounting screws while noting rubber vibration dampeners’ positions—they’re tiny and easy to lose. Lift the motor assembly straight out without tilting. Pro tip: Before disconnecting wires, label each connector with colored tape matching the control board’s markings. Gourmia often uses identical white connectors that look interchangeable but aren’t.
Reassembly and Testing Protocol
Wire Routing Safety Rules
Route wires exactly as photographed—Gourmia engineers design specific paths to prevent heat damage. Never pinch wires between metal components; check clearance by wiggling harnesses gently. Secure bundles with original zip ties or new ones cut to 4-inch lengths. Critical check: Ensure no wires rest within 1 inch of the heating element housing.
Post-Reassembly Validation
Run a 10-minute dry test at 350°F with the basket inserted. Listen for abnormal grinding (indicates misaligned fan) or clicking (loose heating element). Verify all buttons respond within 2 seconds. If cooking seems uneven, place an oven thermometer inside during a 5-minute test—readings should match the set temperature within 25°F.
Maintenance Tips to Avoid Future Disassembly
Clean internal components every 3 months to prevent grease buildup that causes overheating. Focus on fan blades and air vents using a soft brush and degreaser—never spray liquids directly into the unit. Inspect wire insulation for cracks during cleaning; replace frayed sections with silicone-covered wire. Replace rubber feet annually as they harden and lose grip, causing vibration damage.
Final reminder: If you encounter high-voltage components (thick red/black wires near the power cord), stop immediately. These carry lethal current even when unplugged. The $50 professional repair fee is insignificant compared to the $500 ER bill from an electrical accident. Knowing how to take apart your Gourmia air fryer safely means knowing when to call a pro—your health is the ultimate non-negotiable component.


