
Your new Bella 4-quart air fryer promises restaurant-quality crispy fries and golden chicken with minimal oil—but only if you master the controls correctly. Many beginners accidentally trigger safety shut-offs by blocking vents, wonder why their vegetables turn out soggy, or overload the basket past the critical fill line. This practical guide cuts through the confusion with step-by-step instructions verified against Bella’s official specifications. You’ll learn exactly how to load food, set precise temperatures, and leverage preset functions to achieve consistently crispy results starting with your very first batch of frozen fries.
Install Crisping Tray and Basket Correctly

Skipping this critical setup step causes uneven cooking and safety errors. Place the crisping tray flat at the bottom of the cooking chamber first—this catches drippings while allowing hot air to circulate underneath your food. Then slide the basket assembly straight into the front opening until you hear a distinct click. That audible confirmation ensures the basket engages the internal sensors. Without this click, the unit won’t start, and forcing it can damage the rails.
Visual cue: Look for alignment marks on the basket rails matching the chamber grooves. If resistance occurs, remove both components and check for food debris in the tracks. Never insert the basket without the crisping tray—that creates dangerous hot spots near the heating element.
Power On Your Bella Unit Properly
Plug your Bella air fryer into a standard 120V outlet on a heat-resistant surface like granite or ceramic tile. Press the power button—the digital display instantly lights up showing default settings (typically 350°F for 15 minutes). This immediate illumination confirms proper electrical connection. Crucially, maintain 4 inches of clearance on all sides before powering on; blocked vents trigger automatic shut-offs within 90 seconds of operation.
Pro tip: If the display stays dark after plugging in, check your circuit breaker—this model draws 1500 watts and may trip weak circuits when combined with other appliances.
Set Exact Cooking Temperatures Without Guesswork
Press the TIME/TEMP button repeatedly until the temperature value flashes on the display. Use the (-) and (+) buttons to adjust between 175°F-400°F in precise single-degree increments—critical for delicate foods like salmon (275°F) or steak (400°F). Hold the (+) button for rapid adjustment through larger ranges when reheating leftovers.
Common mistake: Setting “medium” heat without checking exact degrees. Bella’s precise control means 375°F creates golden fries while 350°F yields soggy results. Always verify the displayed number—don’t assume presets match your expectations.
Program Cooking Duration for Perfect Timing
Press TIME/TEMP again to access time settings. Adjust from 1-60 minutes using the control buttons, with the display updating in real-time. The unit automatically shuts off heating when the timer ends, preventing overcooking. For best results, set 3-5 minutes less than recipe suggestions initially—air fryers cook 20% faster than ovens.
Quick conversion: Hold TIME/TEMP and (+) together for 5 seconds to switch between Fahrenheit and Celsius. This is essential when using international recipes.
Navigate Preset Functions for Foolproof Cooking
Press the preset button to cycle through optimized settings—French fries, chicken, fish, vegetables, and reheat—all with factory-calibrated time/temperature combos. Watch the display: time and temperature values alternate rapidly when a preset is active, confirming your selection. Each preset targets specific textures: the “chicken” setting uses lower initial heat to render fat before crisping skin.
Expert note: Presets assume frozen food. For fresh ingredients, reduce time by 25%—like using 12 minutes instead of 15 for fresh potato fries.
Modify Preset Settings Before Starting
Never press START immediately after selecting a preset. Before initiating cooking, adjust preset values using TIME/TEMP and +/- buttons to customize results. Want extra-crispy fries? Keep the preset time but increase temperature by 25°F. Prefer tender fish? Maintain the preset temperature but reduce time by 3 minutes. This flexibility eliminates memorizing exact settings for every dish.
Load Food Without Overcrowding the Basket
Insert the crisping tray first, then add food—never exceed the max fill line marked inside the basket. Overfilling blocks the 360° air circulation, creating steamed instead of fried results. For fries or veggies, arrange in a single layer with space between pieces. Denser foods like chicken wings need even more room—fill only halfway.
Visual cue: If food pieces touch the chamber walls when inserted, you’ve overloaded it. Remove items until you see the fill line clearly visible above the food layer.
Execute the Cooking Sequence in 4 Critical Steps
- Confirm basket click: Insert basket until you hear the engagement click—no partial insertion
- Set controls: Choose preset or manual time/temp (e.g., 400°F for 12 minutes for wings)
- Start cycle: Press START/STOP—the fan activates immediately with a distinct whirring sound
- Shake mid-cycle: At the 50% mark (e.g., 6 minutes for 12-minute cook), pull basket and shake vigorously
Time estimate: Most frozen foods cook in 10-15 minutes. Fresh vegetables take 8-12 minutes. Always use oven mitts during shaking—the basket handle reaches 200°F+.
Shake for Even Browning Like a Pro
Remove the basket halfway through cooking using heat-resistant gloves. Shake contents vigorously for 10-15 seconds to redistribute food—this exposes new surfaces to the heating element. For delicate items like fish fillets, gently flip pieces instead. Return the basket immediately; even 30 seconds of delay cools the chamber significantly.
Timing guide: Shake at 50% mark for fries/chicken, 60% for fish/vegetables. Set phone alarms if needed—this step alone fixes 80% of “uneven cooking” complaints.
Never Deep Fry or Boil Water in Your Bella
This is non-negotiable: NEVER add more than 2 teaspoons of oil to the basket. The Bella uses rapid air circulation—not oil immersion—and adding cups of oil creates fire hazards. Similarly, never boil water—excessive liquid damages the heating coil. Steam-based cooking like dumplings is fine, but never submerge food in liquid.
Consequence: Violating these triggers thermal cut-offs requiring 30+ minutes of cooling before restarting. Worse, oil spills near the heating element can ignite.
Maintain 4-Inch Clearance to Prevent Shutdowns

Place your Bella air fryer on heat-resistant surfaces only—never near cabinets, curtains, or paper towels. Blocked vents cause overheating, triggering automatic shut-offs within minutes. During operation, feel the side vents; if airflow feels weak or the unit sounds strained, immediately unplug and reposition with full 4-inch clearance.
Warning: Never operate under wall cabinets—minimum 12 inches of vertical clearance is required per safety specs.
Fix Basket Insertion Failures in 60 Seconds
If the basket won’t click into place, remove both the basket and crisping tray. Inspect the rail tracks for food debris—especially stuck-on cheese or potato skins—and wipe clean with a damp cloth. Ensure the crisping tray sits perfectly flat at the chamber bottom; a slightly tilted tray prevents basket engagement. Reinsert the tray first, then the basket with firm, straight pressure.
Pro tip: Apply a tiny amount of cooking oil to the rails monthly to prevent sticking—never use lubricants.
Rescue Soggy Food with Temperature Tweaks
When fries or wings lack crispness, increase temperature by 25°F for the next batch—not cooking time. Extended time at low heat steams food instead of crisping it. Also, ensure you’re shaking at the 50% mark; skipping this creates a “steam pocket” underneath unmoved food. For frozen items, pat surfaces dry with paper towels before loading—excess moisture is the #1 cause of sogginess.
Quick fix: Return undercooked food to the basket, increase temp to 400°F, and cook 2-3 extra minutes.
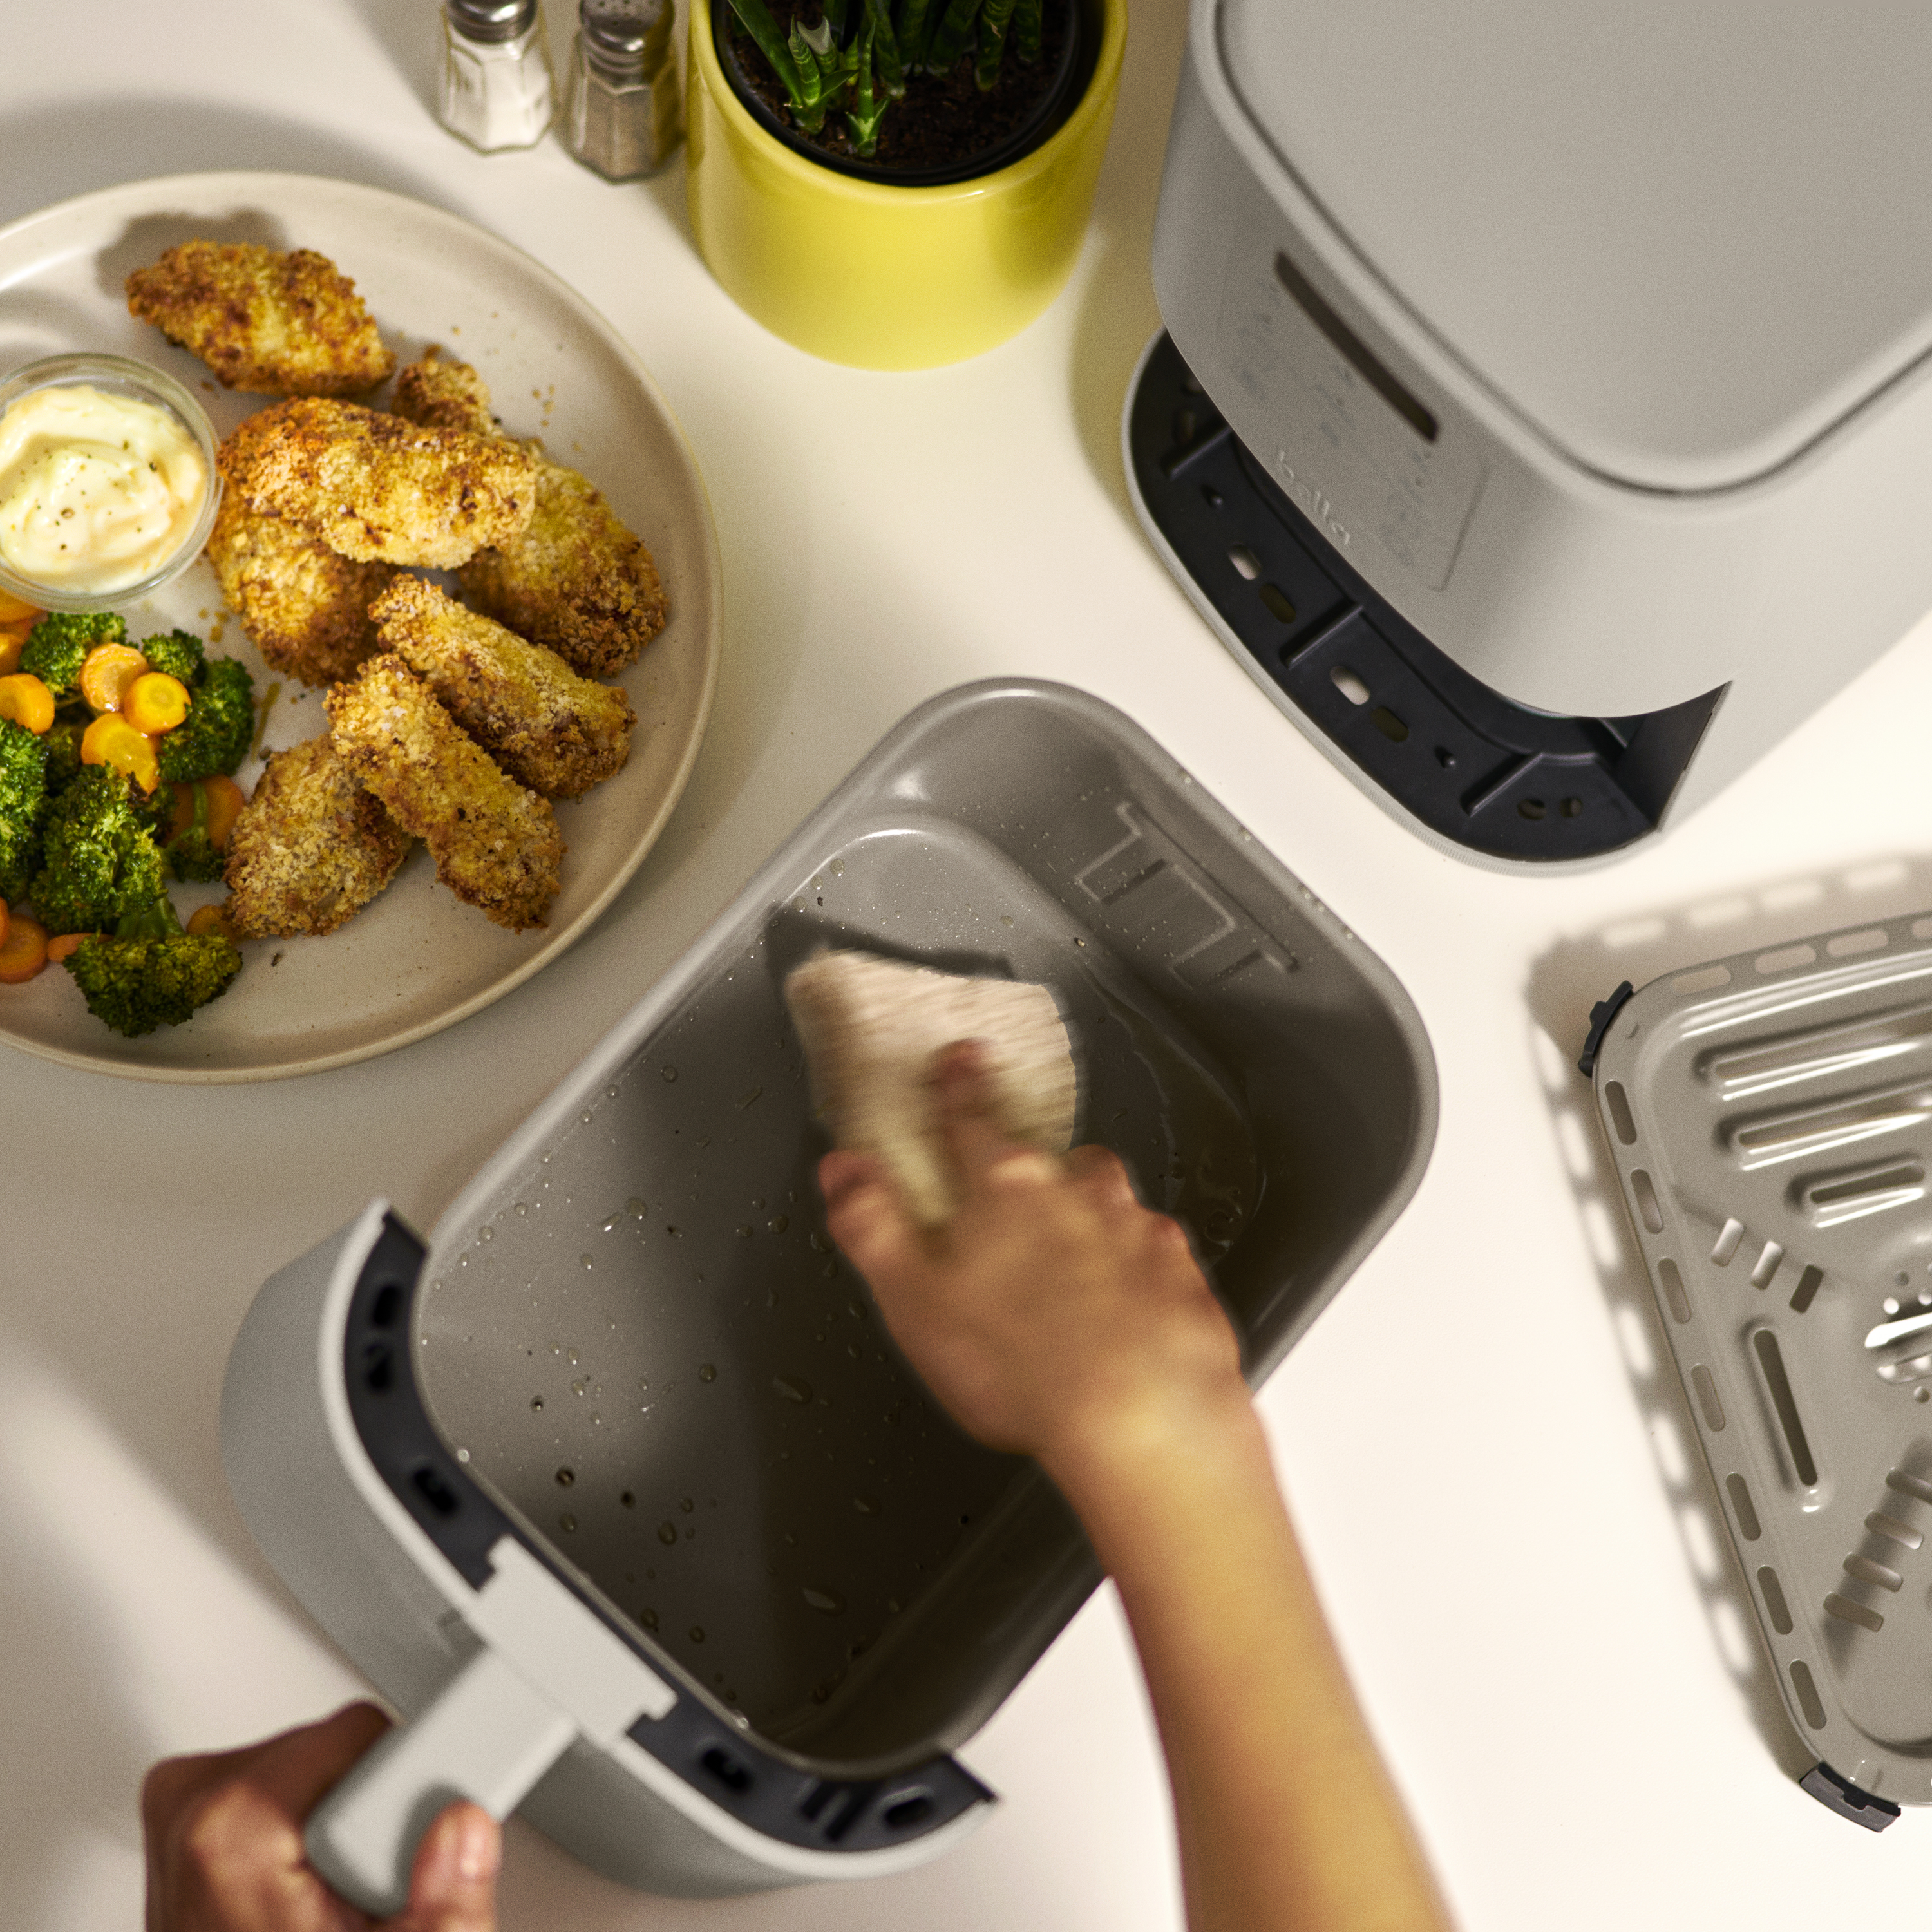
Clean Components Safely After Every Use
Unplug and cool the unit completely before cleaning. The basket and crisping tray are dishwasher-safe (top rack only), but hand-washing preserves non-stick coatings longer. Wipe the interior chamber with a damp microfiber cloth—never immerse the main unit in water or use abrasive scrubbers. Dry all parts thoroughly before storage to prevent mold.
Critical step: Clean the heating coil area monthly with a soft brush to remove grease buildup—this maintains optimal airflow and prevents smoke.
Store Components to Prevent Moisture Damage
Reassemble the air fryer only when all parts are bone-dry. Store with the basket slightly ajar (use a clean spoon as a spacer) to allow air circulation. Never stack cookware on top of the unit—that blocks vents and traps residual heat. For long-term storage, place silica gel packets inside the chamber to absorb ambient moisture.
Pro tip: Wipe exterior surfaces monthly with vinegar solution to remove grease splatters that attract dust.
Reheat Leftovers Without Drying Them Out
Use the “reheat” preset or manually set 300°F for 3-5 minutes. Spread leftovers in a single layer—never pile high—and spritz with 1 teaspoon of water for items like pizza. The air fryer revives crispy textures that microwaves destroy, but over-reheating turns food rubbery. Check at 3 minutes; most items need only 4 minutes.
Perfect results: Place a slice of bread under pizza to absorb excess moisture while the cheese melts.
Batch Cook Large Quantities Without Sacrificing Quality
For family-sized meals, cook in batches rather than overfilling. After removing the first batch, preheat the empty basket for 3 minutes before adding new food—this maintains consistent cooking temperatures. Rotate basket positions between batches (front/back) for even results. Never add cold food directly after a hot batch; the temperature drop causes steaming.
Time-saver: While first batch cooks, prep the next—total meal time stays under 20 minutes.
Your Bella air fryer transforms healthy cooking when you respect its engineering limits: never exceed the fill line, always maintain 4-inch clearance, and shake midway for golden perfection. Start with frozen fries to master timing, then progress to fresh vegetables and proteins using precise temperature control. Within a week, you’ll create crispy chicken tenders with 80% less oil than deep frying—proving that understanding your machine unlocks restaurant results at home. Remember to clean the heating coil monthly and store components dry to extend your Bella’s life beyond five years.


