
You unboxed your shiny new air fryer, ready for crispy fries and golden chicken with minimal oil. But now you’re staring at confusing buttons, wondering why your first batch turned out soggy or burnt. Don’t panic—mastering how to use air fryer techniques is simpler than you think. This guide cuts through the confusion with actionable steps from seasoned appliance experts. You’ll learn why overcrowding ruins crispiness, the exact temperature adjustments needed for perfect results, and pro tricks that transform frozen leftovers into restaurant-quality meals. Within a week of applying these methods, you’ll wonder how you ever cooked without it.
First-Time Setup Essentials
Skip these critical setup steps, and you’ll battle burnt smells and uneven cooking from day one. Remove every scrap of packaging material—including that invisible plastic film on the basket and cardboard inserts wedged in corners. Manufacturers pack tightly, and leftover packaging causes burning odors or permanent damage during initial use.
Wash all removable components thoroughly with warm, soapy water before first use. Even pristine-looking baskets harbor manufacturing residues that create chemical tastes and unpleasant smoke. Never skip this—your chicken wings shouldn’t taste like factory grease.
Position your air fryer on a heat-resistant counter with 5 inches of clearance on all sides. Tucking it against walls or under cabinets blocks vital airflow, causing overheating and uneven cooking. The exhaust vent blasts 400°F air—keep it away from cabinets, curtains, and other appliances.
Always run a 10-minute test cycle at 400°F with an empty basket. This burns off residual oils from production while familiarizing you with control settings. Set your timer and observe the fan noise—this baseline prevents panic when normal operation sounds “too loud.”
Safety Rules That Matter
Never add oil directly to the basket—this isn’t a deep fryer. Air fryers work through rapid air circulation, not oil submersion. Pouring oil creates dangerous splatter hazards and defeats the appliance’s oil-reducing purpose. Instead, lightly mist food with oil spray before loading.
Always use oven mitts when handling the basket, even if the handle feels cool. The metal basket reaches 400°F while the handle stays cooler, tricking you into unsafe handling. Thousands suffer preventable burns yearly by grabbing hot baskets barehanded.
Keep flammable items 12 inches away during operation. The rear exhaust vent blows intensely hot air that melts plastic containers, warps countertops, and ignites paper towels left too close. Treat your air fryer like a mini oven—clear the zone before starting.
Wait 20+ minutes for complete cool-down before cleaning. The heating element retains heat long after shutdown, and residual steam causes painful scalds when removing baskets prematurely. If the exterior feels warm, it’s still too hot to handle.
Prep Your Food Like a Pro
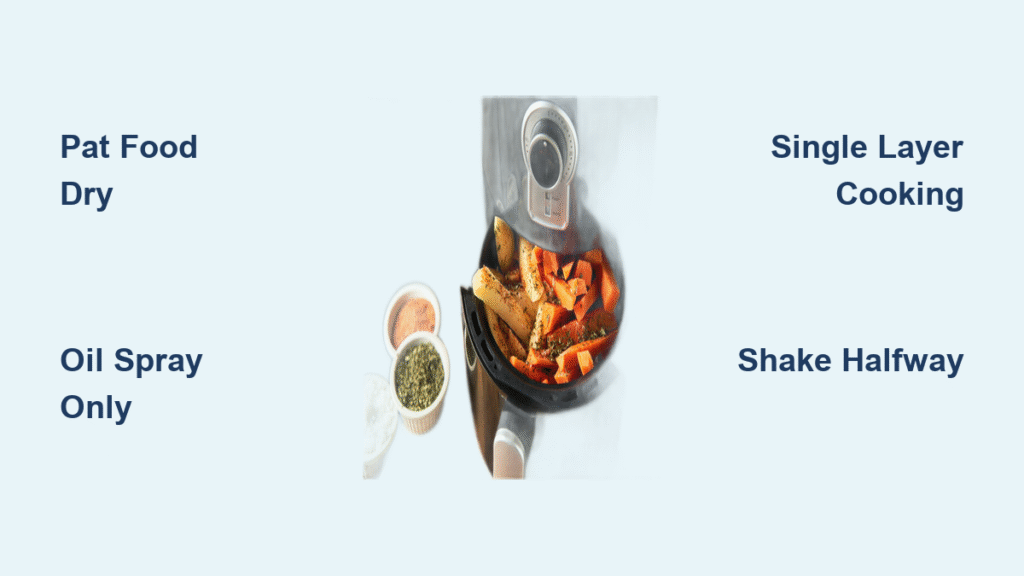
Pat proteins bone-dry with paper towels before oiling. Excess moisture creates steam that blocks crispiness—moist chicken skin won’t turn golden no matter the temperature. This 30-second step makes the difference between soggy disaster and crackling perfection.
Apply oil to food—not the basket—using a spray mister for even coverage. Brushing works too, but avoid aerosol sprays containing propellants that damage non-stick coatings. Just a teaspoon of oil per pound creates crispiness without greasiness.
Season immediately after oiling so spices adhere properly. Salt and herbs stick to oiled surfaces but slide off dry food. For frozen items like fries, season right after removing from packaging—surface moisture from freezer frost helps spices cling.
Cut ingredients to uniform sizes matching your air fryer’s capacity. Chicken strips should be identical thickness; potato wedges same width. Uneven pieces cook inconsistently—thinner bits burn while thick chunks stay raw. Aim for French fry consistency: 1/2-inch thick for even results.
Master the Cooking Process
Set temperatures 25°F lower than conventional oven recipes. That 425°F roasted chicken recipe becomes 400°F in your air fryer—the compact chamber and powerful fan intensify heat. Start with this adjustment to prevent burnt exteriors and raw centers.
Load food in a single layer with breathing room between pieces. Overcrowding traps steam, steaming food instead of crisping it. If you can’t see the basket bottom through gaps, you’ve overloaded it. Better to cook in two batches than serve soggy results.
Shake or flip halfway through every cooking cycle. Fries need vigorous shaking; chicken breasts require flipping; veggies benefit from both. Set phone reminders if needed—this 10-second action eliminates the “half-raw, half-charred” frustration plaguing beginners.
Check progress at 75% of estimated time. Air fryers cook 20% faster than ovens, so pull out wings at 15 minutes instead of 20. Open the basket frequently—unlike ovens, heat loss is minimal. Undercooked beats burnt every time.
Temperature & Time Cheat Sheet
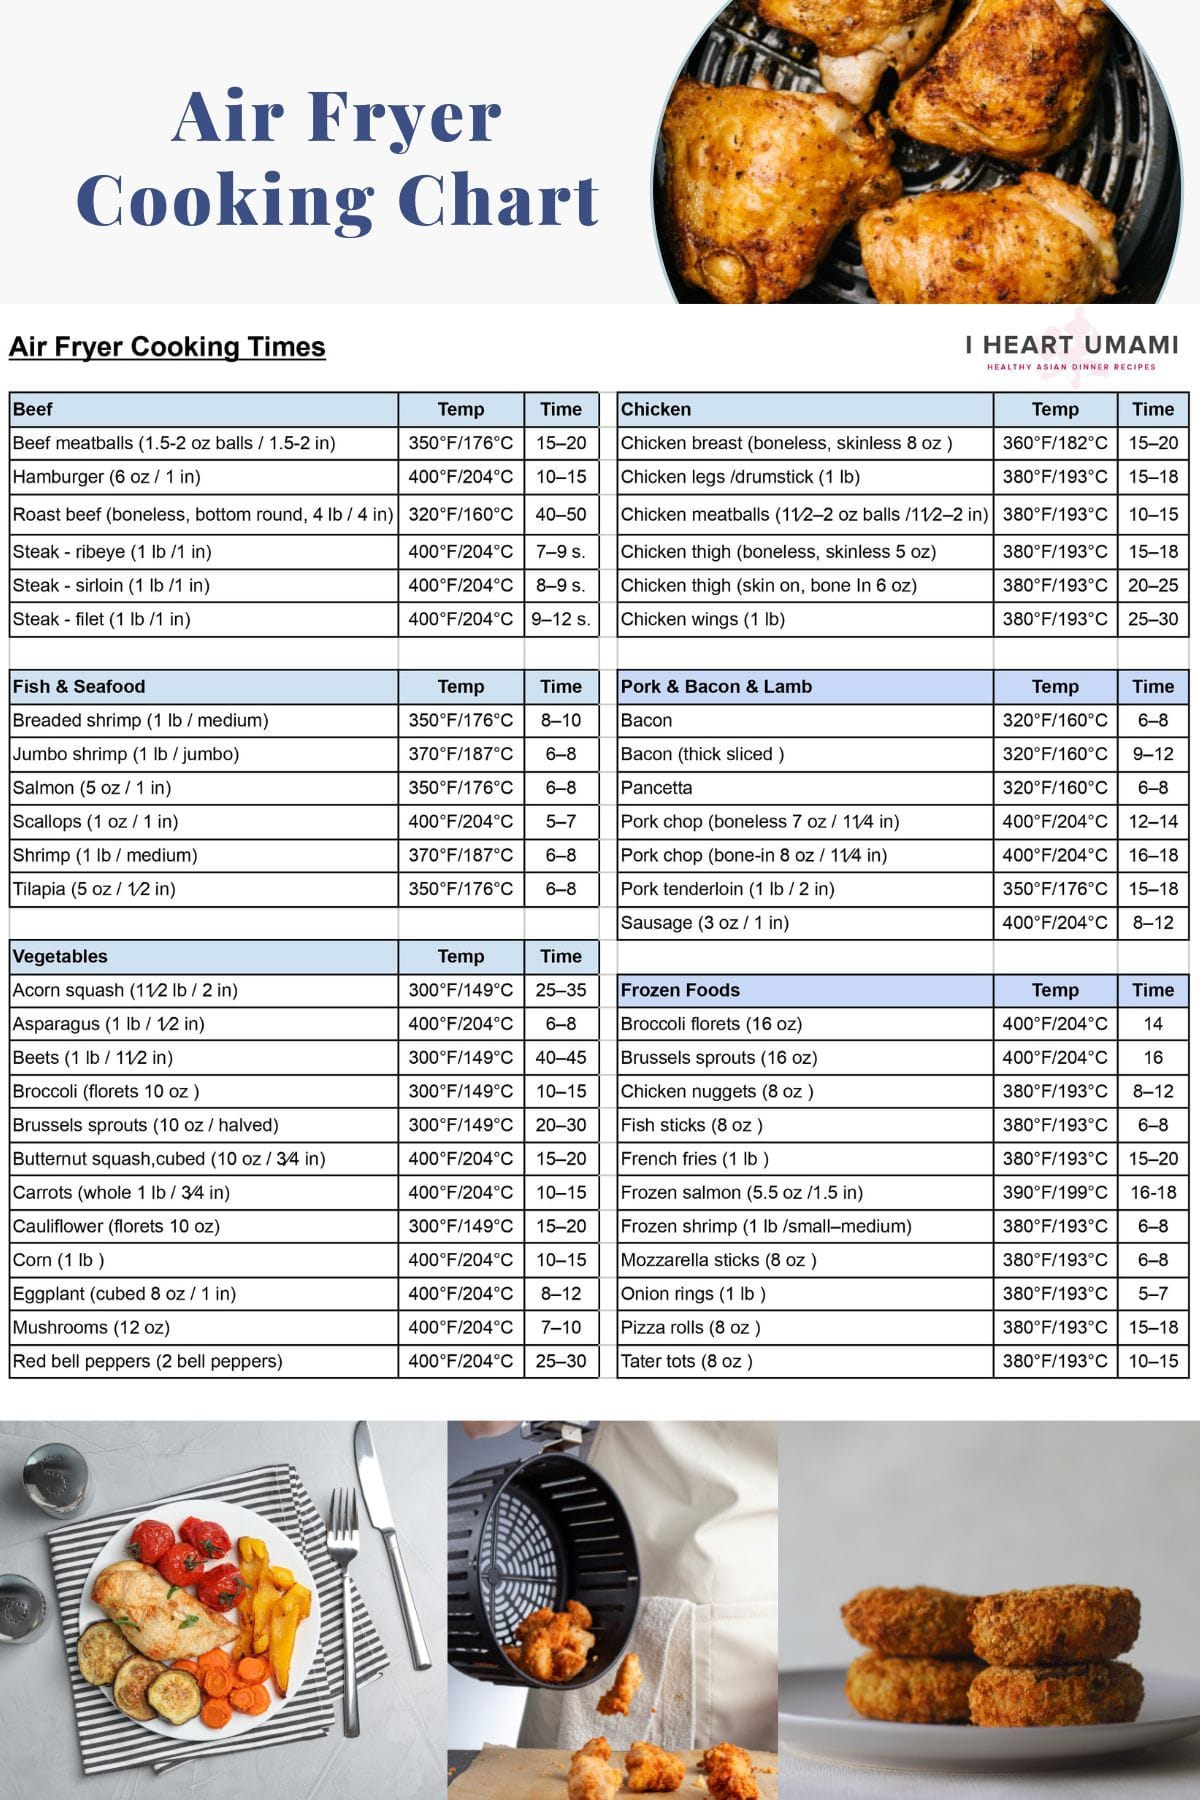
Proteins Made Simple
- Chicken wings: 425°F for 18-20 minutes (shake twice at 6 and 12 minutes)
- Salmon fillets: 400°F for 8-10 minutes (no flipping—skin protects delicate flesh)
- Steak (1-inch thick): 400°F for 12-15 minutes (flip once at 7 minutes for medium)
- Pork chops: 375°F for 12-14 minutes (flip halfway to prevent drying)
Frozen Favorites
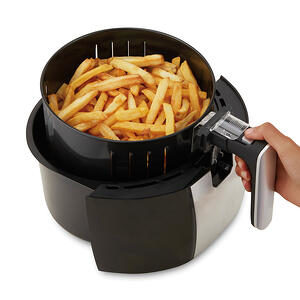
- French fries: 400°F for 15-18 minutes (shake every 5 minutes for even browning)
- Mozzarella sticks: 390°F for 6-8 minutes (single layer only—crowding causes leaks)
- Chicken nuggets: 400°F for 8-10 minutes (shake basket once at 5 minutes)
- Fish sticks: 400°F for 10-12 minutes (flip halfway to revive frozen texture)
Vegetables That Shine
- Broccoli florets: 400°F for 6-8 minutes (toss halfway with garlic powder)
- Brussels sprouts: 375°F for 15-18 minutes (halve and toss at 10 minutes)
- Sweet potato cubes: 400°F for 15-20 minutes (shake twice for caramelized edges)
- Zucchini rounds: 375°F for 8-10 minutes (single layer essential—overlapping steams)
Advanced Techniques That Impress
Create a two-tier system using foil walls to maximize capacity. Fold heavy-duty foil into 1-inch tall barriers around half the basket, creating compartments. Cook bacon below while reheating waffles above—perfect for breakfast efficiency.
Prevent smoking from fatty foods by adding 1-2 tablespoons of water to the drip drawer. The water catches grease splatters before they smoke, eliminating acrid odors during bacon or sausage cooking. Change the water between batches for best results.
Bake mini desserts using oven-safe silicone molds. Individual chocolate lava cakes cook in 12 minutes at 350°F—check 3 minutes early as intense heat accelerates browning. Rotate molds halfway for even rising.
Revive stale bread with strategic moisture. Lightly spritz day-old baguettes with water before reheating at 325°F for 4 minutes. The steam reactivates starches, restoring chewiness without sogginess—skip this for fries or pizza where crispness matters.
Reheat Without Ruining Food
Lower temperatures revive leftovers without drying. Pizza reheats perfectly at 325°F for 3-4 minutes—hot enough to melt cheese but gentle enough to preserve crust crunch. Microwaves steam the base; air fryers resurrect it.
Always use single-layer placement for reheating. Stacking leftover chicken creates steam pockets that leave bottom pieces soggy. Lay wings in one layer with space between, even if it means two quick batches.
Skip oil for crispy foods but add moisture for dry items. Spritz reheated bread with water, but never oil French fries—this creates greasy, uneven results. The air fryer’s dry heat crisps without additional fat.
Clean Like You Mean It
Wash the basket immediately after cooling to prevent flavor transfer. That garlic oil from last night’s wings will ruin today’s apple fritters if residue lingers. Use non-abrasive sponges—metal scrubbers destroy non-stick coatings within weeks.
Deep clean weekly by wiping the heating element chamber with a damp microfiber cloth. Grease splatters accumulate here, causing smoke and odors. Unplug first and let cool completely—never spray liquids near electrical components.
Dry all parts thoroughly before reassembly. Trapped moisture breeds rust on basket rails and creates musty smells. Air-dry components upside down on a rack, or towel-dry with lint-free cloths for immediate reuse.
Common Mistakes That Ruin Food
Overcrowding is the #1 crispiness killer. If food pieces touch, they steam instead of crisp. Test: If you can’t see basket gaps, remove 30% of the load. Better to cook two perfect batches than one soggy disaster.
Using wet batters creates messes. Beer-battered fish won’t work—the fan blows batter onto heating elements. Switch to panko or breadcrumb coatings that adhere during air circulation. Dry coatings = crisp results.
Skipping mid-cycle checks guarantees uneven cooking. Set timers for 75% of estimated time, then check every 2 minutes. Air fryers cook fast—your “10-minute fries” might be perfect at 8 minutes.
Fix Problems Fast
When food sticks despite oiling, your basket coating is likely damaged. Switch to silicone utensils immediately and use parchment liners for delicate items like fish. Never use metal tongs on scratched surfaces.
Persistent smoking means fatty drippings are burning. Add water to the drip tray, reduce temperature by 25°F, and empty the tray between batches. If smoking continues, deep-clean the heating chamber.
Uneven browning signals overcrowding or tilted placement. Cook in smaller batches and ensure the air fryer sits level on your counter—use a spirit level if needed.
Poor crisping results from moisture or low heat. Pat food drier before cooking, increase temperature by 25°F, and verify you’re not overloading the basket.
Quick Start Success Plan
- Begin with frozen fries—they’re forgiving and teach timing without complex prep
- Read your manual for model-specific quirks (some require preheating, others don’t)
- Set timers 20% shorter than recipes suggest, checking frequently
- Keep a cooking log noting times/temps for future reference
- Clean immediately after each use to maintain peak performance
Your air fryer rewards smart experimentation. Start with simple frozen veggies, then graduate to marinated proteins using the oil-spray technique. Within days, you’ll master how to use air fryer for everything from reheating pizza to baking mini cheesecakes. The crispiness revolution starts now—no oil vat required.


