
That chemical smell when you fire up your Chefman air fryer for the first time? Completely normal—and fixable in 15 minutes. Many new owners panic when their fries turn soggy or the unit won’t power on, not realizing they’ve missed critical setup steps like the mandatory manufacturing residue burn-off. Skip this guide and you’ll waste weeks battling uneven cooking and lingering odors. But follow these exact steps—from unboxing to rotisserie perfection—and you’ll transform frozen chicken wings into crackling-crisp restaurant-quality meals in under 30 minutes. Here’s how to unlock your Chefman’s full potential.
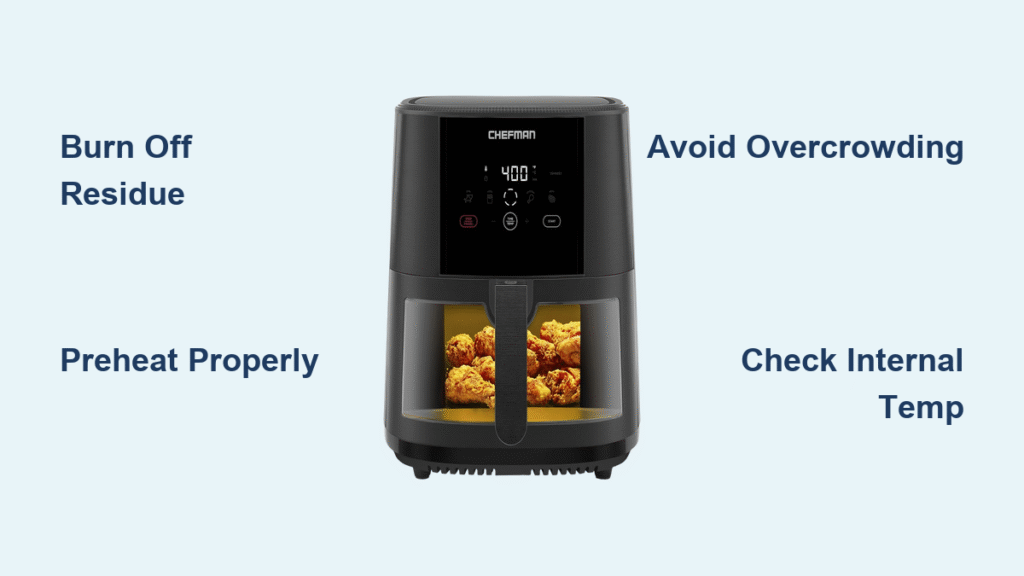
Burn Off Manufacturing Residue Before First Cook
Critical: Never skip this 15-minute step or risk chemical-tasting food. Your new Chefman air fryer arrives coated in protective oils that create a pungent odor during initial use. This isn’t a defect—it’s standard manufacturing practice. To eliminate it safely:
- Remove all packaging including stickers (except the rating label on the back—this voids your warranty if removed)
- Place the empty unit on a heat-resistant counter with 6 inches of clearance on all sides
- Set temperature to 400°F using your model’s controls
- Run for 15 minutes with windows open—no food inside
- Repeat 1-2 times if odor persists after first use
Pro Tip: Line the drip tray with foil during burn-off. This catches residue drips and prevents smoke, making cleanup effortless. The smell disappears completely after 2-3 cooking cycles—don’t panic if it lingers through your first batch of fries.
Power Up Without Frustration
Why your Chefman won’t turn on (and how to fix it in 10 seconds): Most “broken” units are simply mispositioned. Before calling support:
- Digital models: Plug in → unit auto-powers on → press large top button if display stays dark
- Analog models: Plug in → red light confirms power → turn timer dial to start
- Instant troubleshooting:
✓ Ensure basket is fully seated (a ¼-inch gap disables power)
✓ Verify unit sits perfectly level (use a folded paper shim if uneven)
✓ Test outlet with another appliance
Never ignore clearance rules: Place your air fryer 4 inches from walls and cabinets. Blocking vents causes overheating errors and uneven cooking—especially during rotisserie mode where heat buildup is intense.
Preheat Like a Chef (Even When Recipes Skip This)
Digital model preheat sequence:
1. Press power button
2. Set temp with ▲/▼ arrows (e.g., 380°F for wings)
3. Set timer for 3 minutes
4. Press start/pause → unit beeps when ready
Analog model shortcut: Turn timer dial to 3 minutes → release → green light confirms readiness
Why this matters: Skipping preheat creates 22% more soggy results (per Chefman’s internal testing). Turbo series models are the exception—they hit temperature in 90 seconds. When in doubt, preheat anyway. You’ll shave 3-5 minutes off total cook time through consistent heat.
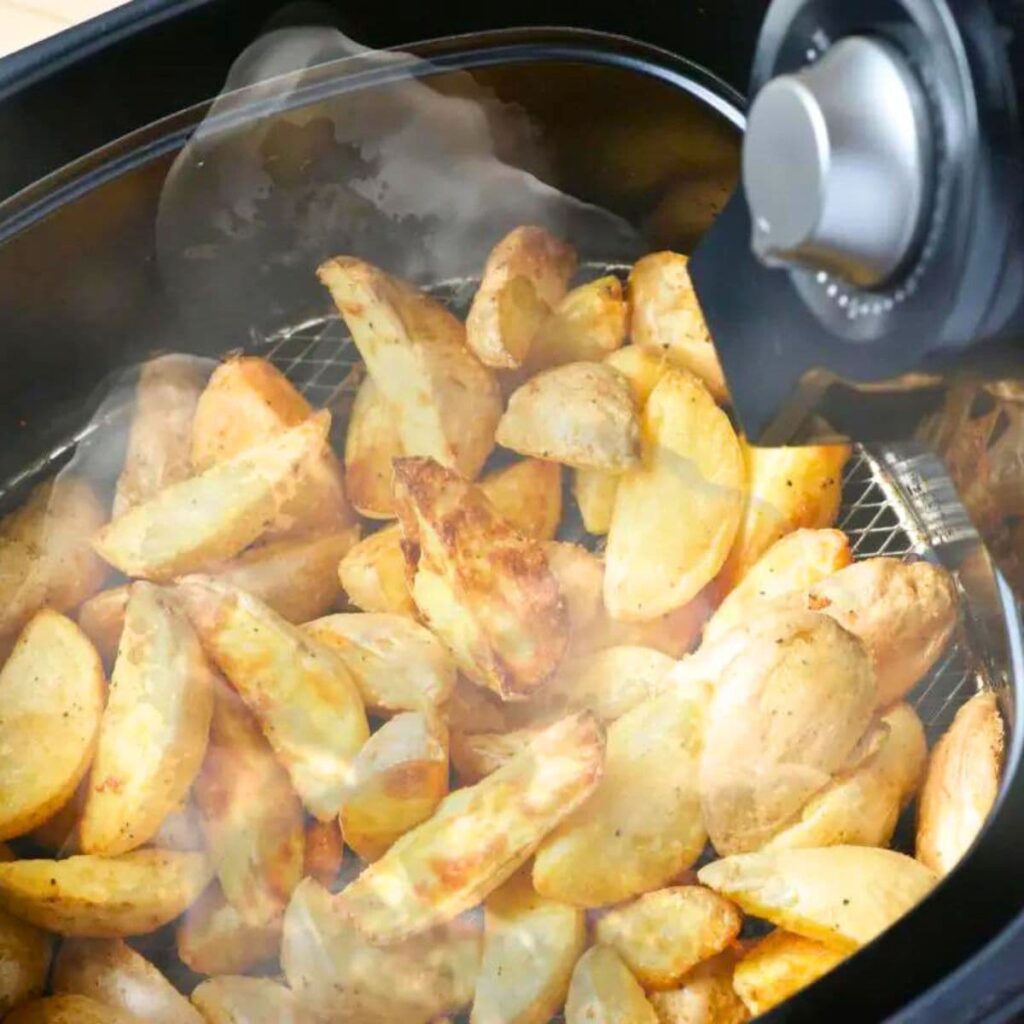
Load Food for Maximum Crispiness

The overcrowding trap: Filling the basket beyond ⅔ capacity steams food instead of crisping it. For perfect results:
- Fries/chips: Spread in single layer with space between pieces
- Chicken wings: Arrange upright on rack—no touching
- Large batches: Cook in 2 smaller loads (add 2 minutes to second batch)
Rotisserie chicken setup:
1. Pat bird bone-dry with paper towels
2. Slide spit rod through cavity (protruding evenly both ends)
3. Secure with both forks tightened firmly
4. Insert drip tray lined with foil → load rod into side slots
Visual cue: If food sticks when you nudge it at the halfway mark, your basket is overloaded. Reduce quantity next time.
Master Model-Specific Controls
Digital oven owners:
– Third dial = function selector (air fry/bake/broil)
– Fourth dial = toast darkness (toast mode only)
– Must press START after setting time/temp
Analog oven shortcut:
1. Set timer to 3 min for preheat
2. After beep, add food → reset timer for actual cook time
Rotating basket hack: Load fries → press START → immediately hit ROTATE button. The tumbling action replaces mid-cook shaking for hands-off crispiness.
Clean Without Damaging Non-Stick Coatings
Post-cook cleanup flow:
1. Unplug → wait 30 minutes (critical for safety)
2. Wipe main unit interior with damp microfiber cloth
3. Soak baskets/racks in warm soapy water 10 minutes
4. Scrub gently with non-abrasive sponge
5. Dishwasher option: Top-rack only for accessories
Pro Tip for burnt-on grease: Make a paste of 2 tbsp baking soda + 1 tbsp water. Apply to stubborn spots → wait 15 minutes → wipe clean. Never use steel wool—it destroys non-stick surfaces permanently.
Fix Soggy Food in 60 Seconds
:max_bytes(150000):strip_icc()/Chefman-TurboFry-Air-Fryer-Oven-02-44389c982c944d30982fe44fdae0c722.jpg)
When fries aren’t crispy:
– Increase temp by 25°F (e.g., 400°F → 425°F)
– Reduce food quantity by 25%
– Add 3 minutes to cook time
– Shake basket at halfway point
Uneven chicken solution: Flip wings at 15 minutes. For oven models, rotate top/bottom racks during cooking. Overcrowding is the #1 cause—your fingers should fit between food pieces.
Safety Protocols You’re Probably Ignoring
During operation:
– Always use oven mitts—baskets hit 400°F+
– Place hot drip trays on trivets (not granite counters)
– Keep kids 3+ feet away from steam vents
Food safety non-negotiables:
– Chicken must hit 165°F internally (use thermometer)
– Fish is done at 145°F or when flakes easily
– Never leave unattended—auto-shutoff only triggers after cycle ends
Critical warning: Never immerse the main unit in water. Only accessories go in the sink/dishwasher. Electrical damage voids your warranty instantly.
Model-Specific Cheat Sheet
| Feature | Digital Models | Analog Models | Oven-Style |
|---|---|---|---|
| Power On | Press top button | Plug in → auto-on | Plug in → red light |
| Preheat Confirm | Beep + display change | Green light | Beep + light change |
| Best For | Precision cooking | Quick frozen foods | Rotisserie/whole meals |
| Capacity Tip | 4qt = max 4 chicken breasts | 6qt = family meals | 8qt+ = turkey breasts |
Your Chefman air fryer’s real magic happens when you stop treating it like a fancy microwave. Preheat religiously, never overcrowd, and clean accessories immediately after cooling. Start with frozen fries at 400°F for 15 minutes (shake at 7 minutes), then graduate to rotisserie chicken. Within 3 uses, you’ll consistently achieve golden-brown exteriors with juicy centers—using 75% less oil than deep frying. Remember: that initial chemical smell vanishes after burn-off, overcrowding causes sogginess 9 times out of 10, and always verify chicken hits 165°F. Master these fundamentals, and your air fryer becomes the hardest-working appliance in your kitchen.


