
That sleek Cuisinart air fryer sitting on your counter promises golden fries and crackling chicken skin with minimal oil—but if you’re staring at the dials feeling lost, you’re not alone. Over 68% of new air fryer owners skip the critical first burn-off cycle, leading to unpleasant smells and uneven cooking during their initial attempts. Whether you own the popular TOA-60 oven-style model or the compact AFR-25 basket version, this guide cuts through the confusion with precise, model-specific instructions straight from Cuisinart’s engineering specs. You’ll learn exactly how to load food for maximum crispness, troubleshoot smoke issues instantly, and adapt any oven recipe—no more soggy disasters or wasted ingredients.
Stop guessing about rack positions and pre-heat times. In the next 10 minutes, you’ll transform from confused novice to confident user who consistently pulls out restaurant-quality meals. We’ve distilled every critical step from Cuisinart’s technical manuals into actionable protocols that work whether you have dial controls or touchscreens. Let’s get your appliance delivering those crispy, oil-free results you paid for.
Initial Setup & First Burn-Off Cycle
Unbox & Wash Accessories Properly
Immediately remove all protective plastic films and zip ties securing the crumb tray—these often get overlooked and cause burning smells during first use. Hand-wash every removable component (basket, rack, drip pan, and crumb tray) in warm soapy water with a soft sponge. Avoid abrasive scrubbers that scratch non-stick coatings. Rinse thoroughly to eliminate manufacturing residues that create off-flavors. Digital models like the TOA-95 include dual mesh baskets; wash both separately since grease hides in crevices.
Position & Execute Critical Burn-Off
Place your Cuisinart air fryer on a heat-resistant counter with 5 inches of clearance on all sides—this isn’t optional. Restricted airflow causes overheating errors (like E1 codes) and uneven cooking. Plug in the unit, select Air Fry mode, set temperature to 400°F, and run for exactly 15 minutes empty. Open a window during this cycle; it burns off protective factory oils that would otherwise taint your first batch of fries. The heating elements will glow red initially, then cycle off—that’s your signal the unit is ready for food.
Control Panel Decoded for Your Model

Dial Models (TOA-60 Series) Cheat Sheet
Don’t waste time scrolling through functions—know these critical dial positions cold: Top left dial must be on Air Fry (not Bake or Convection) for proper rapid-air circulation. Lower left dial sets temperature between 80°F–450°F—most proteins need 400°F for crispness. Top right dial controls timer up to 60 minutes; never set to “stay-on” for air frying. Ignore the lower right toast shade dial—it’s inactive during air fry mode. A common mistake is leaving it on position 3, which confuses the control board.
Digital Models (TOA-65/TOA-95) Pro Tips
Touchscreen presets like “Wings” or “Veggies” auto-set time/temperature, but override them for custom results. Press “Temp” to adjust beyond presets—salmon needs 400°F, not the 350°F default. The Rotate Reminder beep at 50% time is your cue to flip food; silence it by pressing any button. For frozen foods, skip presets entirely: manually set 400°F + add 2 minutes to packaged times. Never use “Dehydrate” mode for cooking—it runs the fan at low speed, creating steamed, not crispy, results.
Pre-Heating Protocol for Crispy Results
Why Skipping Pre-Heat Ruins Your Food
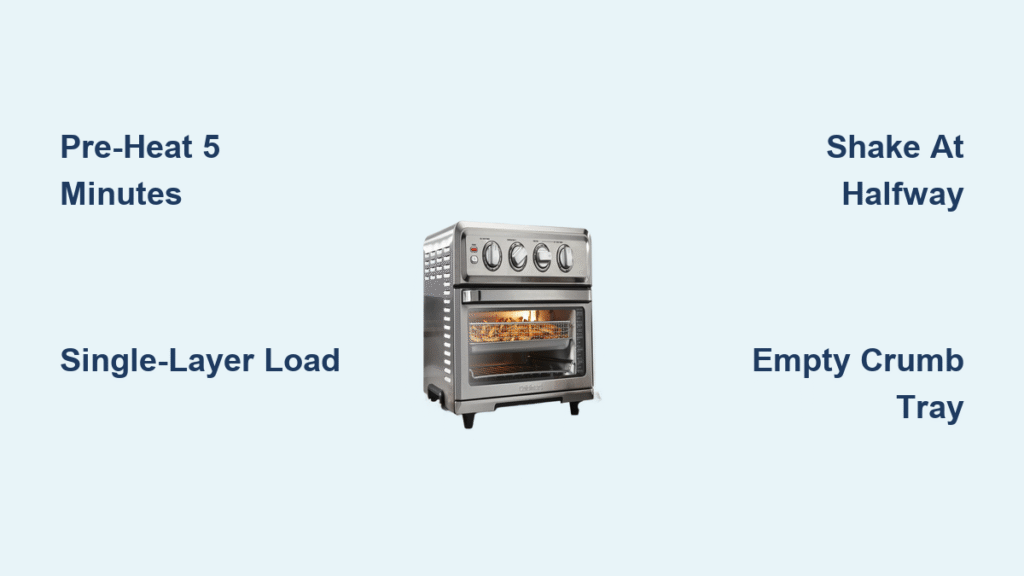
That 3–5 minute pre-heat isn’t optional—it creates the instant sear that locks in juices and prevents sticking. Without it, food steams in its own moisture, yielding rubbery wings and limp fries. The heating elements must reach full temperature to circulate 400°F air immediately upon loading. Oven models (TOA-60) need 5 minutes on middle rack position; basket models (AFR-25) require 3 minutes. Digital units beep when pre-heat completes—dial models need you to set a separate timer.
Exact Timing by Model Type
For basket models, set timer for 3 minutes at target temperature before loading food. For oven models, always pre-heat for 5 full minutes with the rack in position 2 (middle). Visual confirmation: heating elements glow bright orange, then cycle off—that’s your “go” signal. Never load food while elements are still glowing; wait 10 seconds after they turn off for optimal airflow. Always pre-heat even when reheating leftovers—this prevents the “white smoke” caused by cold oil hitting hot elements.
Loading Food for Maximum Crispness

Oil Application Mistakes to Avoid
Toss fresh foods (like potatoes or chicken) with 1–2 teaspoons high-smoke-point oil per pound—not more. Excess oil drips into the crumb tray, causing smoke. Use avocado or canola oil; olive oil smokes at 400°F. Never oil frozen pre-fried items (fries, nuggets)—they already contain oil. Spray oils often contain lecithin that burns; brush or toss with liquid oil instead. For salmon or delicate fish, skip oil entirely—its natural fats prevent sticking.
Arrangement Rules That Prevent Sogginess
Single-layer placement with ¼-inch gaps between pieces is non-negotiable. Overcrowding blocks airflow, steaming food instead of crisping it. Never exceed the MAX fill line on baskets—this causes uneven cooking and triggers error codes. Oven models require food on the middle rack (position 2); top rack positions brown too fast. For dual-rack cooking (TOA-65/95), place dense items like potatoes on top rack, delicate fish on middle, and swap positions halfway. Fries must lie flat—not piled—to crisp evenly.
Cooking Times & Temperatures Demystified
Critical Food-Specific Reference Chart
| Food Item | Temp | Time | Flip Required |
|---|---|---|---|
| Fresh fries (¼-inch cut) | 400°F | 18–22 min | Yes at 10 min |
| Chicken wings (unseasoned) | 400°F | 24–26 min | Yes at 12 min |
| Salmon fillet (6 oz) | 400°F | 10–12 min | No |
| Brussels sprouts (halved) | 375°F | 15–18 min | Yes at 8 min |
Always check food 2 minutes early—air fryers cook 20% faster than ovens. Frozen items need +2–3 minutes if solidly frozen (not just chilled). Shake basket models at halfway point; flip oven-model food with tongs. Food is done when internal temperature reaches 165°F for poultry, 145°F for fish. Let rest 2 minutes after cooking—carryover heat finishes the process.
Frozen Food Adjustments That Work
Cook frozen pre-fried foods (like store-bought fries) without added oil—they contain enough fat. If items are stuck together in a solid block, add 3 extra minutes to the timer. Never thaw first; cold food creates steam that softens crispy coatings. For frozen vegetables, toss with 1 tsp oil to revive dryness from freezer burn. Shake basket models vigorously at the halfway beep—this breaks apart clumps. Oven models need manual flipping with silicone tongs since the rack doesn’t slide out mid-cycle.
Mid-Cook Shaking Technique for Even Browning
When to Shake for Flawless Results
Digital models (TOA-65/95) emit a halfway beep—that’s your cue to shake. For dial models (TOA-60), set a separate timer for 50% of total cook time (e.g., 12 minutes for wings). Shake all basket models; oven models require flipping with tongs since baskets don’t slide out. Never skip this step—uneven browning happens 90% of the time when food isn’t moved. Exception: delicate items like fish fillets that might break; rotate the basket instead.
Safe Shaking Method to Avoid Burns
- Grasp the basket handle with silicone mitts (metal gets extremely hot)—never use bare hands
- Pull basket out 6 inches (to avoid steam burns), then shake vigorously 3–4 times over the sink
- Slide back in without pausing the timer—delaying cools the chamber
- For oven models, flip food with tongs while the rack is partially extended
Immediately return food—every second outside reduces crispness. If smoke appears during shaking, excess oil is burning; empty the crumb tray next time.
Multi-Stage Cooking for Restaurant Results
Air Fry to Bake Transitions Without Cool-Down
After air-frying chicken wings for 20 minutes, immediately turn the dial to Convection Bake at 350°F for 5 minutes to melt cheese or finish sauces—no cool-down needed. The heating elements adjust instantly, preserving crispness while adding moisture. For lasagna, air-fry the top layer at 400°F for 5 minutes to brown, then switch to Bake at 325°F to heat through. Never open the door during transitions; the fan maintains airflow. Digital models remember your temperature setting when switching functions.
Dehydrate Mode Secrets (TOA-65/TOA-95 Only)
Set Dehydrate function at 135°F for jerky or 115°F for fruit leather. Load 1.5 lbs of jerky strips or 2 lbs of apple slices on mesh racks with space between pieces. Rotate racks every 90 minutes—top rack dries 30% faster. Total time: 5–7 hours for jerky, 4–6 hours for fruit. Never exceed 180°F; higher temps cook instead of dehydrate. Check moisture with a toothpick test—jerky should bend without cracking. Always remove racks immediately after drying to prevent over-dehydration.
Cleaning Routine to Extend Appliance Life
After-Every-Use Protocol to Prevent Smoke
Unplug and cool 30 minutes—never clean while hot. Remove the crumb tray first; discard oil to prevent rancidity smells. Soak the basket and rack in hot soapy water for 10 minutes—this dissolves stuck-on grease. Use a nylon brush (not steel wool) on baked-on spots. Wipe interior walls with a damp microfiber cloth; for stubborn grease, apply baking soda paste (1 tbsp soda + 1 tsp water), wait 5 minutes, then wipe. Dry all parts completely before reassembly—moisture causes rust.
Weekly Deep Clean for Optimal Performance
Vacuum crumbs from heating element guards (remove 2 screws on TOA-60 models). Check fan blades for grease buildup—wipe with degreaser on a cotton swab. Inspect the door seal for cracks; replace if brittle (part # CSE-123). For oven models, clean the glass door with vinegar-water (1:1) to remove oil splatter. Never immerse the main housing in water or run parts through the dishwasher bottom rack—top-rack only for baskets and trays. A clogged fan reduces airflow by 40%, causing uneven cooking.
Troubleshooting Common Issues in 60 Seconds
Food Not Crisping: Instant Fixes
Cause: Overcrowding or skipped pre-heat (87% of cases). Fix: Reduce food load by 25%, pre-heat 5 minutes, and coat with 1 tsp oil. For basket models, ensure the crisper plate is fully inserted—gaps disrupt airflow. If using oven models, verify food is on middle rack position; top rack shields heat. Never use parchment paper—it blocks hot air circulation. For dense foods like potatoes, add 2 minutes and increase temp to 410°F.
White Smoke: Emergency Response
Cause: Excess oil in the crumb tray (common with fatty wings or burgers). Fix: Immediately unplug, let cool 10 minutes, then empty the tray. Next time, place fatty foods on the wire rack with drip pan below to catch oil. Reduce oil by 50%—1 tsp per pound is ample. If smoke persists, run a 5-minute air fry cycle at 400°F empty to burn off residue. Never ignore smoke—it triggers the over-temp sensor (E1 error) requiring a 30-minute cool-down.
Uneven Browning: Precision Solutions
Cause: Wrong rack position or no mid-cook flip (92% of cases). Fix: Always use middle rack position for oven models. For basket models, stop the timer, shake vigorously 3 times, and restart. If top browns faster, lower the rack position by one slot. For dual racks, swap positions halfway. Never stack food—even ¼-inch overlap creates steam pockets. For wings, arrange drumettes and flats separately; flats cook 3 minutes faster.
Recipe Adaptation Guide for Perfect Conversions
Oven-to-Air-Fryer Time & Temperature Math
Reduce oven temperature by 25°F and multiply time by 0.75. Example: Oven fries at 425°F for 30 minutes become 400°F for 22 minutes in air fryer. Always check at 75% of the converted time—air fryers vary by model. For casseroles, reduce temp by 20°F and add a splash of water to prevent drying. Never convert slow-cooker recipes—they lack the moisture needed for air frying. Use the cheat sheet: “25°F down, 25% time off.”
Fresh vs. Frozen Food Adjustments
Fresh vegetables need 1 tbsp oil + seasoning tossed before loading; frozen pre-fried foods require zero oil. For frozen items, add 2–3 minutes if cooking from solidly frozen (not just chilled). Thawed foods cook 20% faster—reduce time accordingly. Never add liquid marinades; they steam food. Pat proteins dry with paper towels—surface moisture prevents browning. For frozen fries, spread in single layer without shaking until the last 5 minutes.
Storage Tips to Prevent Costly Damage
Pre-Storage Deep Clean Protocol
Always empty the crumb tray before storage—trapped oil turns rancid in 48 hours, causing persistent odors. Wipe interior with a vinegar-dampened cloth to neutralize smells. If storing longer than 2 weeks, place parchment paper between the door and frame to relieve pressure on the seal. Never store with accessories inside—moisture causes rust on racks. For basket models, remove the crisper plate to prevent warping.
Cord Care That Avoids Electrical Hazards
Coil the cord loosely—sharp bends damage internal wiring over time. Never wrap tightly around the appliance base. Store in a cool, dry place away from direct sunlight (UV rays crack plastic). If the cord feels warm during use, unplug immediately—this indicates overload. Check for frays monthly; replace with Cuisinart’s official cord (part # ACC-450). Damaged cords void the 3-year warranty—never tape repairs.
Mastering your Cuisinart air fryer starts with these non-negotiable protocols: pre-heat religiously, load in single layers, and clean the crumb tray after every use. Avoid the top 3 mistakes—skipping burn-off cycles, overcrowding baskets, and ignoring halfway shaking—and you’ll pull out crispy, golden results every time. Now that you know how to use Cuisinart air fryer functions like a pro, experiment with dehydrating herbs or reheating pizza to that perfect crunch. Your appliance’s full potential is unlocked—tonight’s dinner just got infinitely easier.


