
Your Instant Pot just got a major upgrade with the air fryer lid attachment, transforming your pressure cooker into a versatile kitchen powerhouse. No more juggling multiple appliances or counter space—this clever accessory lets you pressure cook a whole chicken, then air fry it to golden perfection—all in one pot. If you’ve been wondering how to use Instant Pot air fryer lid attachment properly to achieve consistently crispy results, you’re in the right place. This guide delivers everything you need to know to master this game-changing accessory, from initial setup to advanced techniques that will make your meals restaurant-quality.
The beauty of this system lies in its seamless integration—you get the best of both worlds without the clutter. Unlike standalone air fryers, your Instant Pot captures all those precious meat drippings and pan juices right in the inner pot, allowing you to create instant sauces or gravies without extra dishes. Whether you’re cooking crispy fries, perfectly seared steaks, or a full family meal with multiple components, understanding how to use Instant Pot air fryer lid attachment correctly makes all the difference between soggy disappointment and culinary triumph.
Instant Pot Air Fryer Lid Components You Must Identify First
Before you even plug in your appliance, familiarize yourself with the complete system to avoid frustration later. The air fryer lid contains the critical heating element and fan that creates the convection cooking effect—this isn’t just a regular lid. Your protective pad isn’t optional; it’s essential for safely handling the scorching-hot lid after cooking. The multi-level air fry basket sits inside your standard inner pot, while the broil tray adds a second cooking surface for layered meals.
Essential components checklist:
– Air fryer lid with integrated heating system (the heart of the operation)
– Heat-resistant protective pad (your safety requirement)
– Air fryer basket base (the foundation for accessories)
– Multi-level non-stick basket (primary cooking vessel)
– Broil/dehydrating tray (for secondary cooking surface)
– Mesh steamer baskets (stainless steel alternative to non-stick)
First-Time Setup: Your 5-Minute Configuration Checklist
Setting up your air fryer lid takes just minutes but requires precise steps for optimal performance. Ensure your inner pot sits properly seated in the cooker base—this critical step prevents error messages and ensures proper heat distribution. Lightly spray your cooking surfaces with olive oil; this simple step prevents sticking and makes cleanup effortless. Place the air fryer basket base inside the inner pot, then insert your chosen cooking vessel.
Pro tip: Keep that protective pad within arm’s reach before you start cooking—you’ll need it every single time you lift the hot lid. Position your Instant Pot on a heat-resistant surface with at least 4 inches of clearance on all sides for proper airflow. Never operate the appliance without the inner pot properly seated, as this will trigger safety mechanisms and prevent operation.
Multi-Level Basket Method: Crispy Fries and Perfect Roasts
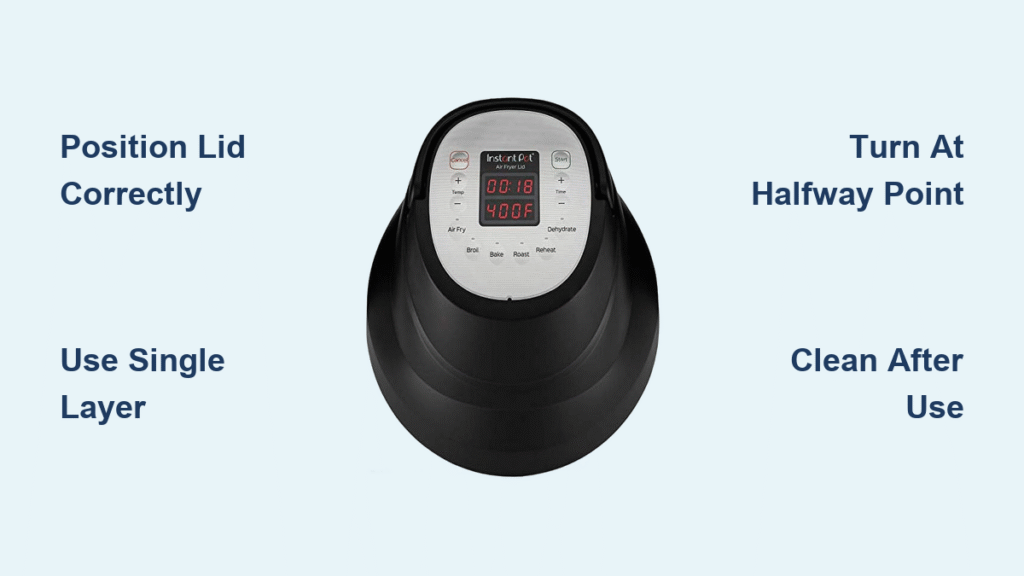
This method maximizes capacity for family-sized portions while ensuring even cooking. Start by positioning the air fryer basket base in your inner pot, then insert the multi-level basket. Spread ingredients in a single layer—this is non-negotiable for proper air circulation and crispy results. Crowded food steams instead of air fries, leading to disappointing texture.
Place the air fryer lid securely on the base until it clicks into position. Access the Air Fry Smart Program and adjust temperature and time using the ‘+’ and ‘-‘ buttons—remember the unit remembers your last settings, so always double-check before starting. Press Start and walk away—the system handles the rest, automatically pausing when you lift the lid and resuming when replaced.
Critical turning reminder: When you hear the beep at the halfway point, lift the lid (it pauses automatically), shake your fries or turn your roast for even browning, then replace the lid. Cooking resumes instantly without resetting the timer.
Dual-Level Cooking: Perfect Meats and Sides Together
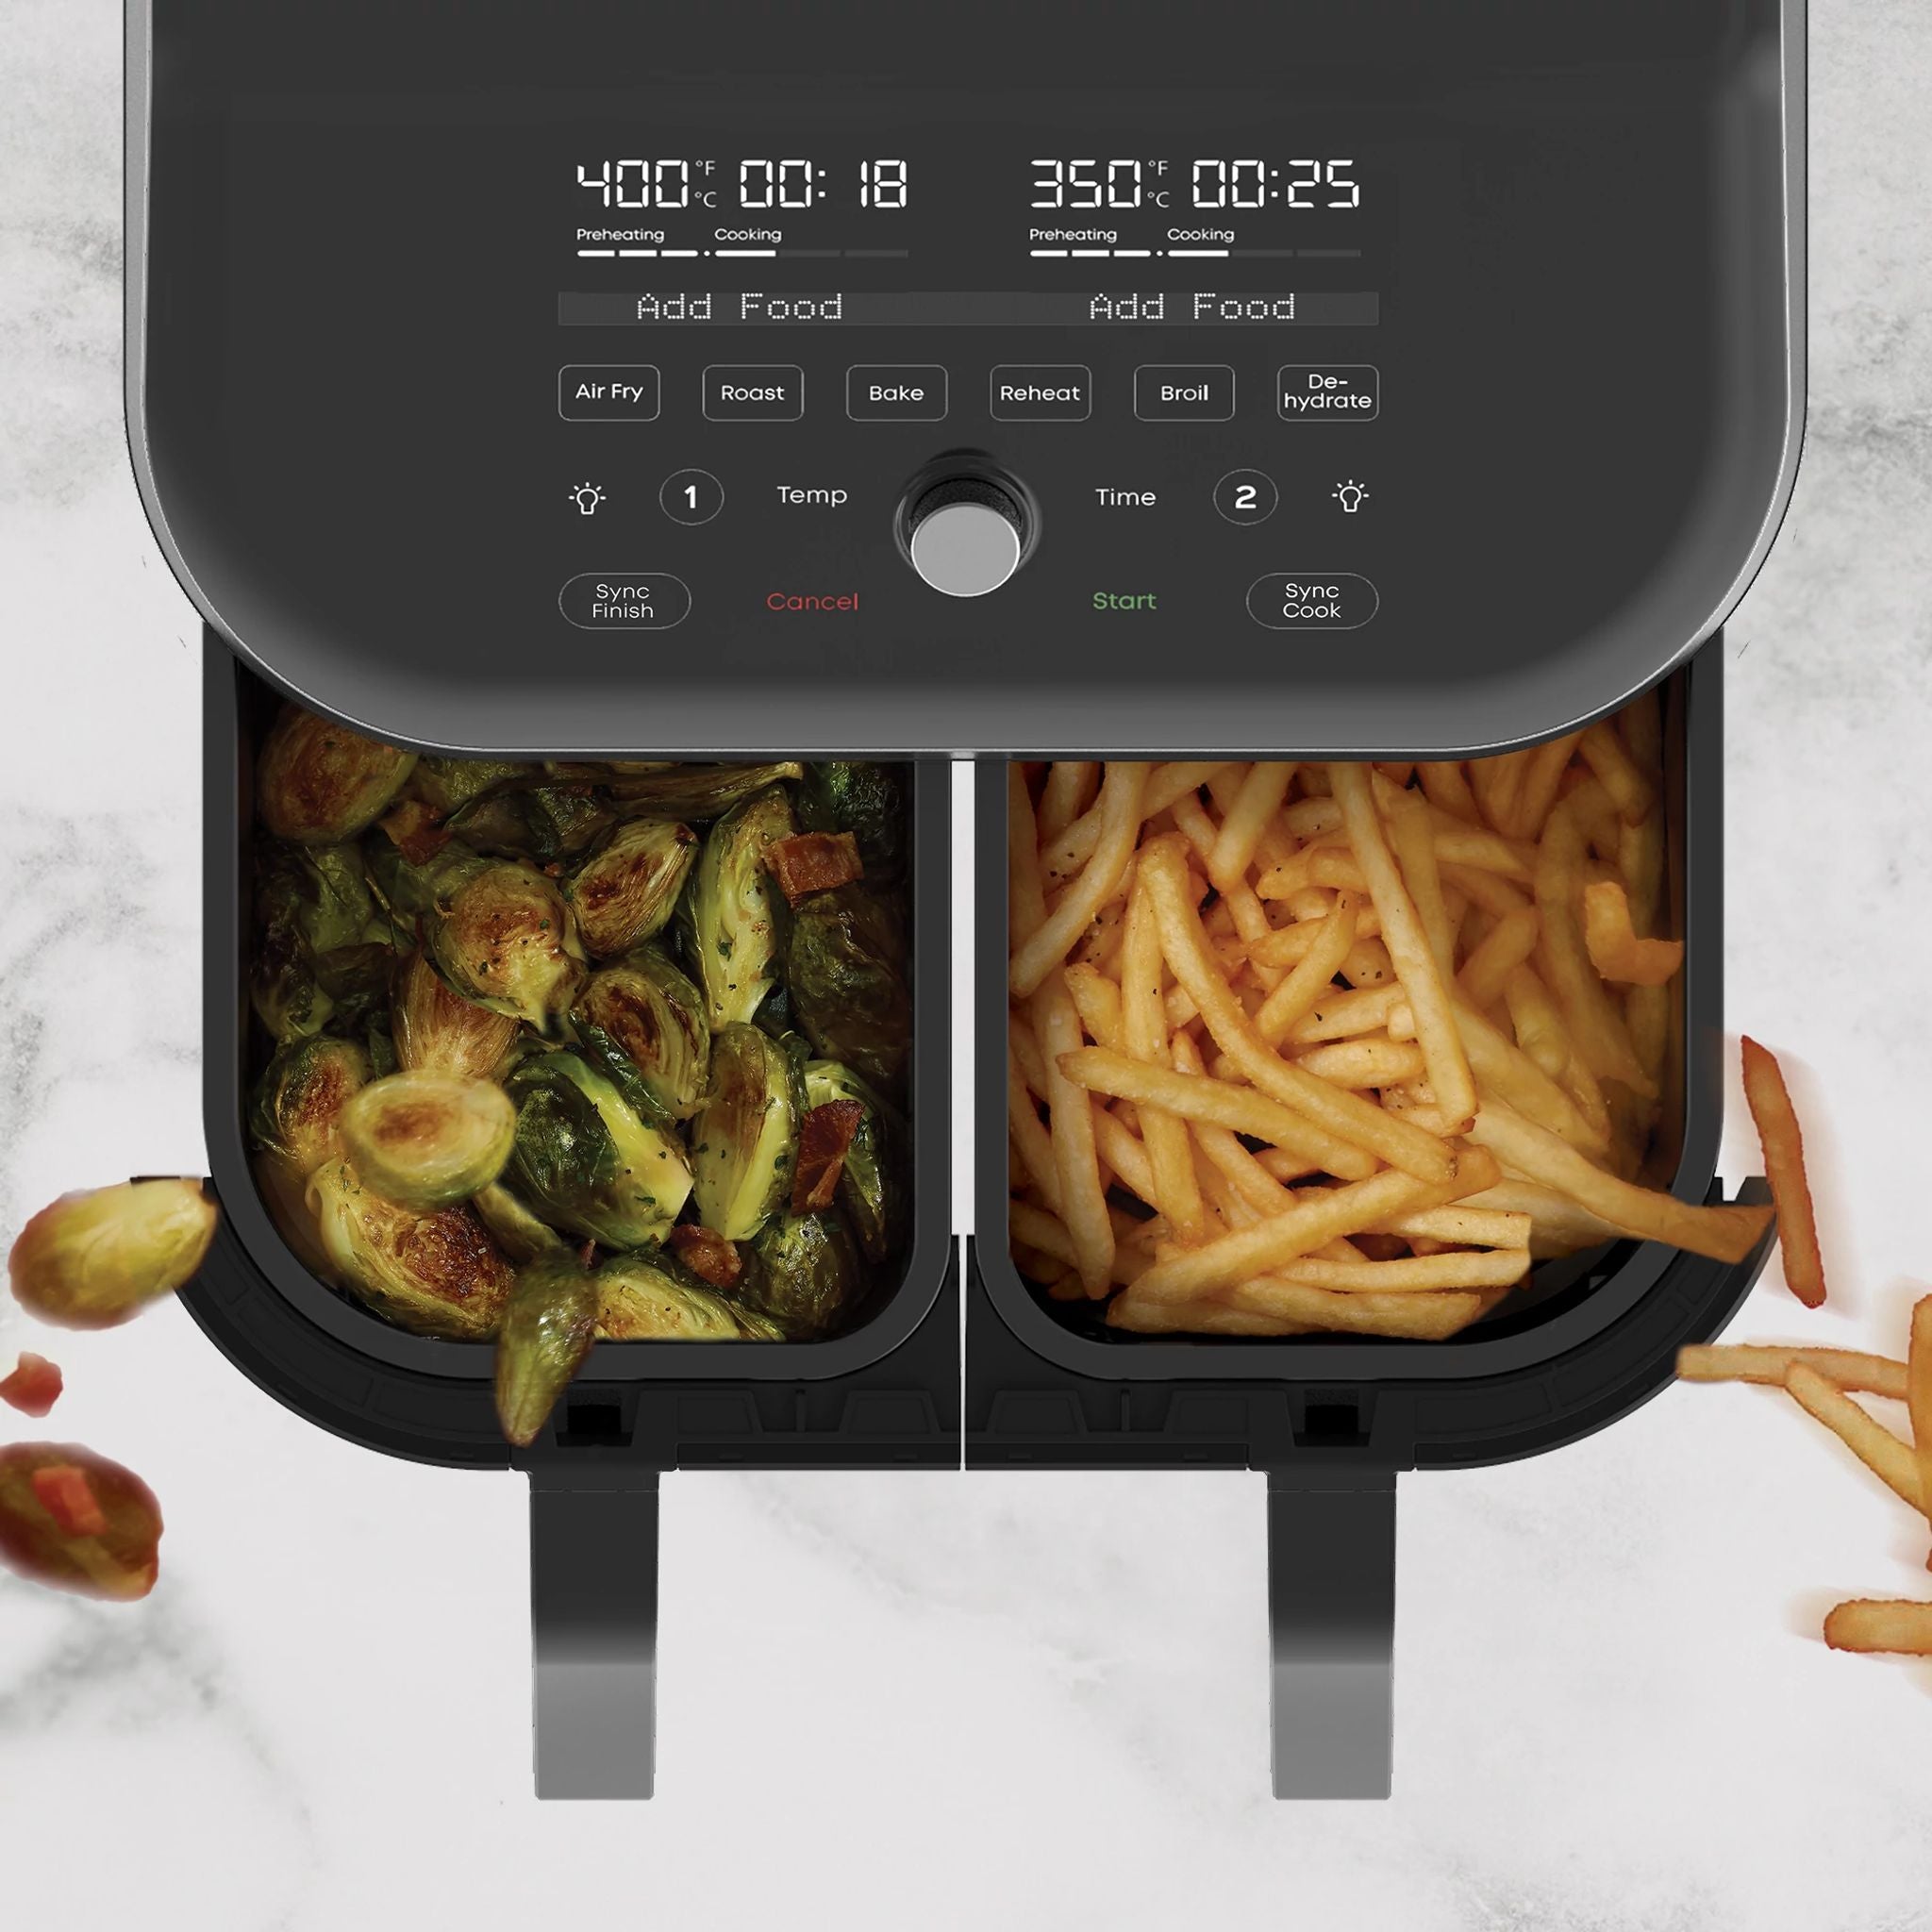
Layer your meals like a professional chef with this efficient technique. After setting up the basket base, add your first ingredient layer—perhaps potato wedges or vegetables. Place the broil tray on top (lightly oiled), then add lamb chops or chicken pieces. This setup cooks complete meals simultaneously with perfectly timed components.
The turning reminder becomes your cue to switch levels—move items from the broil tray to the basket and vice versa. This ensures everything cooks evenly without over-browning the top layer. For single-layer meat chops, position them directly on the broil tray for optimal searing results and maximum crispiness.
Stainless Steel Basket Alternative: Skip the Non-Stick Coating
Health-conscious cooks can skip the non-stick coating entirely by using stainless steel mesh steamer baskets. These fit directly into your inner pot and provide excellent air circulation without chemical coatings. Use one large basket for single-layer cooking or two smaller baskets for dual-level preparations.
Position ingredients closer to the heating element by using the upper basket position—perfect for quick-searing meat chops. The turning reminder works the same; switch baskets or simply ignore if your ingredients don’t need turning. This method is ideal for those concerned about non-stick coatings while still achieving professional results.
Instant Pot Air Fryer Temperature and Timing Reference Chart

Stop guessing and start perfecting with this quick-reference guide that eliminates trial-and-error cooking:
| Food Item | Temperature | Time | Pro Notes |
|---|---|---|---|
| Whole chicken (4 lbs) | 400°F | 60 min | Check internal temp reaches 165°F |
| Chicken drumsticks (6 pieces) | 375°F | 40 min | Turn twice for even browning |
| Lamb chops (4 pieces) | 375°F | 15 min | Medium-rare at 15 minutes |
| Sausages (8 links) | 400°F | 17 min | Prick skins to prevent bursting |
| Steak (medium) | 400°F | 16 min | 8 minutes per side |
| Pork steaks | 400°F | 20 min | Internal temp 145°F minimum |
Critical Safety Protocols for Hot Air Fryer Lid Operations
Extreme heat warning—this cannot be overstated. Every component reaches dangerous temperatures during cooking, with the air fryer lid’s underside becoming especially hazardous. Invest in quality oven mitts rated for 500°F+ and use them religiously for every interaction. Always place the hot lid immediately on the protective pad after removal—never set it directly on countertops.
Keep children and pets away from both the protective pad and the cooking area during operation and cooling. Allow complete cooling (at least 30 minutes) before attempting any cleaning or storage. The heating element retains heat significantly longer than you might expect, posing burn risks even after cooking finishes.
Instant Pot Air Fryer Lid Cleaning: What’s Dishwasher-Safe vs Hand-Wash Only
Dishwasher-safe components save massive time and effort:
– Inner pot (stainless steel)
– Protective pad
– Basket base
– Multi-level basket
– Broil tray
– Optional mesh baskets
Hand-wash only items requiring careful attention:
– Cooker base: Wipe with damp cloth only—never submerge in water
– Air fryer lid: Careful wiping of exterior surfaces, avoid electrical areas
Cleaning hack: Rinse dishwasher-safe components while warm (not hot) for easiest cleanup—food particles slide right off without soaking. Never use abrasive cleaners on non-stick surfaces, as this damages the coating and reduces effectiveness.
Pro Tips: Mastering Preheating and Alternative Cooking Vessels
Preheating happens automatically—when you press Start, the system preheats before the countdown begins. No extra steps needed, unlike many standalone air fryers. This intelligent feature ensures your food hits the right temperature immediately for perfect searing.
Cook without accessories when necessary. Your stainless steel inner pot works perfectly for air frying, though results improve with proper baskets or trivets that position food closer to the heating element. For best results without specialized accessories, use oven-safe cookware with raised bases to allow air circulation underneath.
Dual-pot system enables continuous cooking. Keep a second inner pot ready while the first runs through the dishwasher. This workflow prevents cooking delays during busy meal prep sessions and maximizes your appliance’s versatility.
Troubleshooting: Fixing Common Instant Pot Air Fryer Issues
Food not crispy? Check your layer distribution—single layers cook crispier than stacked food. Increase temperature by 25°F or extend time by 2-3 minutes for better results. Ensure you’re not opening the lid too frequently, which disrupts the cooking environment.
Uneven cooking? Use the turning reminder religiously and consider switching food between levels. Ensure proper air circulation by not overcrowding the basket—leave at least ½ inch space between items.
Lid won’t turn on? Verify the inner pot sits correctly in the base (listen for the click) and the lid clicks fully into position. Check that no food debris is blocking the locking mechanism.
Must-Have Accessories to Enhance Your Air Fryer Lid Experience
Mesh steamer baskets eliminate non-stick concerns while providing dishwasher-safe durability. A digital kitchen thermometer ensures meat safety—always verify internal temperatures exceed safe minimums, as visual cues can be misleading with air frying.
Second inner pot proves invaluable for meal prep efficiency. While one pot runs through the dishwasher, your backup enables continuous cooking without delays. Consider silicone trivets for additional height adjustment to position different foods at optimal distances from the heating element.
Master these techniques and your Instant Pot air fryer lid becomes your kitchen’s most versatile tool. From crispy fries to perfectly seared steaks, you’ll wonder how you ever cooked without it—maximizing counter space while delivering restaurant-quality results with minimal cleanup.


