
That shiny Instant Vortex air fryer sitting on your counter holds the secret to restaurant-quality fries with just a tablespoon of oil and perfectly roasted chicken without heating up your entire kitchen. If you’ve ever pulled soggy frozen fries from a conventional oven or battled with confusing appliance manuals, you’re not alone. Mastering how to use instant vortex air fryer technology transforms your cooking from guesswork to guaranteed crispiness—and this guide delivers exactly what you need to know. In just minutes, you’ll move from unboxing to creating golden-brown perfection that makes this your most-used kitchen appliance.
Stop wasting money on takeout when your countertop powerhouse can revive pizza crusts better than a microwave or dehydrate apple slices into healthy snacks. Whether you’re cooking frozen wings for game night or roasting a Sunday chicken, the Instant Vortex delivers consistent results with intuitive controls. Forget complicated setups—we’ll walk through every step so you achieve flawless cooking from your very first batch.
Instant Vortex Setup Essentials
Unboxing Your Air Fryer Correctly
Remove all packaging materials and locate your stainless steel basket, grooved cooking tray, and pre-installed OdorErase filters. Your Vortex measures 15.5″ × 11.8″ × 13″ with a 13-pound weight—compact enough for tight kitchens while delivering 1700-watt performance. Critical step: Check for the silver model sticker on the back above the power cord. This identifies your specific unit when troubleshooting or registering for warranty coverage.
Optimal Placement for Safety and Performance
Position your Vortex with 5 inches of clearance on all sides to prevent overheating—this isn’t optional but a fire-safety requirement. Avoid placing near cabinets, curtains, or walls since restricted airflow triggers automatic shutdowns. Choose a spot within arm’s reach of a 120V outlet since the cord won’t stretch far, and never operate on heat-sensitive surfaces like laminate countertops without a trivet.
First-Time Assembly That Prevents Errors
Insert the grooved cooking tray into the basket with the arrows pointing toward the ClearCook window—reversing this blocks airflow channels. Slide the basket fully into the appliance until it clicks flush; if the display shows “Close Basket,” push firmly until it disappears. This safety feature prevents operation with partially inserted baskets, so don’t force it—realign and try again. Verify the basket sits level before your first cook.
Control Panel Navigation Made Simple

Decoding the Display Messages
The screen stays blank when unplugged but shows “Ready” when first powered on. After 2 minutes of inactivity, it dims—but a single touch wakes it instantly. When you see “Add Food,” it means preheating completed and it’s time to load ingredients. Ignore the urge to skip this step: adding food during preheating guarantees optimal crispiness by hitting food with immediate 385°F+ heat.
Six Cooking Functions Explained for Best Results
- Air Fry: Default 385°F for frozen fries or chicken wings (shakes required)
- Roast: Fixed 401°F preset for whole chickens or root vegetables
- Bake: Starts at 365°F for cakes without kitchen-wide heat
- Grill: Top-down heating for burger char marks in 12 minutes
- Dehydrate: Low 129°F setting for jerky or fruit leather
- Reheat: 280°F magic for crispy pizza leftovers
Step-by-Step Cooking Process Without Failures
Perfect Preheating Technique
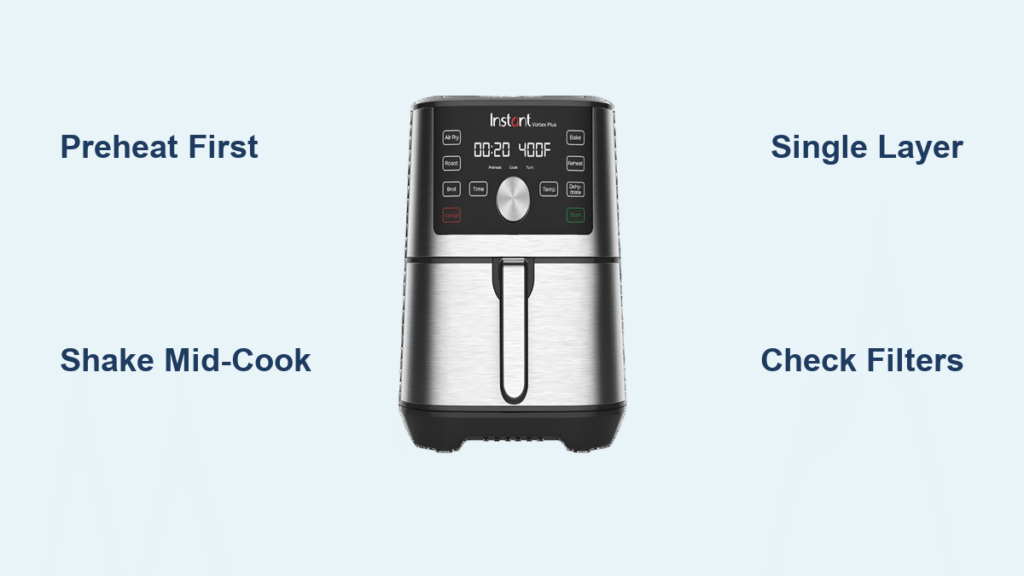
Select your function, then adjust time/temperature using the Temp/Time button and dial. Press START—the display shows “Preheating” with three lights tracking progress. Pro tip: Always preheat even for frozen foods—it takes just 2-3 minutes but ensures immediate crisping. Never skip this step; cold starts cause sogginess by steaming food instead of frying it.
Loading Food for Maximum Crispiness
When the beep sounds for “Add Food,” pull the basket completely out using the cool-touch handle. Arrange food in a single layer with space between pieces—overcrowding traps steam and creates uneven results. For wings or fries, leave ½-inch gaps between items. Slide the basket fully home until flush; partial insertion triggers automatic shutdowns mid-cycle.
Mid-Cooking Management Secrets
The Vortex beeps and displays “Turn Food” at the halfway point for cycles over 10 minutes. This isn’t optional—shake the basket vigorously or flip large items for even browning. Use the Light button for 2-minute visibility checks without opening the basket (which loses heat). Adjust time upward by 2-3 minutes for dense foods like potatoes without restarting the cycle.
Master Each Cooking Function Like a Pro
Air Fry Crispy Results Consistently
This all-in-one setting handles everything from frozen tater tots to fresh broccoli. Critical mistake to avoid: Skipping the mid-cycle shake causes one-side browning. For frozen fries, cook at 400°F for 12 minutes, shaking twice. The grooved tray elevates food for 360° air circulation—never place food directly on the basket base.
Roast Whole Foods Without Overcooking
The 401°F preset eliminates guesswork for 3+ pound chickens or whole squash. Unlike ovens, the Vortex’s rapid air movement prevents dry edges while keeping interiors juicy. No turning required—just set the timer (25 minutes per pound for chicken), and trust the system. Check doneness with a thermometer; poultry should hit 165°F internally.
Bake Desserts That Don’t Burn
At 365°F, baking mode handles muffins or cookies without heating your kitchen. Key difference: Unlike other functions, it won’t prompt “Turn Food” since baked goods cook evenly. For chocolate chip cookies, use 325°F for 10 minutes—watch through the ClearCook window to prevent over-browning. Always preheat the baking pan for cake-like rise.
Grill Burgers Indoors with Perfect Char
Top-down heating creates restaurant-style grill marks in minutes. Place patties on the grooved tray, set to Grill, and cook 6 minutes per side for medium. The high heat melts cheese instantly during the last minute—no more rubbery microwave cheese. Safety note: Never use the dehydrate tray for grilling; it blocks the top heating element.
Dehydrate Healthy Snacks Safely
The 129°F setting dries apples or herbs without cooking them. Slice foods uniformly (¼-inch thick) and arrange in single layers. Expect 6-12 hours depending on moisture content—check hourly after the 4-hour mark. Critical tip: Wipe interior condensation with a dry cloth halfway through to speed drying and prevent mold.
Reheat Leftovers Better Than a Microwave
The 280°F preset revives pizza without sogginess and crisps fried chicken skin. Always verify internal temperature reaches 170°F for 2+ minutes using a thermometer—this kills bacteria while preserving texture. For pizza, place slices directly on the grooved tray for 5 minutes; no oil needed.
Cleaning Made Simple After Every Use
Daily Exterior and Interior Wipe-Down
Unplug and cool completely before cleaning. Wipe the stainless steel exterior with a Dawn PowerWash-dampened cloth for grease-cutting power. For the interior, use a microfiber cloth on the heating element—never spray liquid directly as moisture causes electrical damage. Dry all surfaces thoroughly before storage.
Basket and Tray Cleaning That Prevents Damage
Both components are dishwasher safe, but hand washing preserves the nonstick coating longer. When washing the basket, avoid soaking the ClearCook window section—water trapped between panes creates cloudy residue. For stubborn grease on the grooved tray, use a soft brush in the dishwasher’s top rack.
Filter Replacement Without Errors
When “CHANGE FILTER” appears, unplug the unit and open the top compartment. Remove both spent white filters and insert two new ones (sold separately). Reset the indicator by holding BAKE + REHEAT buttons for 3 seconds—do not skip this step or the alert will persist. Replace filters every 3-6 months depending on usage.
Advanced Features for Customized Operation
Silence Notifications Without Losing Safety Alerts
Hold TIME/TEMP + LIGHT buttons for 5 seconds while plugged in to toggle “Sound Off.” This mutes routine beeps but retains critical alerts like “Close Basket.” The setting saves after unplugging, making midnight snack prep quiet. Ideal for households with light sleepers.
Switch Between Fahrenheit and Celsius Instantly
Hold the TIME/TEMP button for 5 seconds to toggle units—essential for international recipes. The display flashes °F/°C during the switch. No need to recalibrate times; the Vortex automatically adjusts cooking algorithms for accurate results in either scale.
Reset to Factory Defaults for Persistent Issues
Hold the cooking dial while plugging in to restore original settings. Use this when the display freezes or functions behave erratically—it clears corrupted memory without affecting hardware. Always try this before contacting support for display glitches.
Troubleshooting Common Issues Fast
Fix Display Messages in Seconds
- “Close Basket”: Push firmly until flush (common with new units)
- “Add Food”: Normal preheat completion—load ingredients immediately
- “Turn Food”: Shake basket within 30 seconds to resume
- “CHANGE FILTER”: Replace both filters before resetting indicator
Performance Optimization Checklist
Start with frozen fries at 400°F for 12 minutes to calibrate your unit. Keep a cooking log noting brand-specific adjustments—some frozen foods need +2 minutes. Always preheat for frozen items, and never exceed the basket’s 5-quart capacity. Register at instantpot.com within 30 days to activate your 1-year warranty.
Warranty Claims That Get Fast Support
Call 800-828-7280 with your model number (from the back sticker) for technical help. Email support responds within 24 hours for filter or part replacements—include purchase proof. Most users report same-day solutions for display errors when providing clear symptom descriptions.
Mastering how to use instant vortex air fryer techniques turns dinner stress into kitchen confidence. Start tonight with frozen fries using the Air Fry function at 400°F for 12 minutes—shaking halfway—and witness the crispiness difference preheating makes. Within weeks, you’ll be dehydrating garden herbs or roasting Thanksgiving turkeys with precision that makes this appliance indispensable. Remember: perfect results come from respecting the airflow—never overcrowd, always preheat, and keep those filters fresh for odor-free cooking. Your journey to effortless, crispy perfection starts with that first basket pull.


