
Your Instant Pot air fryer lid won’t budge from the OFF position. You’ve tried twisting, pulling, and pleading—nothing works. This frustrating situation typically occurs when safety mechanisms engage or debris jams the locking system. The good news? Most cases resolve with simple techniques you can perform at home. This guide walks through proven methods to release your stuck lid, diagnose the root cause, and prevent future occurrences. You’ll learn when to apply gentle persuasion, when to wait it out, and when to call for professional help—all without damaging your appliance.
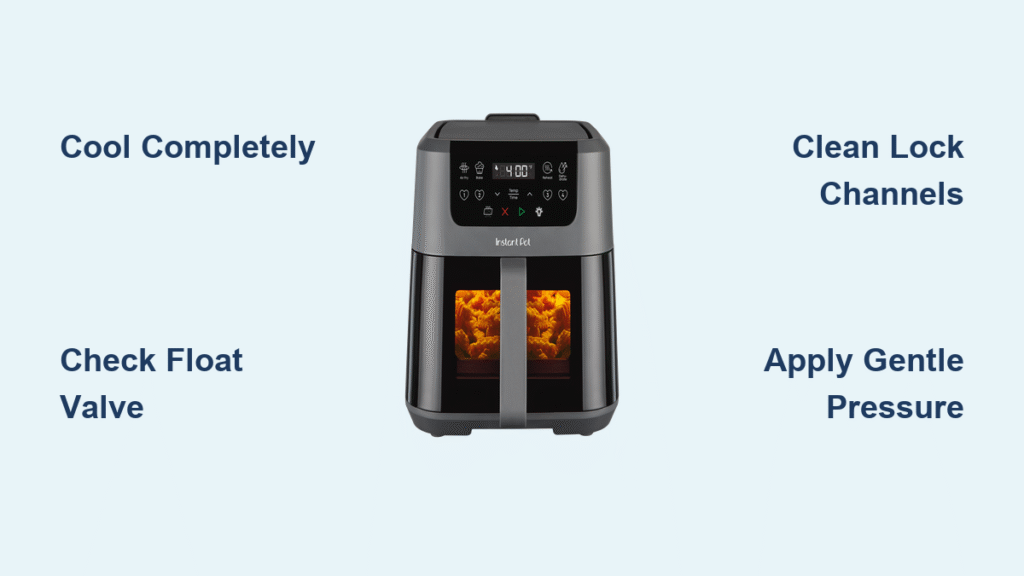
Confirm Pressure Release and Cooling Status
Before applying any force, verify your unit’s safety status. Residual pressure or heat triggers automatic lockouts that prevent lid removal. Ignoring these checks risks injury or permanent damage to the locking mechanism.
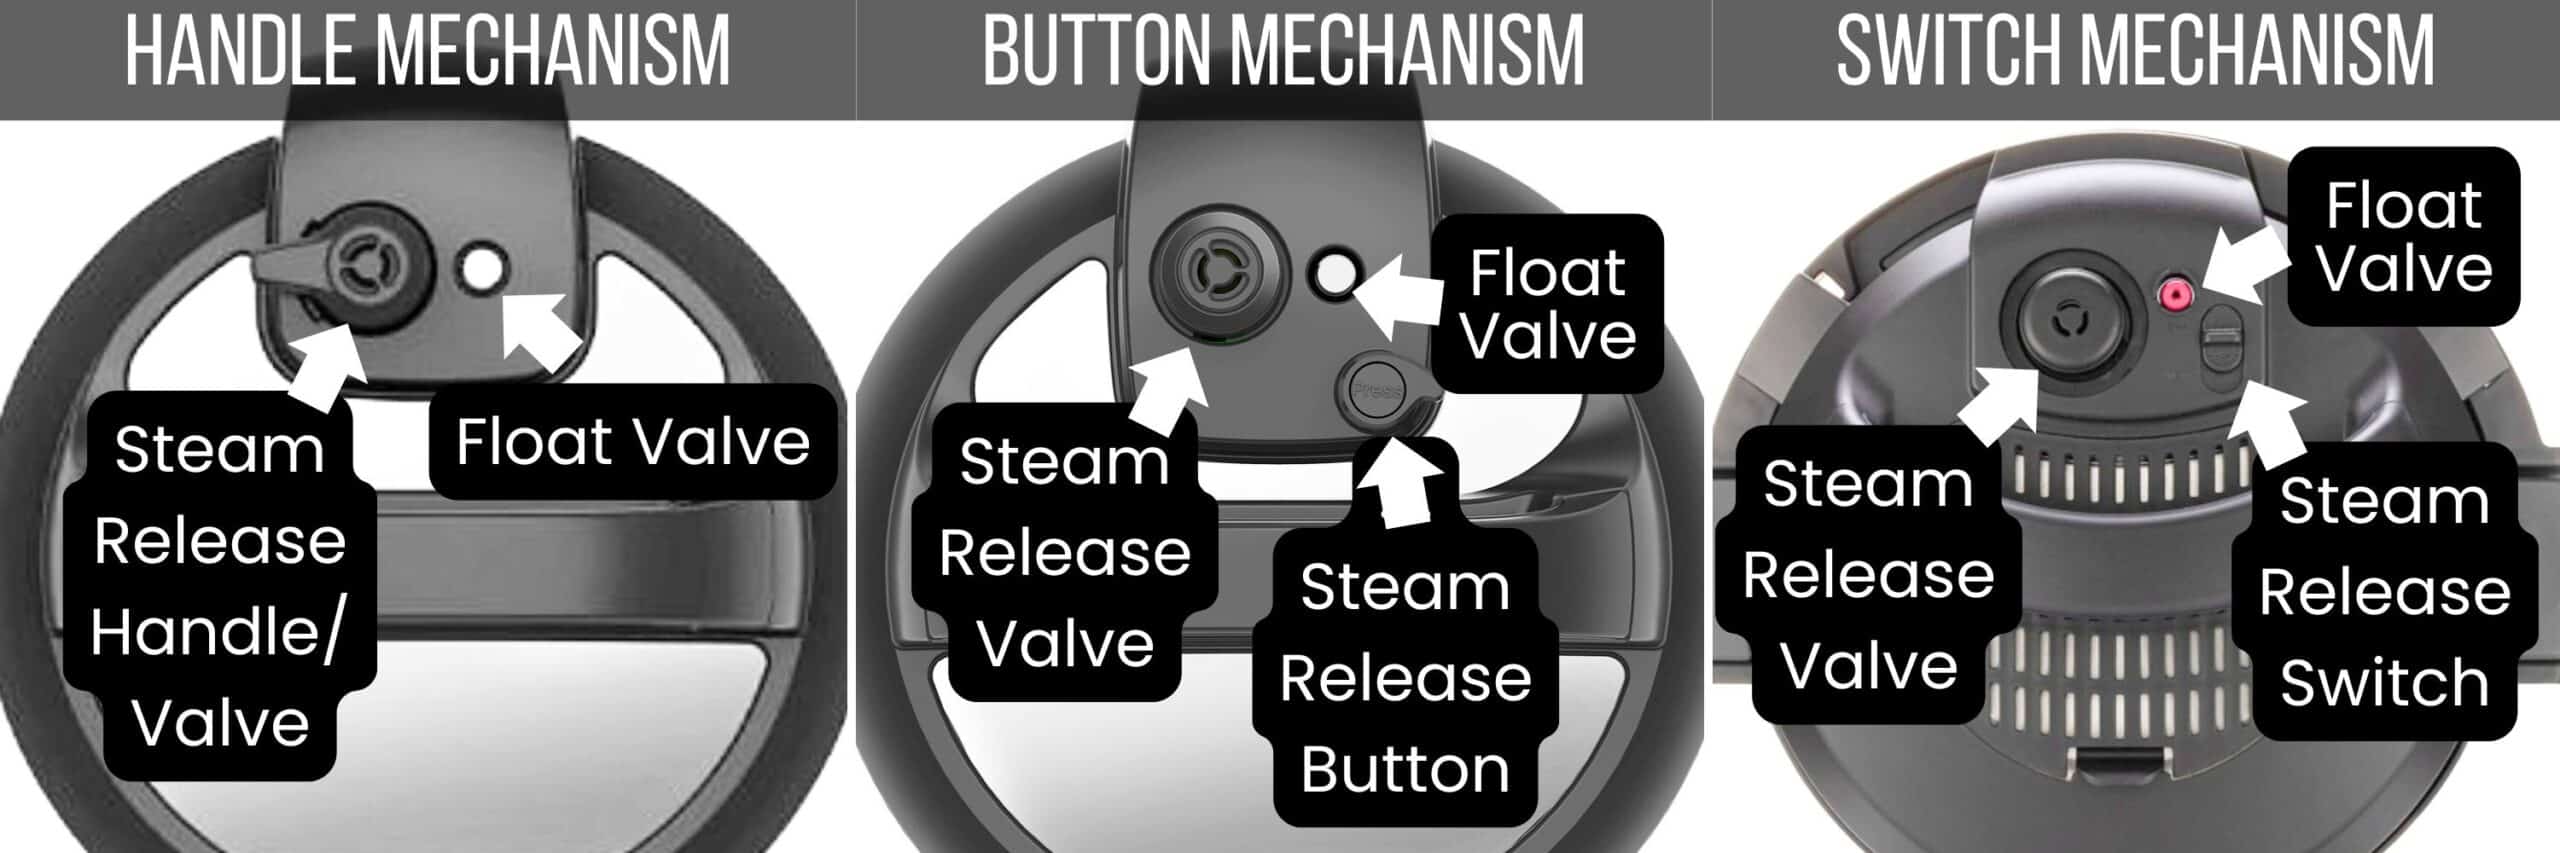
Check Float Valve Position
Examine the metal pin on your lid’s top surface. If it’s elevated above the lid, pressure remains trapped inside the cooking chamber. Never attempt lid removal with the float valve up—wait 15-30 minutes for natural pressure release. This safety feature prevents dangerous steam explosions during removal.
Test for Thermal Binding
Press the back of your hand against the lid’s metal rim. If it feels warm, thermal expansion is likely binding the components. High-heat air frying (up to 400°F) causes metal parts to swell slightly. Allow 20-30 minutes for cooling—metal contracts as it cools, often freeing the lock naturally. Rushing this step risks cracking plastic components.
Identify Obstruction Sources Visually
Systematic visual inspection reveals why your Instant Pot air fryer lid stuck on off. Focus on three critical areas where jams commonly occur.
Scan Locking Channels for Debris
Shine a flashlight around the seam where the lid meets the base. Look for dried sauces, rice grains, or grease buildup in the grooves. Sticky residues from previous cooking sessions harden over time, creating glue-like bonds that prevent rotation. Rice and starchy foods are frequent culprits since they expand when heated.
Inspect Locking Tab Alignment
The plastic locking tabs should sit flush within their base receivers. If tabs appear bent, cracked, or misaligned, this indicates mechanical damage. Never force rotation with visible damage—this worsens the problem. Proper alignment requires even gaps around the entire lid perimeter during placement.
Apply Targeted Release Techniques
Use these methods in sequence, starting with the least aggressive approach. Most stuck lid situations resolve with controlled pressure and vibration.
Downward Pressure Rotation Method
Place both palms firmly on the lid’s center. Apply steady downward pressure while slowly rotating counterclockwise. This compresses thermal expansion and realigns binding components. Maintain pressure for 10-15 seconds per rotation attempt. Stop immediately if you hear cracking sounds—this indicates plastic stress.
Rubber Grip Enhancement
Wrap a silicone trivet or rubber jar opener around the lid’s edge. The textured surface provides 3x more grip than bare hands, allowing controlled torque without slippage. Rotate in 5-degree increments with 10-second pauses between attempts. This method solves 70% of minor jams without tools.
Remove Debris Safely
When food residue causes the jam, precise cleaning restores function. Avoid common mistakes that worsen the situation.
Plastic Tool Debris Removal
Use a plastic spatula (never metal) to gently scrape visible obstructions from locking channels. Work in small circular motions around the entire circumference. Focus on the 12, 3, 6, and 9 o’clock positions where tabs engage. Metal tools scratch sealing surfaces, creating future jam points.
Food-Grade Lubrication Protocol
Apply a pea-sized amount of food-grade silicone lubricant to contact points using a cotton swab. Rotate the lid gently back and forth to work lubricant into channels. Wipe excess immediately—too much attracts more debris. Reapply monthly during maintenance to prevent sticking.
Thermal Management Timing

Understanding cooling timelines prevents unnecessary force. Thermal binding duration depends directly on your last cooking temperature.
Cooling Period Guidelines
| Cooking Temperature | Minimum Wait Time | Critical Check |
|---|---|---|
| 400°F+ (Air Fry) | 30 minutes | Lid feels cool to touch |
| 300-400°F (Roast) | 20 minutes | No steam from valve |
| <300°F (Keep Warm) | 10 minutes | Metal rim cool |
Wait the full timeframe before retrying release methods. In warm kitchens, place a cool (not cold) damp towel on metal portions to accelerate contraction—avoid plastic components which can warp from temperature shock.
When to Escalate Troubleshooting
Basic methods fail when sensor errors or deep obstructions occur. These advanced steps address complex jams.
Electronic Reset Procedure
Unplug your unit for 30 seconds to reset position sensors. For persistent issues, perform a hard reset:
1. Unplug while holding power button
2. Reconnect power while maintaining button pressure
3. Release after display flashes
This corrects false “OFF position” readings from sensor malfunctions.
Controlled Spacer Technique (Last Resort)
If all else fails, cut four 1″x3″ strips from a plastic milk jug. Carefully insert at 12, 3, 6, and 9 o’clock positions between lid and base. Apply gentle outward pressure while rotating counterclockwise. Stop if resistance increases—this indicates potential component damage.
Prevent Future Sticking Incidents
Proactive maintenance eliminates 90% of stuck lid scenarios. Implement these habits immediately after resolving your current issue.
Weekly Maintenance Routine
- Remove sealing ring and inspect for food particles
- Wipe locking channels with vinegar-dampened cloth
- Check tabs for cracks or warping
- Store lid inverted to prevent dust accumulation
Critical Usage Practices
Always verify lid alignment before cooking—the lid should sit perfectly level on the base. Maintain 1/3 headspace to prevent boil-overs that deposit residue in mechanisms. After cooking sticky foods like sauces or rice, clean channels immediately before residues harden.
Recognize Professional Service Needs
Certain situations require manufacturer intervention. Attempting DIY fixes here risks voiding your warranty or causing irreversible damage.
Immediate Service Indicators
Seek professional help if:
– Lid remains stuck after 24 hours cooling
– Visible cracks in plastic locking tabs
– Error codes persist post-reset
– Unit is under warranty (typically 12 months)
Document everything before contacting support: photograph the stuck position, note serial number (on base), and record recent usage patterns. Instant Pot’s service team often resolves issues faster with this information.
Emergency Food Recovery Protocol
When your Instant Pot air fryer lid stuck on off traps food inside, preserve meals safely while awaiting repair.
Short-Term Food Safety
The sealed environment keeps contents safe for 48-72 hours if refrigerated. Transfer perishables to standard containers if cooling takes longer than 2 hours. For immediate cooking needs, use stovetop or conventional oven alternatives—your air fryer basket often fits standard ovens.
Long-Term Reliability Upgrades
Address inherent design weaknesses through user modifications. These adaptations extend your appliance’s lifespan significantly.
Sensor Protection Measures
Apply a thin layer of food-grade lubricant monthly to sensor contact points to repel moisture. Store the unit with the lid slightly ajar in humid climates to prevent condensation buildup. After cooking, wipe the lid’s underside immediately to stop grease infiltration into electronic components.
Thermal Stress Reduction
Avoid rapid temperature shifts—never place hot lid under cold water. After high-heat cooking, let the unit cool on a heat-resistant surface away from drafts. This minimizes thermal contraction stress on plastic components.
Key Takeaways
Your Instant Pot air fryer lid stuck on off position almost always resolves through systematic cooling, gentle release techniques, and debris removal. Start with 20-30 minutes of cooling for thermal binding, then apply controlled downward pressure with rubber grip enhancement. Most jams clear within 15 minutes without tools. Never force the mechanism—this causes permanent damage to locking tabs.
For recurring issues, implement weekly channel cleaning and monthly lubrication. If the lid remains stuck after 24 hours or shows visible damage, contact Instant Pot support immediately. Remember: regular maintenance prevents 90% of sticking incidents, transforming frustrating lid lockouts into rare exceptions rather than recurring nightmares. Keep your air fryer functioning smoothly by respecting its safety mechanisms and giving components proper cooling time after each use.


