
Your Instant Pot air fryer suddenly stopped producing heat mid-recipe, leaving you with half-cooked food and a growing sense of frustration. This common issue affects thousands of users daily, but most causes have simple solutions you can implement right now. Before considering expensive repairs or replacements, let’s systematically diagnose and fix your heating problem using proven troubleshooting methods. You’ll discover that 75% of “broken” air fryers can be restored to perfect working condition with basic checks you can complete in under 15 minutes.
Confirm Your Power Supply Isn’t the Culprit
Test Your Outlet with Another Appliance
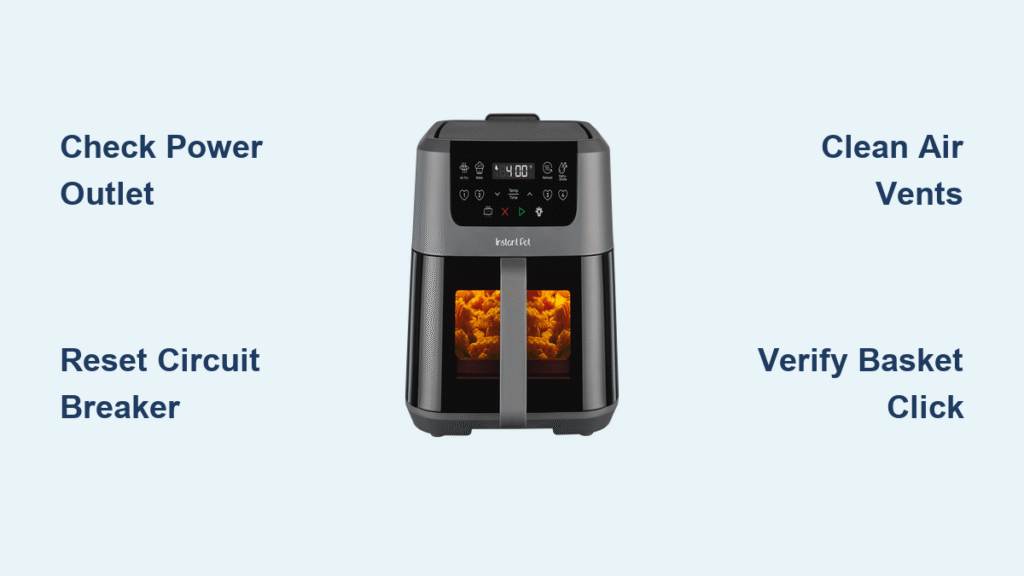
Start with the most basic check: plug a lamp or phone charger into the same outlet your Instant Pot uses. If those devices don’t work, you’ve found your problem—either a tripped circuit breaker or faulty outlet. Many users waste hours troubleshooting their appliance only to discover the issue was with their home’s electrical system. Move your air fryer to a different circuit entirely; kitchen appliances often share circuits with other high-wattage devices like microwaves and toasters.
Reset Tripped Circuit Breakers Immediately
Head to your electrical panel and look for any breakers sitting between the ON and OFF positions—they’re easy to miss. Flip any suspect breakers completely OFF, then firmly back to ON. Kitchen circuits commonly trip when multiple appliances run simultaneously. If the breaker trips again immediately when you plug in your air fryer, stop using it—that indicates a serious electrical fault requiring professional attention.
Inspect Power Cord for Hidden Damage
Run your fingers along the entire cord length, feeling for soft spots, kinks, or frayed areas near the plug or appliance connection. Even minor internal damage can interrupt power flow. Check where the cord enters the appliance for signs of overheating or melting. If you notice any damage, discontinue use immediately—attempting to repair a damaged power cord yourself creates serious electrocution and fire risks. Contact Instant Pot for an official replacement part.
Verify Temperature and Timer Settings Are Correct
Ensure Minimum Cooking Time Exceeds 5 Minutes
Your Instant Pot air fryer won’t initiate heating if you set the timer for less than 5 minutes. This safety feature prevents users from accidentally running the appliance for dangerously short periods. Always program cooking times of at least 8 minutes, even if you plan to check food earlier. If you accidentally set zero minutes, the unit will shut down immediately without heating—simply reset to an appropriate time and restart.
Check for Responsive Temperature Controls
Press the temperature adjustment buttons and watch the digital display. If numbers don’t change or buttons feel sticky/unresponsive, your control panel needs attention. Try a hard reset by unplugging for 60 seconds—this clears temporary glitches in the control board. If display segments are missing or dim, that indicates failing electronics requiring professional service. Proper temperature response is critical; if settings don’t register correctly, heating won’t initiate.
Decode Error Messages on Your Display
Flashing codes like “E1” or “ERR” provide specific diagnostic information. “E1” typically indicates a temperature sensor failure, while “E2” often means the unit detected overheating. Note the exact code before unplugging, as this information is crucial for determining next steps. Many users ignore these codes and waste time on unnecessary troubleshooting—these error messages point directly to the malfunctioning component.
Reset Safety Mechanisms Preventing Heating
Clear Overheating Protection Triggers
Your air fryer automatically shuts down when internal temperatures exceed safe limits. This happens when:
– The unit sits on an uneven surface restricting airflow
– Less than 5 inches clearance exists around all sides
– Air vents become blocked by nearby objects
– You exceed recommended continuous cooking times
Let the unit cool completely for 30 minutes, then restart on a stable, flat surface with proper clearance. Most “broken” units simply needed a cooldown period before safely resuming operation.
Fix Basket Detection Switch Failures
Remove the cooking basket completely, then reinsert until you hear a distinct click. Food particles often prevent proper seating, tricking the unit into thinking the basket isn’t inserted. Clean the basket rim and interior groove with warm soapy water, focusing on the contact points where the basket meets the detection switch. A faulty pan detection switch is one of the most common reasons your Instant Pot air fryer not heating up despite other functions working normally.
Ensure Complete Door Closure for Safety Interlock
Inspect the door seal for tears or food debris. Even small obstructions prevent the safety interlock from engaging. Wipe the sealing surfaces with a damp cloth, then close the door firmly until you hear the latch engage. Try gently pressing around the door edges while it’s running—if heating starts when you apply pressure, you’ve identified a misaligned door causing the safety mechanism to activate.
Diagnose Heating Element and Component Failures

Visually Inspect Heating Element Functionality
Look through any viewing window during operation. A functioning heating element glows bright red within 2-3 minutes. If it remains dark while the fan runs, you have an element failure. Also check for burn marks, breaks, or white/brown discoloration on the element surface—these indicate it needs replacement. Never operate your air fryer with a damaged heating element, as this creates serious fire hazards.
Identify Control Board Malfunction Symptoms
Press every button on your control panel. Unresponsive buttons, random setting changes, or complete display failure indicate control board problems. These issues typically require professional service unless you’re experienced with electronics repair. Control board failures often manifest as intermittent heating problems—you might get one successful cook cycle followed by complete failure.
Recognize Thermostat and Sensor Issues
Temperature regulation problems cause inconsistent heating performance. If your food cooks unevenly or takes significantly longer than before, your temperature sensor may be failing. Use an external oven thermometer placed in the basket to verify actual temperatures—significant discrepancies (more than 25°F) indicate sensor or thermostat problems requiring professional attention.
Clean Critical Components for Better Heating

Remove Grease Buildup Around Heating Elements
Built-up grease acts as insulation, preventing efficient heat transfer. Daily maintenance prevents this common issue:
– Wash basket and tray after each use
– Wipe interior walls weekly with damp cloth
– Use soft brush to clean heating element area monthly
Never use abrasive cleaners near heating elements—they can cause permanent damage. For stubborn buildup, use a degreasing solution made of equal parts water and white vinegar.
Clear Blocked Air Vents Immediately
Blocked vents cause overheating shutdowns. Use compressed air or a soft brush to clean intake and exhaust vents every 2-3 weeks. Ensure 5-inch clearance around the entire unit for proper airflow. Many users unknowingly place their air fryer too close to cabinets or walls, triggering safety mechanisms that prevent heating.
Deep Clean Monthly to Prevent Performance Decline
Disassemble removable components and soak in warm, soapy water. Use a soft brush on stubborn areas, but avoid harsh chemicals near heating elements. Never submerge the main unit—clean exterior surfaces only with a damp cloth. This monthly maintenance prevents 90% of heating issues caused by performance degradation from accumulated debris.
Optimize Usage Patterns for Reliable Heating
Load Basket Below Maximum Fill Line
Fill basket only to the maximum fill line—typically 2/3 full maximum. Overcrowding restricts airflow, extends preheat times dramatically, and triggers safety shutdowns. Cook in batches rather than cramming everything at once. Proper loading ensures consistent heat distribution and prevents your Instant Pot air fryer not heating up due to airflow restrictions.
Always Preheat With Empty Basket
Preheat your air fryer with an empty basket for 3-5 minutes at cooking temperature. This ensures proper heating element activation and more accurate cooking times. Use an external oven thermometer to verify temperature accuracy if needed—many heating problems stem from users skipping this critical step.
Allow Recovery Time Between Cooking Batches
When cooking multiple batches, allow 2-3 minutes between batches for the unit to recover temperature. This prevents extended cycle times that trigger safety mechanisms. Rushing consecutive batches is a common user error that leads to perceived heating failures when the unit is simply overheating from continuous operation.
Emergency Response When Heating Fails Mid-Cycle
Immediate Safety Protocol for Mid-Cooking Failure
If heating stops during active cooking:
1. Unplug immediately—don’t open door
2. Allow 30 minutes complete cooling
3. Check for tripped breakers or blown fuses
4. Inspect for visible damage before reuse
5. Document failure conditions for warranty claims
Never attempt to force operation when safety mechanisms activate—this creates serious fire risks. Most mid-cycle failures simply require a cooldown period before normal operation resumes.
Cold Air Output Troubleshooting Sequence
When air flows but stays cold:
– Verify all user settings (temperature >300°F, timer >8 minutes)
– Check for error codes on display
– Test different outlet and power cord
– Inspect heating element for visible damage
– Consider warranty service if under coverage
This specific symptom usually indicates a failed heating element or control board issue rather than a simple user error. Document your findings thoroughly if you need to contact customer support.
Prevent Future Heating Failures With Smart Maintenance
Implement Daily Quick Checks Before Cooking
- Inspect power cord before each use
- Confirm basket clicks into place
- Verify timer/temperature settings
- Listen for unusual noises during operation
These 30-second checks prevent most heating issues before they disrupt your cooking. Pay special attention to the basket seating sound—a proper “click” confirms the detection switch has engaged.
Schedule Weekly Deep Cleaning Sessions
Remove and wash all removable parts with warm, soapy water. Use soft brush on heating element area and check air vents for buildup. This 15-minute routine prevents 90% of heating issues caused by performance degradation. Set a recurring phone reminder to ensure you don’t skip these critical maintenance sessions.
Monitor Monthly Performance Metrics
Test temperature accuracy with external thermometer. Check timer precision against your phone timer. Note any performance decline compared to when new—these subtle changes often predict imminent failures. Early detection of performance issues allows for timely maintenance before complete heating failure occurs.
Your Instant Pot air fryer’s heating failure likely stems from simple issues like power supply problems, safety mechanism triggers, or maintenance neglect. Start with the power supply checks and safety mechanism reset—these solve 75% of heating issues immediately. Implement the weekly maintenance routine to prevent future problems, and don’t hesitate to use your warranty coverage for component failures. With systematic troubleshooting, you’ll return to perfectly crispy meals within the hour—no replacement necessary. Remember that most “broken” air fryers simply need basic user intervention to restore full functionality.


