
Tired of waiting 30 minutes for your oven to heat up just for a single slice of pizza? Your Philips air fryer is the secret weapon you’ve been overlooking. This countertop appliance transforms raw dough into a perfectly crisp, cheese-blanketed personal pizza in less time than it takes for delivery to arrive. With the right technique, your Philips air fryer delivers restaurant-quality results with a golden, bubbly crust that regular ovens struggle to match. Whether you’re using a compact HD920/94 model or the spacious XXL, this guide reveals the exact measurements, temperatures, and tricks to make flawless pizza every time—no preheating your entire kitchen required.
Skip the soggy disappointment of microwave pizza and the hassle of conventional ovens. We’ve tested every variable across multiple Philips models to give you a foolproof formula that works whether you’re using store-bought dough, frozen crusts, or homemade creations. By the end of this guide, you’ll know precisely how to prevent toppings from flying, avoid sticking disasters, and achieve that coveted crispy-yet-chewy crust texture that makes air fryer pizza superior to traditional methods. The best part? You’ll have a piping hot personal pizza ready in under 10 minutes with minimal cleanup.
Philips Air Fryer Basket Size & Preheating Secrets

Match Your Pizza to Your Model’s Capacity
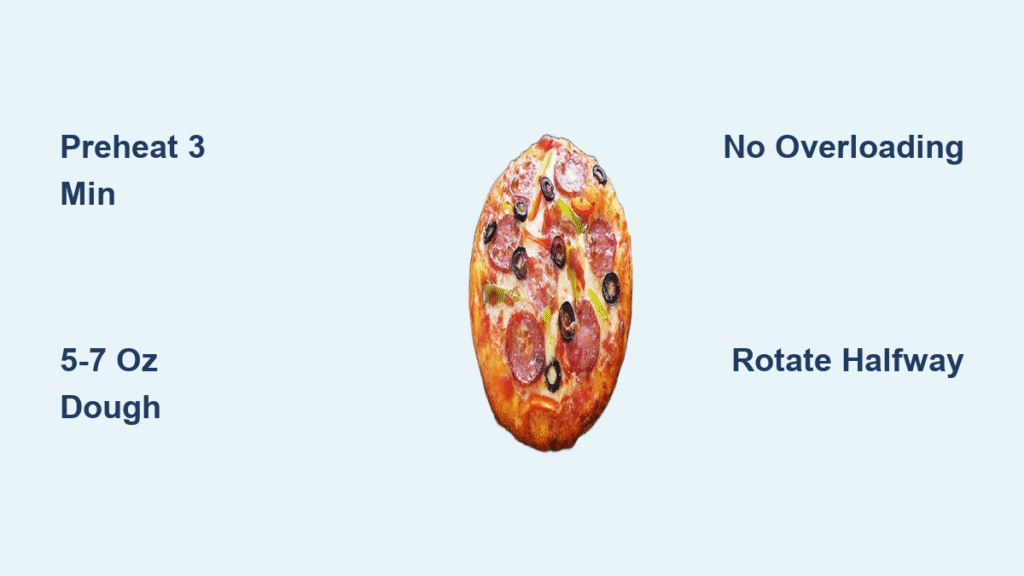
Most standard Philips air fryers (HD9200, HD9250, etc.) comfortably handle 5-6 inch personal pizzas without touching the sides—any larger and you’ll restrict airflow. The critical clearance rule: maintain at least ½ inch between your dough and the basket walls. If you own the Philips XXL (HD9650) or rectangular basket models, you can stretch to 9-inch rounds, but rotate the basket 180° halfway through cooking for even browning. For models with glass bowls like the “Big Boss” style, use parchment paper and check toppings midway to prevent displacement.
The 3-Minute Preheat That Makes All the Difference
Set your Philips air fryer to 390°F (200°C) for exactly 3 minutes before adding your pizza. This short but crucial preheat creates immediate crust searing that locks in moisture and prevents sogginess. Skip this step, and you’ll need to add 1-2 minutes to your total cook time while risking a limp bottom crust. Note that some newer Philips models with rapid-air technology may not require preheating—check your manual, but when in doubt, stick with the 3-minute rule for perfect results.
Exact Measurements for Foolproof Air Fryer Pizza
The Single-Serving Dough Formula
Use precisely 5-7 ounces (140-200g) of dough for standard Philips baskets—this equals half a standard refrigerated can or one pre-portioned 6-inch personal crust. Roll to exactly fit your basket: 5mm thickness for crispy results, or 8mm if you prefer chewier texture. For gluten-free or whole-wheat bases, follow the same size guidelines but add 1 minute to cooking time as these doughs absorb more moisture.
Topping Limits That Prevent Disaster
Overloading causes topping chaos and uneven cooking. Stick to these maximums: ¼-⅓ cup thick tomato sauce (thin sauces create sogginess), ½-¾ cup shredded mozzarella (dairy or vegan), and absolutely no more than ½ cup total toppings. This ratio ensures proper melting and crisping without weighing down your crust. If using wet ingredients like fresh tomatoes, pat them dry first to prevent moisture buildup.
Raw Dough vs. Pre-Baked: Two Winning Methods
The No-Sogginess Raw Dough Technique
For fresh dough success, let it rest at room temperature for 30 minutes before rolling—this prevents shrinkage. After shaping, air-fry the naked dough at 390°F for 2-3 minutes until pale and just set. This precook step is non-negotiable for raw dough and creates a barrier against sauce moisture. Once topped, return to the air fryer for 3-4 minutes until cheese bubbles vigorously. Watch for the visual cue: the crust edge should pull away slightly from the basket when properly set.
Store-Bought Crust Shortcuts
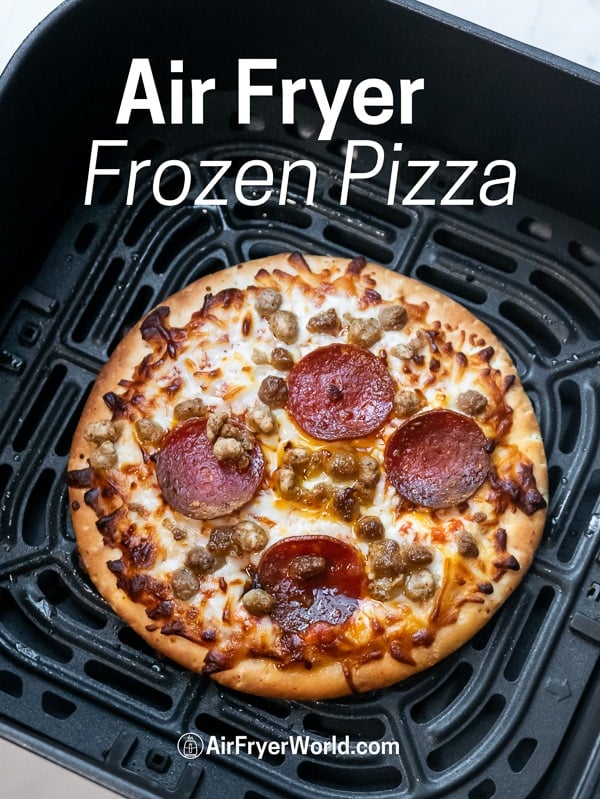
Refrigerated pre-baked 6-inch crusts skip the precook step entirely—simply add toppings and air-fry. For canned dough, separate into two portions, crimp the edges to form a rim (preventing sauce overflow), and proceed with the raw dough method. If using frozen store-bought personal pizzas, cook at 375-390°F for 9-12 minutes with no thawing required—check at 9 minutes to avoid over-browning.
Perfect Sauce & Strategic Topping Layering
The 5-Minute Homemade Sauce That Won’t Sog Your Crust
Combine ½ cup tomato puree, 1 tablespoon olive oil, 1 minced garlic clove, ½ teaspoon Italian seasoning, and a pinch each of salt, sugar, and chili flakes. Simmer just 5 minutes until thickened—runny sauces are the #1 cause of soggy air fryer pizza bottoms. The perfect consistency: when you drag a spoon through it, the gap should hold for 2 seconds before filling.
The Critical Topping Sequence for Zero Disasters
Follow this exact layering order to prevent toppings from flying or burning:
1. Lightly brush the crust surface with olive oil (creates a moisture barrier)
2. Apply sauce in a thin layer, stopping ¼ inch from the edge
3. Add your first cheese layer (reserve 1 tablespoon for the top)
4. Press toppings gently into the cheese (don’t pile high)
5. Sprinkle remaining cheese over everything to “glue” lightweight items
8-Minute Assembly & Cooking Protocol
The Step-by-Step Execution Plan
- Preheat your Philips air fryer to 390°F for 3 minutes
- Prepare the basket with light oil spray or a parchment round (cut ½ inch smaller than basket)
- Shape your dough to exact basket size, docking with a fork if raw
- Precook raw dough 2-3 minutes until set (skip for pre-baked crusts)
- Assemble toppings directly in basket (safest method to avoid breakage)
- Air-fry at 390°F for 6-7 minutes (fresh) or 9-11 minutes (frozen)
- Check at 6 minutes—cheese should bubble vigorously with deep golden crust
- Rest 2 minutes on a cutting board before slicing (prevents cheese collapse)
Batch Cooking Without Burning
The second pizza cooks 1 minute faster due to retained heat—reduce time accordingly. Keep finished pizzas warm on a wire rack in a 200°F oven (never stack them, which causes sogginess). For freezer meal prep: assemble pizzas on parchment, freeze solid, then store in bags. Cook from frozen at 390°F for 9-11 minutes with no thawing.
Fix These 3 Common Air Fryer Pizza Failures Immediately
Stop Dough Sticking in Its Tracks
Always pre-oil your Philips basket or use parchment paper—never skip this. If using parchment, ensure it’s weighted by food to prevent contact with heating elements (never preheat an empty basket with parchment inside). For stubborn sticking, switch to a silicone basket liner designed for air fryers.
Taming Flying Toppings Once and For All
Light toppings like pepperoni slices or herbs become projectiles in circulating hot air. Press them firmly into the cheese layer, then add that final cheese sprinkle to anchor everything. For extra security with delicate items like fresh basil, add them during the last minute of cooking.
Correcting Uneven Browning in Seconds
If your crust browns more on one side, rotate the basket 180° halfway through cooking—essential for Philips models without center heating elements. For over-browning, lower the temperature by 10-15°F after your first pizza or tent crust edges with foil strips during the final minutes.
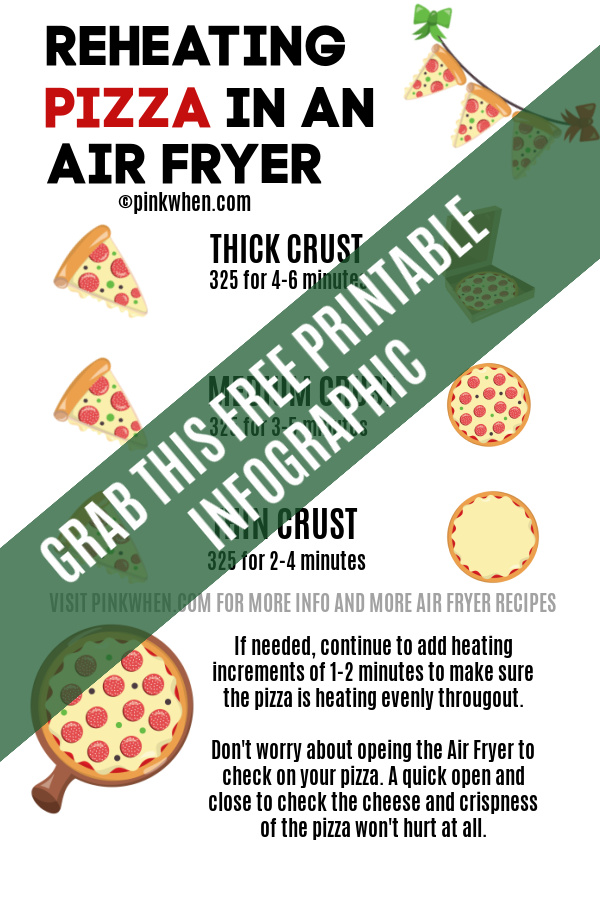
Reheating Leftovers Like a Pizza Pro
Store slices in airtight containers for up to 3 days. To revive that fresh-from-the-air-fryer texture: reheat at 325°F for 3-4 minutes (never microwave—this creates rubbery crust). Place slices directly in the basket, overlapping slightly if needed (add 1 minute per extra slice). The visual doneness test: cheese should bubble actively and the bottom crust should sound hollow when tapped.
Philips Air Fryer Pizza Safety Essentials
Hot baskets cause serious burns—always use oven mitts when handling. If reaching into the hot cavity makes you nervous, assemble toppings on the counter then carefully slide the pizza into the basket using a small peel or flat plate. Never use metal utensils that could scratch the non-stick coating; silicone-tipped tongs are ideal for removal. Ensure parchment paper is completely covered by food to prevent contact with heating elements—this is a fire hazard in any air fryer model.
Your Philips air fryer just became the ultimate pizza appliance. With these precise measurements, timing adjustments, and pro techniques, you’ll consistently create personal pizzas with crispy bottoms, perfectly melted cheese, and restaurant-quality results in under 10 minutes. Start with the 6-inch classic formula, then experiment with your favorite toppings—just remember the golden rule: never exceed ½ cup total toppings to maintain that perfect air fryer pizza balance. Whether it’s a quick weeknight dinner or a late-night craving fix, your Philips air fryer delivers pizza perfection faster than delivery could ever dream of.


