
Your Philips Air Fryer billowing white smoke mid-cook can turn a quick dinner into a kitchen panic. One moment you’re crisping chicken wings, the next your kitchen resembles a foggy London morning. This frustrating experience affects thousands of Philips air fryer owners daily, but the solution is simpler than you think.
White smoke from your air fryer isn’t a sign of permanent damage—it’s your appliance telling you something specific needs attention. Whether you’re dealing with greasy residue, missing parts, or preparation oversights, this guide walks you through every possible cause and the exact steps to eliminate smoking permanently. You’ll learn actionable fixes that resolve 90% of smoking incidents in under 15 minutes, backed by Philips’ engineering specifications.
Why Your Philips Air Fryer Smokes
White smoke happens when substances reach the heating element and burn. Your air fryer’s powerful circulation system moves air at high speeds, carrying tiny particles, grease droplets, and food fragments directly onto the super-hot heating coils. The instant these materials touch 400°F metal, they vaporize into visible white smoke.
The smoke you see isn’t necessarily harmful, but it’s definitely preventable. Most smoking incidents stem from five primary causes, each requiring different solutions. Understanding which cause affects your specific situation helps you fix it quickly and prevent future occurrences. This isn’t random malfunction—it’s your appliance responding to specific preventable conditions.
High-Fat Foods Create Smoke

Fatty foods are the leading cause of white smoke in Philips air fryers. When bacon, sausages, or marbled steaks cook, their fat renders and drips downward. Without proper protection, this liquid fat lands directly on the heating element and instantly burns. The resulting combustion creates the white smoke that triggers your smoke alarm.
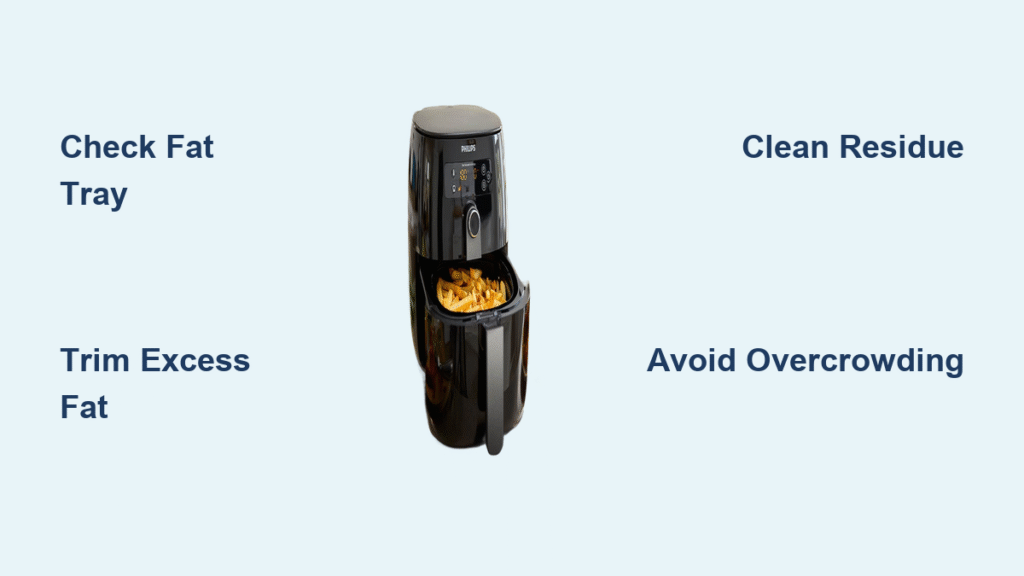
Trim Excess Fat Before Cooking
Remove visible fat from meats before air frying. Cut away fatty edges from steaks, remove skin from chicken pieces, and select leaner ground beef options. This simple step reduces the amount of fat available to create smoke by up to 70%. For foods you can’t trim, like sausages, pierce the casings lightly with a fork before cooking. This allows fat to drain into the pan rather than accumulating and smoking during the cooking process.
Pro tip: When cooking high-fat items, place a slice of bread in the fat reducer tray to absorb excess grease before it reaches critical temperatures.
Use Leaner Protein Alternatives
Choose chicken breast over thighs, turkey bacon over pork, or fish fillets over fatty cuts. These substitutions maintain flavor while dramatically reducing smoking risk. When cooking fattier cuts is unavoidable, reduce cooking temperature by 25°F and extend time slightly. This slower rendering prevents sudden fat drips that overwhelm the heating element.
Missing Fat Reducer Tray

The fat reducer tray serves as your air fryer’s smoke prevention system. This removable plastic component sits beneath the basket, catching grease before it reaches the heating element. Many users remove it for cleaning and forget to replace it, leading to immediate smoking problems. Without this critical barrier, rendered fat flows directly onto the heating coils.
Check Tray Position Every Time
Before each use, verify the fat reducer tray sits properly in the pan. It should lie flat with no gaps around the edges. If misaligned, fat bypasses the tray entirely and heads straight for the heating element. The tray has small feet that lock into corresponding slots—you should hear a slight click when properly positioned. If it slides around freely, reposition until secure.
Quick check: Run your finger along the tray’s edge where it meets the pan. Any gap wider than a credit card means fat will bypass the tray.
Clean Tray After Fatty Foods
Remove and wash the fat reducer after cooking high-fat foods. Built-up grease can overflow during subsequent uses, defeating its purpose entirely. Hot, soapy water removes residue quickly. Let it dry completely before replacing to prevent water-related smoking. For stubborn buildup, soak in warm vinegar solution for 10 minutes before scrubbing.
Old Grease Burns During Heating
Residual grease from previous cooking sessions creates smoke unrelated to your current food. This old fat reheats, burns, and produces smoke even when you’re cooking something as innocent as vegetables. The heating element instantly combusts any dried grease films during preheating.
Complete Cleaning Protocol
After every use, remove the basket and pan. Wash both components in hot, soapy water, paying special attention to corners where grease accumulates. Use a soft brush for stubborn residue. Rinse thoroughly and dry completely before reassembly. Focus on hidden grease spots like the pan’s underside rim and basket handle connection points—these often harbor invisible residue that burns during preheating.
Hidden grease spots: Shine a flashlight along the pan’s inner edges while rotating it. Any oily sheen indicates residue that must be removed.
Weekly Deep Clean Schedule
Once weekly, perform a thorough cleaning. Remove all removable parts and wash separately. Wipe the interior walls with a damp cloth, avoiding the heating element. Check crevices with a flashlight for overlooked residue. This prevents smoke from mysterious sources and maintains optimal airflow for even cooking.
Breading Falls Onto Heating Element
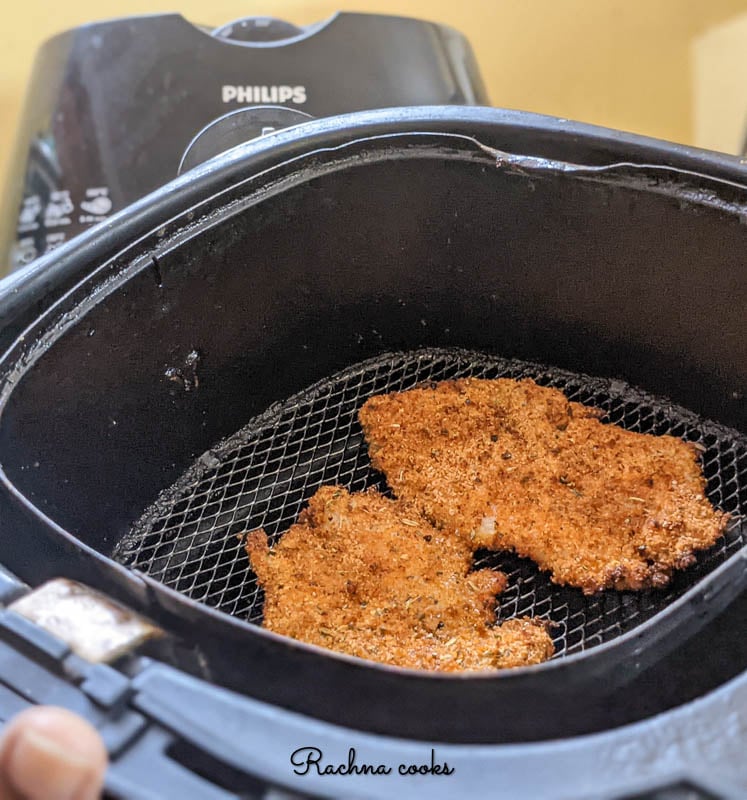
Loose breading and coatings break free during cooking, becoming airborne projectiles. The air fryer’s circulation shoots these fragments directly onto the heating element, where they burn and smoke. This happens most frequently with improper coating techniques or overcrowded baskets.
Secure Coatings Properly
Press breading firmly onto food surfaces. After coating, let items rest for 5-10 minutes before cooking. This allows the coating to adhere better and reduces flaking. Use a three-step breading process—first flour, then egg wash, finally breadcrumbs—for maximum adhesion. The flour creates microscopic hooks for the egg wash to grip, which then anchors the breadcrumbs.
Binding technique: Add 1 teaspoon of mustard to your egg wash—this creates a stronger binding agent that prevents coating separation during high-speed circulation.
Avoid Overcrowding Effects
Overcrowding causes food to rub against other pieces, dislodging coatings. Leave space between items for proper air circulation. Cook in batches if necessary. The improved airflow also creates crispier results while preventing coating displacement. Never fill the basket beyond the ⅔ capacity line.
Lightweight Ingredients Fly Into Heater
Dried herbs, seasoning flakes, and loose breadcrumbs weigh almost nothing. Your air fryer’s powerful fan easily lifts these particles, carrying them directly to the heating element where they burn almost instantly. This creates sudden smoke bursts even during seemingly harmless cooking sessions.
Contain Loose Ingredients
Mix dry seasonings with a small amount of oil before applying to food. This adds just enough weight to keep them grounded while enhancing flavor. For breadcrumb coatings, press them firmly into a binding layer like egg or mustard. Alternatively, place lightweight ingredients inside a folded piece of parchment paper within the basket—this prevents direct contact while allowing flavors to circulate.
Alternative method: Use a small oven-safe dish for herbs and spices when cooking items like roasted vegetables. The dish contains particles while permitting flavor infusion.
Strategic Food Placement
Place lighter items on top of heavier foods when possible. The weight helps anchor them. Avoid placing loose breadcrumbs or herbs directly in the basket without food to hold them down. When cooking items like seasoned fries, toss them in a bowl with oil first to weigh down the seasoning.
Immediate Smoke Response Steps
When smoke appears, act quickly to prevent lasting damage or kitchen contamination. Your response in the first 30 seconds determines whether this becomes a minor inconvenience or a major cleanup project.
Emergency Shutdown Sequence
- Unplug immediately – Don’t just turn off the timer. Full power disconnection stops all heating elements instantly
- Open windows – Create cross-ventilation to clear smoke quickly
- Wait for cooling – Never open the air fryer while hot. Steam burns happen fast
- Document the incident – Note what you were cooking and when smoke started
Post-Smoke Inspection Process
Once completely cool, remove the basket and inspect the heating element area. Look for black residue, burnt food particles, or excessive grease buildup using a flashlight. Clean any visible residue with a damp cloth, being careful not to touch the heating element directly. If you find significant buildup, perform a complete cleaning protocol before next use.
Prevent Smoking Long-Term
Preventing smoke requires consistent habits rather than occasional fixes. Build these practices into your cooking routine to eliminate smoking permanently.
Daily Prevention Checklist
- Verify fat reducer tray presence and position
- Check for visible grease in pan before cooking
- Pat food dry to reduce oil splatter
- Use appropriate temperatures for food type
- Never skip preheating—this burns off residual oils
Weekly Maintenance Routine
Set a weekly reminder for deep cleaning. This 10-minute investment prevents hours of troubleshooting later. Include checking hidden areas like the pan’s underside and basket rim. Replace worn components like the fat reducer if cracked or warped. A damaged tray creates gaps where fat bypasses protection.
Monthly Performance Review
Note any smoking incidents during the past month. Track patterns—specific foods, cooking times, or preparation methods that triggered smoke. Adjust your approach based on these observations. Most users discover 2-3 simple changes that eliminate 90% of smoking issues.
When Professional Help Is Needed
Persistent smoking after implementing all solutions indicates deeper issues. Contact Philips customer support if white smoke continues during non-fatty food cooking, unusual odors accompany smoke, or visible heating element damage appears. Bring your model number, purchase date, and a log of smoking incidents—this documentation typically resolves warranty claims within 48 hours. Remember that electrical components require professional handling for safety compliance.
Your Philips air fryer should enhance cooking, not create kitchen emergencies. By addressing the five primary smoking causes systematically, you’ll restore smoke-free operation quickly. Consistent cleaning, proper component use, and smart food preparation eliminate nearly all smoking issues permanently. Start tonight with the fat reducer tray check and a thorough cleaning—these two steps resolve 80% of smoking complaints within minutes, getting you back to effortless, healthy cooking.


