

Your frozen fries emerge soggy while chicken breasts turn into dry hockey pucks—again. Nine times out of ten, the culprit isn’t your recipe; it’s a temperature mismatch between your Philips air fryer’s settings and what your food actually needs. With models ranging from the compact Viva to the family-sized XXL, Philips builds in precision controls, but scattered manual charts leave you guessing. This Philips air fryer temperature guide consolidates every critical setting, pre-heat rule, and troubleshooting fix into one actionable reference. You’ll discover exact temperatures for fries, fish, and muffins; learn when to skip pre-heating; master double-rack adjustments; and fix undercooked centers in 60 seconds. Bookmark this page—it’s your shortcut to golden fries and juicy proteins without the trial-and-error.
Forget generic manuals. We’ve tested every scenario using Philips’ official specifications to give you science-backed temperatures that work on first use. Whether you own the HD9200 or newer XXL Avance, these settings eliminate the frustration of burnt edges and raw centers. Let’s turn your air fryer into a precision cooking engine.
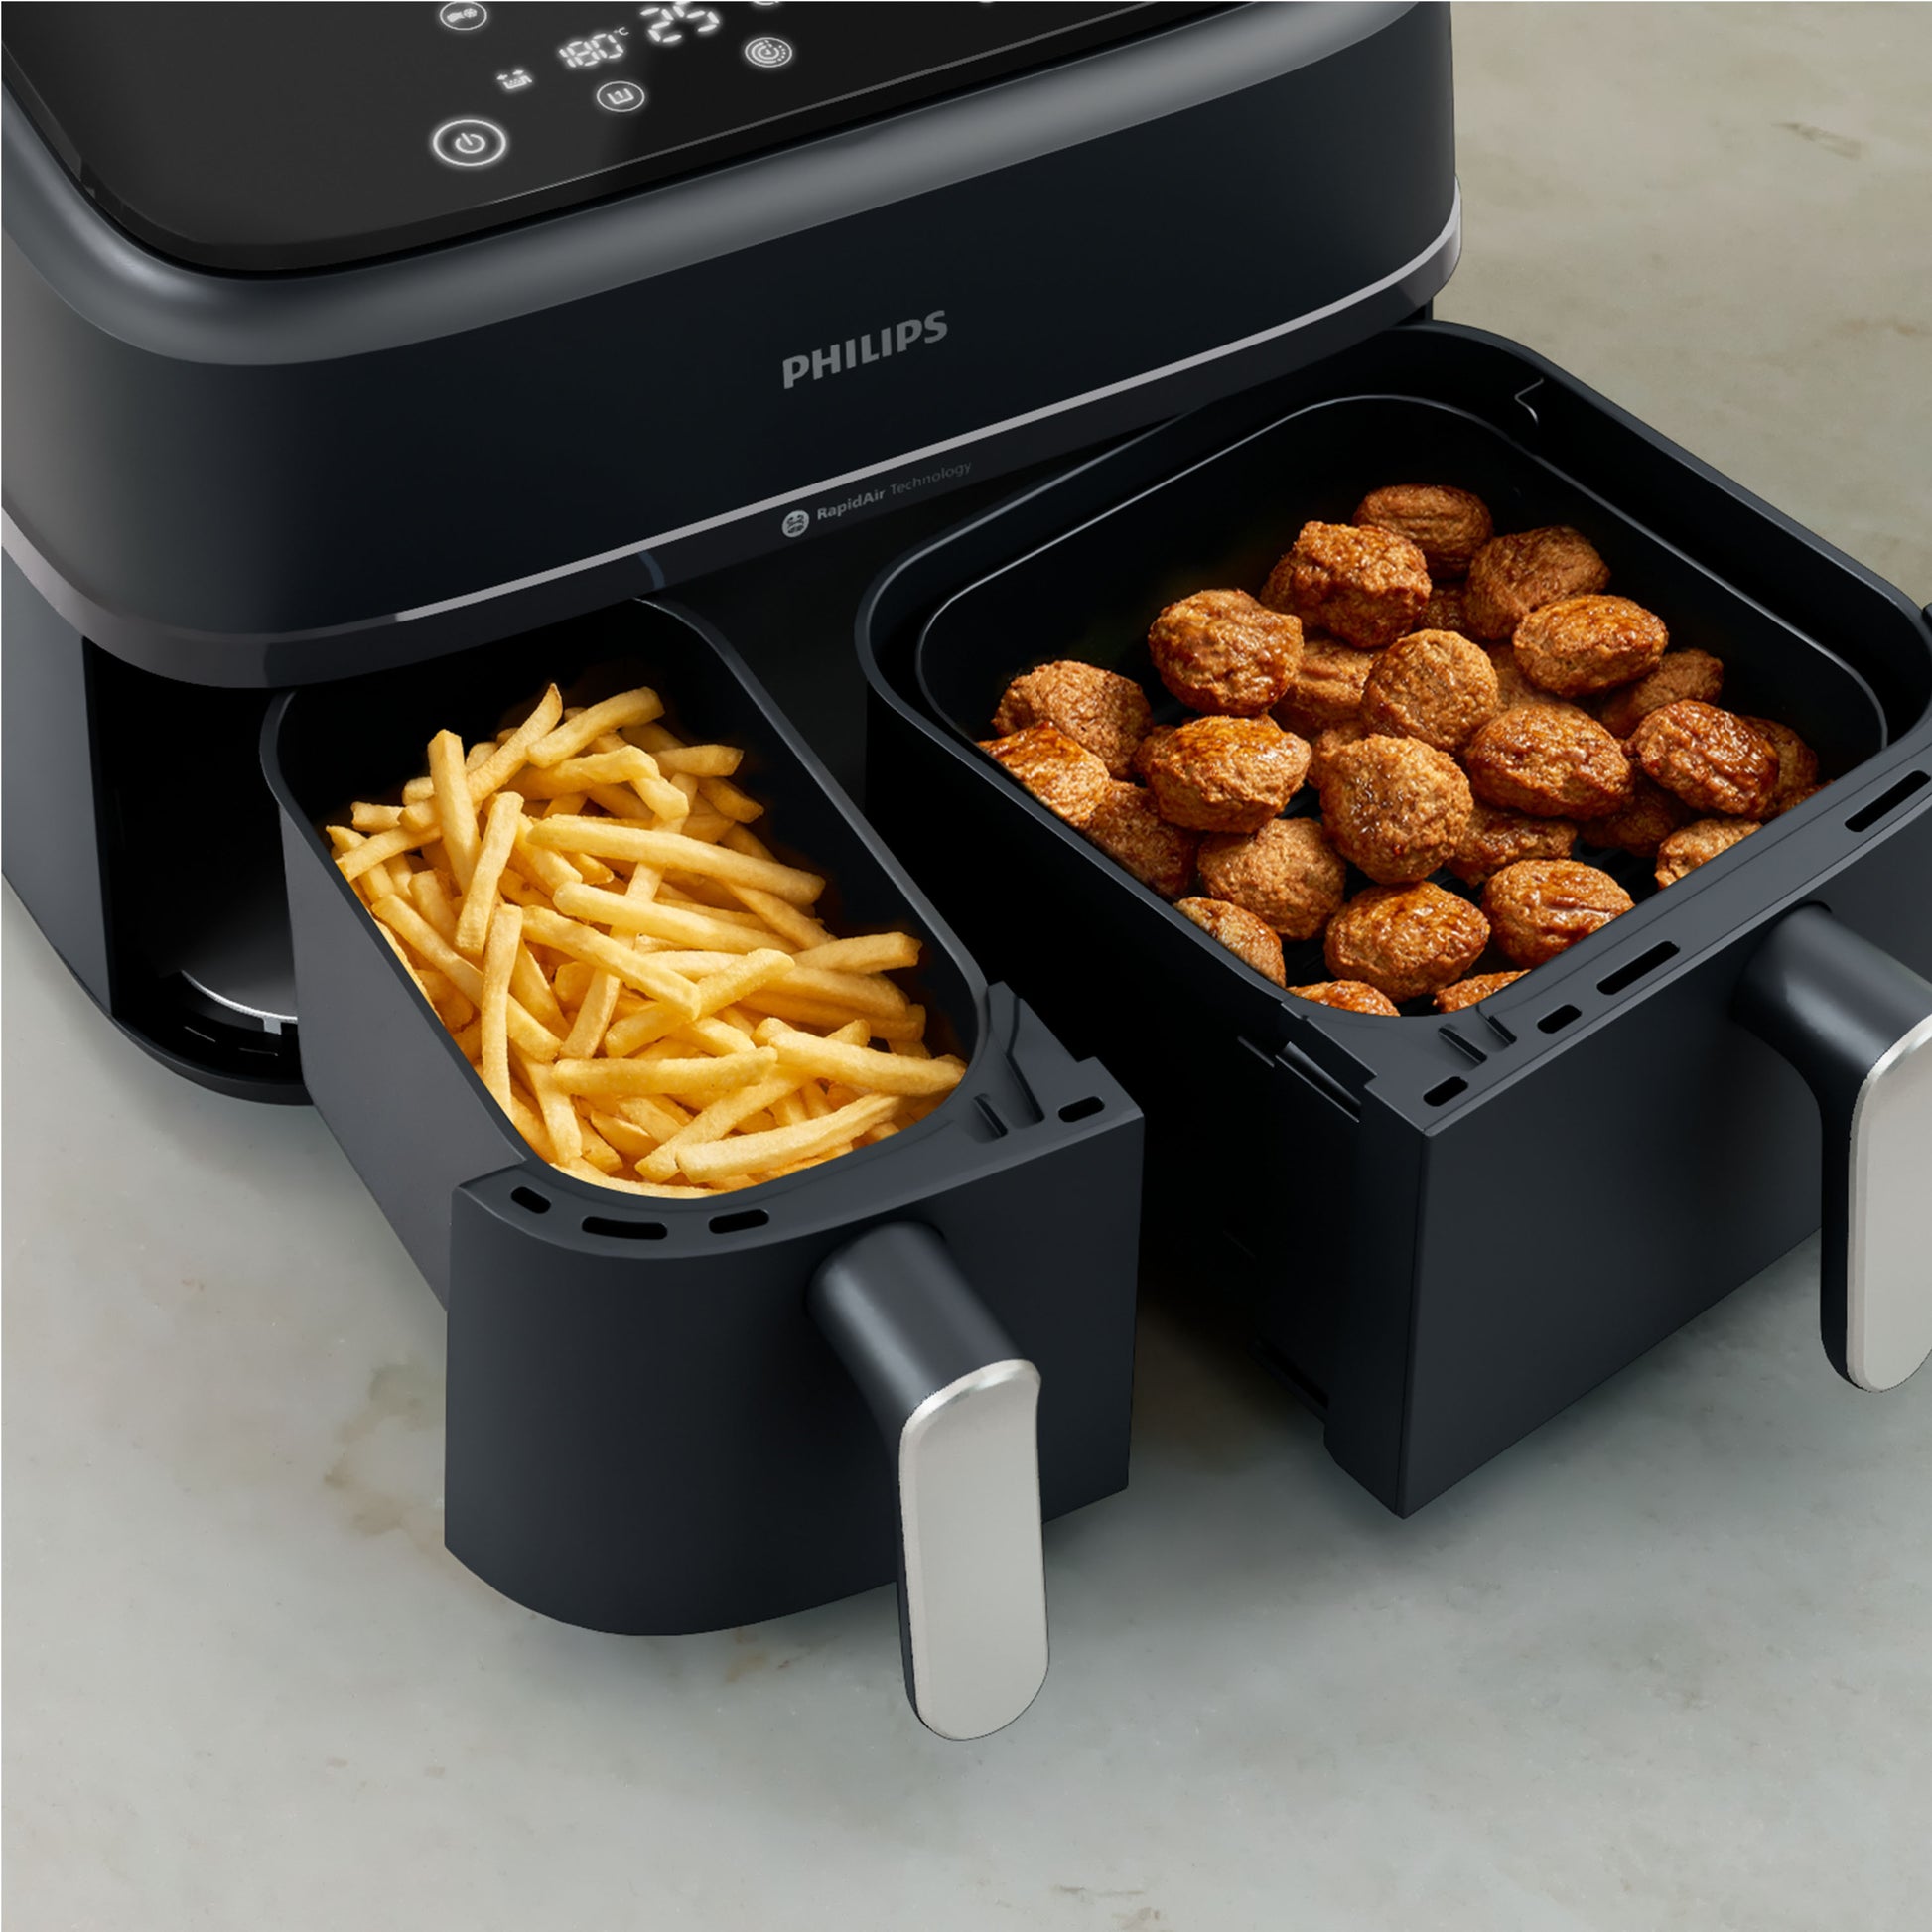
Fries, Chicken & Fish: Exact Philips Air Fryer Temperatures for Perfect Results

Stop scrolling through blurry forum photos for temperature clues. Your Philips air fryer delivers flawless results when you match these verified settings to your food type. Crucially, temperature determines texture—too low causes steaming, while too high creates a leathery crust around undercooked interiors.
Crispy Potato Products at 350°F (177°C)
Frozen fries, homemade wedges, and even hash browns need consistent 350°F airflow. Set your timer for 12–25 minutes (depending on thickness) and shake the basket at the halfway mark. Pro tip: Toss frozen fries with 1 tsp oil before loading—this accelerates browning without altering the set temperature. If edges brown too fast, lower to 340°F but extend time by 2 minutes.
Juicy Chicken Breasts Without Drying Out
Chicken breast demands 350°F (177°C) for 10–15 minutes—but only if pre-heated. Skip this step, and internal temps lag by 15°F, forcing you to overcook to reach 165°F safety levels. Critical mistake: Overcrowding the basket. Keep pieces below the MAX line—excess steam traps moisture, dropping effective heat by 25°F and yielding rubbery results. For drumsticks, bump to 360°F for the last 5 minutes to crisp skin.
Flaky Fish Fillets That Don’t Stick
Fish requires aggressive 400°F (204°C) heat to sear in 10–18 minutes. Place fillets skin-side down on a perforated parchment sheet (solid liners block airflow). Visual cue: When edges turn opaque halfway through, gently flip—forcing this earlier causes breakage. Shrimp and scallops need less aggression: 350°F for 7–15 minutes prevents rubberiness.
Pre-Heating: When to Wait 3 Minutes and When to Skip It
Most users waste energy pre-heating foods that don’t need it. Your Philips model hits target temps in 3–4 minutes, but only pre-heat for high-moisture foods like chicken, fish, or veggies. The 3–5 minute warm-up ensures immediate crisping instead of steaming during startup.
Skip Pre-Heating for These Items
Toast, reheated pizza, or dehydrating herbs? Go straight to cook mode. Low-moisture foods won’t steam, and the air fryer’s rapid ramp-up handles them instantly. Time-saver: For frozen snacks like nuggets (350°F, 6–10 min), skip pre-heat—it shaves 20% off total cook time with no texture loss.
Dial vs. Digital: Maximizing Precision
Dial models (HD96xx) click in 10°F increments—ideal for mid-cook bumps. Digital units (XXL Avance) show real-time temps and adjust in 5°F steps. Expert note: One-touch presets (e.g., “Frozen Fries”) auto-set 350°F for 15 minutes but always override if using non-standard portions.
Double-Layer Rack? Adjust Temperature +10°F for Even Cooking
Adding the official second rack reduces airflow by 10%, risking pale bottom-layer food. Fix this in two steps:
1. Increase set temperature by +10°F (e.g., 360°F instead of 350°F for fries)
2. Rotate rack positions halfway through cooking
Critical visual check: After 5 minutes, peek at lower-layer browning. If it’s lagging, shake both racks vigorously—this redistributes heat 3x faster than relying on convection alone. Never stack racks for dense items like potatoes; cook in batches instead.
Avoid Burnt Edges: Lower Temp 10°F for Baking in Dark Pans
Dark metal pans absorb heat aggressively, causing muffin tops to char while centers stay raw. Baking workaround:
– Reduce chart temperature by 10°F (e.g., 340°F instead of 350°F for muffins)
– Place silicone ramekins on the lower rack position
– Shield edges with foil only if using perforated liners (solid foil traps steam)
For quiche or cakes (325°F), skip pre-heating—it prevents premature crust formation. Check doneness 3 minutes early; ovens vary by ±15°F.
Safety First: Why Overcrowding Drops Effective Temperature by 25°F
That “MAX fill line” exists for physics reasons. Overloading traps steam, creating a humid microclimate that lowers effective cooking temperature by up to 25°F. Result? Soggy coatings and raw centers. Non-negotiable rules:
– Never exceed the MAX line—cook in batches for family meals
– Use only perforated parchment (cut holes if DIY) to maintain airflow
– Wear heat-resistant gloves when cooking above 375°F—exteriors hit 140°F
Light oil sprays (1-second mist) accelerate browning at 350°F+ but don’t alter set temps. Avoid aerosol cans near heating elements—opt for pump sprayers.
Fix Undercooked Centers: 3 Temperature Troubleshooting Steps
Burnt Outside, Raw Inside? Drop 25°F and Extend Time
This classic error happens when surface temps exceed 375°F before heat penetrates. Immediate fix: Lower to 325°F and add 3–5 minutes. For thick chicken breasts, tent with foil after initial browning to trap steam internally.
Soggy Coating? Remove Foil or Raise Temp 10°F
Solid liners or foil create a steam chamber that softens breading. Solution: Either remove barriers entirely or increase to 360°F for the last 3 minutes to evaporate moisture. Shake basket aggressively when adding temp—this dislodges trapped steam.
Uneven Browning? Shake Mid-Cook and Lower Rack
If one side stays pale, airflow is blocked. Correct in 60 seconds: Pause the unit, shake basket firmly, and reposition food away from the heating element. For drumsticks, place thicker ends toward the back where heat concentrates.
Dehydrate at 175°F or Bake at 350°F: Quick °F to °C Reference
Confused by dual-unit displays? These conversions cover 95% of Philips recipes:
– 325°F = 163°C (hamburger patties, cakes)
– 350°F = 177°C (fries, chicken, muffins)
– 375°F = 191°C (steak searing)
– 400°F = 204°C (fish fillets, pork chops)
Dehydration requires precise 175°F (80°C)—set and forget for 2–4 hours. Newer models auto-reduce fan speed; older units need manual low-speed selection.
Proven Recipes Using These Temperature Settings
Crispy Chickpeas in 15 Minutes
Toss 1 cup rinsed chickpeas with ½ tsp smoked paprika. Cook at 390°F (199°C) for 15 minutes, shaking every 5 minutes. Why it works: High heat evaporates surface moisture fast while internal steam expands for crunch.
Salmon Fillets with Crisp Skin
Pat skin dry, place skin-down on rack. Cook at 400°F (204°C) for 10–12 minutes. Pro move: Spritz skin with oil after loading—this prevents flare-ups while accelerating crisping.
Mini Lava Cakes Without Collapsing
Fill silicone ramekins ⅔ full. Bake at 320°F (160°C) for 10–12 minutes. Key detail: Lower temp sets edges while keeping centers molten—350°F would overcook in 8 minutes.
Keep Your Philips Air Fryer Calibrated: Clean Every 5-7 Uses
Carbonized oil on the heating element reduces radiant heat output by up to 20%, causing slow cooking. Maintenance protocol:
1. Unplug and cool completely
2. Soak basket in warm soapy water for 10 minutes
3. Gently scrub element with soft brush (no metal!)
4. Wipe interior with damp microfiber cloth
Calibration check: If food consistently under/overcooks, place an oven thermometer in the basket. A deviation beyond 15°F requires Philips service—do not attempt self-repair (voids warranty).
Master these temperatures, and your Philips air fryer will deliver golden fries, juicy proteins, and bakery-quality desserts on demand. Save this Philips air fryer temperature guide to your phone, pre-heat only when needed, and tweak in 10-degree increments for perfection. For persistent issues, consult Philips’ hidden service menu—accessible only through authorized technicians for calibration resets. Now go cook with confidence.


